
.jpg)
 2 months ago
89
2 months ago
89
PROTECT YOUR DNA WITH QUANTUM TECHNOLOGY
Orgo-Life the new way to the future Advertising by AdpathwayMy neighbor and good friend, Debra, made this wonderful DIY yard art from an old watering can and hanging crystals from an old chandelier. The light from the sun reflects off of the crystals, making it shine brilliantly.
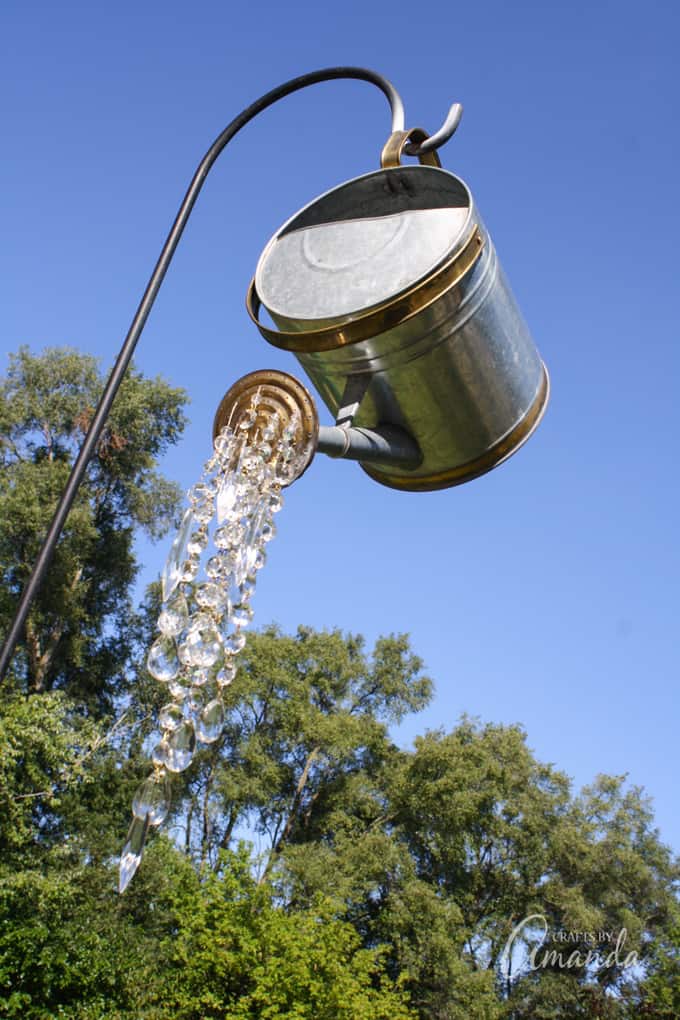
Watering Can That Pours Crystals
This watering can is the perfect whimsical garden decoration. It would look gorgeous next to these beautiful Decorative Garden Stakes, don’t you think?
The stream of crystals look like they are pouring out of the watering can’s spout, using little more than some wire and a bead to secure them. Keep reading to find out how to make your own watering can that pours crystals!
NOTE: If you prefer to purchase one of these, check out the beautiful options available on Etsy!
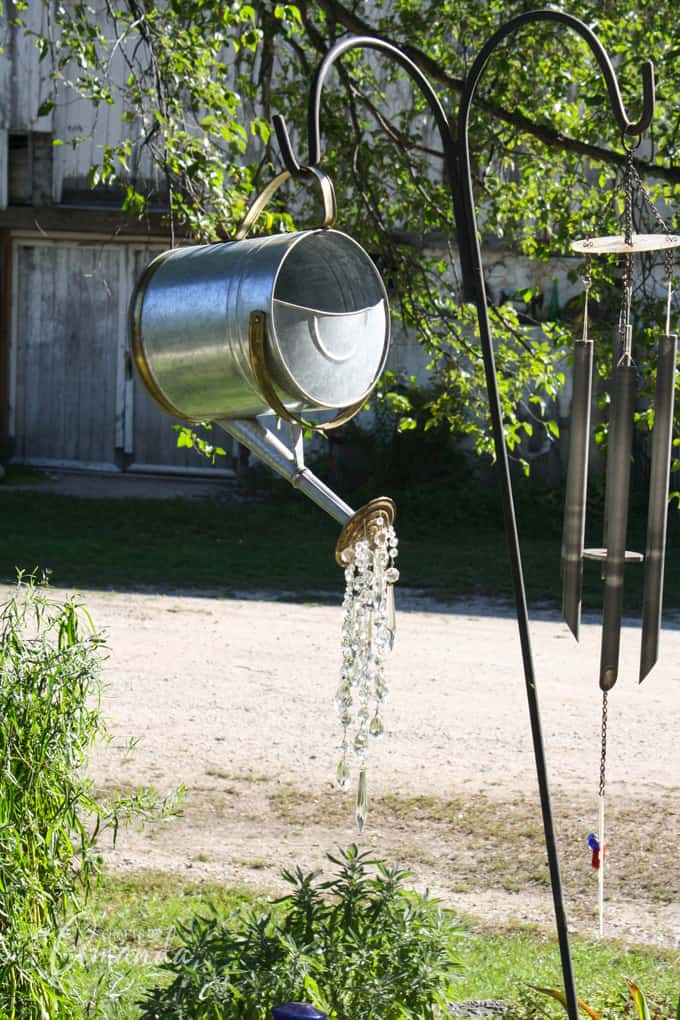
I’ll explain how to make something like this yourself down below, or you can watch the video just below this paragraph. After you watch the video, be sure to scroll down the rest of the post and see all the photos!
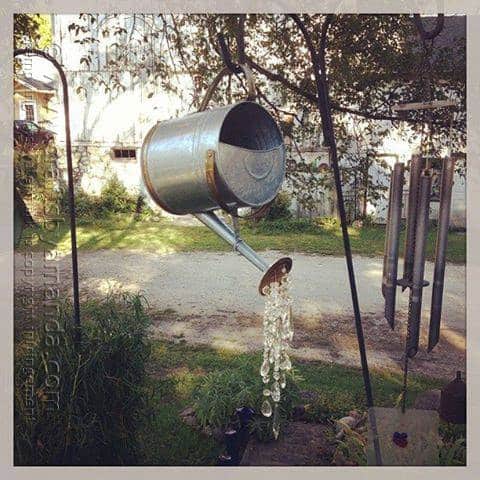
When I shared a photo of this watering can project on Instagram a few years ago, I had no idea what was going to follow. I went to my Facebook page and shared the instagram photo there.
What resulted was almost 700 likes and over 200 shares! Those were crazy numbers for my Facebook page back then! So, since it was obviously quite popular, I stopped by Debra’s the next day to get some better pictures and tell you how you can make your own as well.
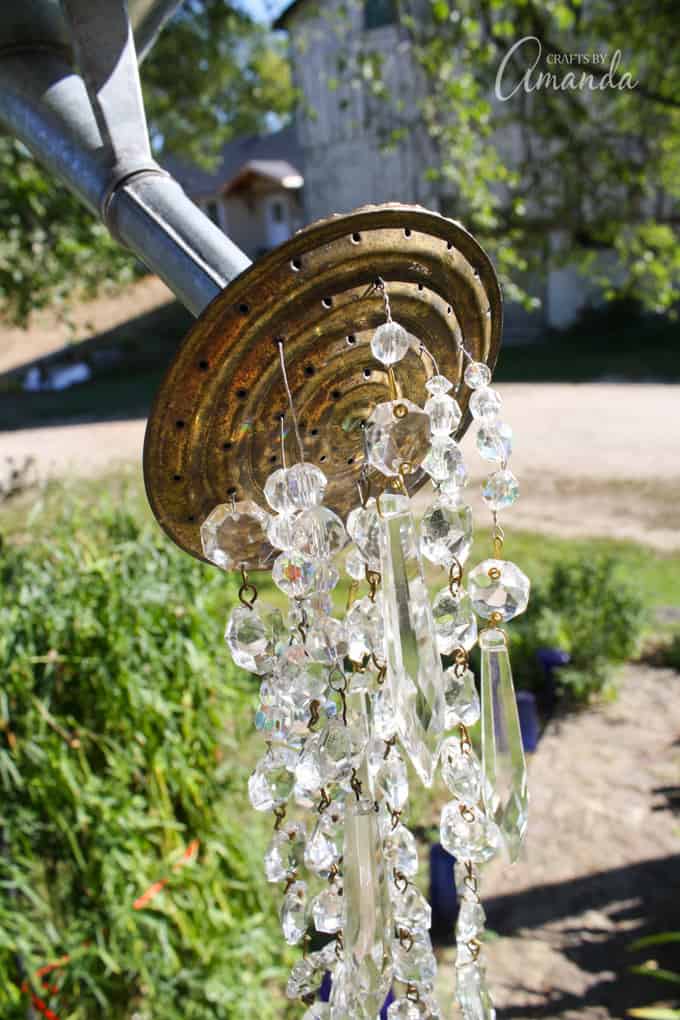
Debra and I live literally right around the corner from each other. Before we even met I had been to her garage sales and passed by her house probably a gazillion times. Then one day she introduced herself to me saying that she “met” me through this blog. Oddly enough, I didn’t think anyone in my sleepy little town even knew what a blog was, let alone followed one.
That was a little over 4 years ago and since then Debra and I have become good friends. We share creative tips and bounce crafty ideas off each other all the time. I’m so glad that she came to my door that day!
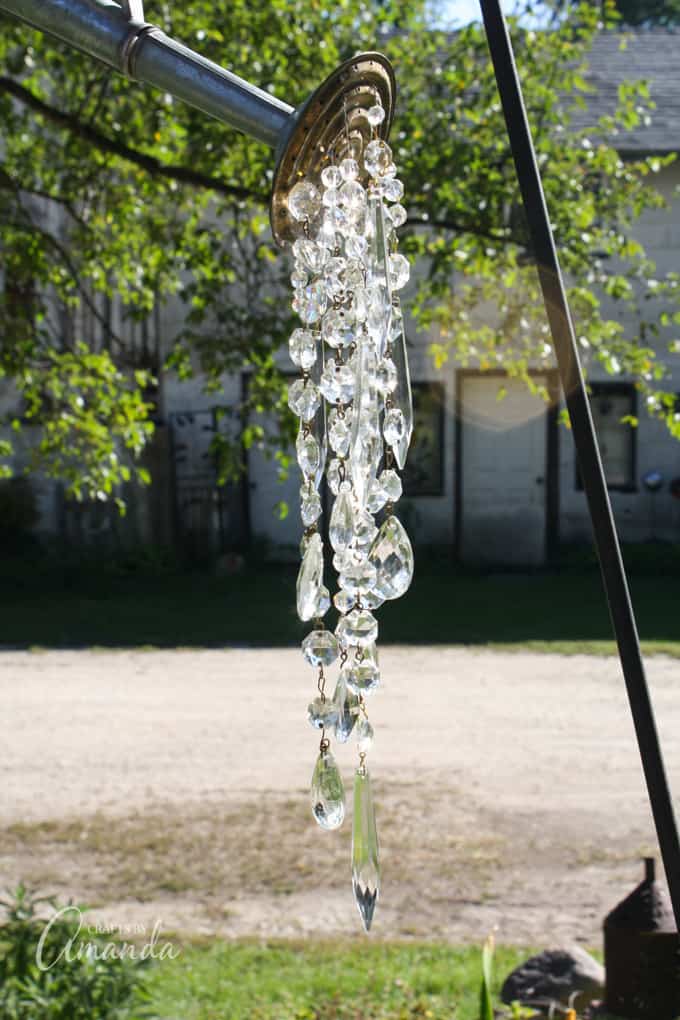
Debra lives in a cute little farm house with a great big barn in her side yard. I’ve salvaged some things from that barn, including these Distressed Shutters. In fact, in that post you’ll see a few pictures of Debra’s barn and property.
If you want to see even more, I have a small photo album of Debra’s barn on Facebook.
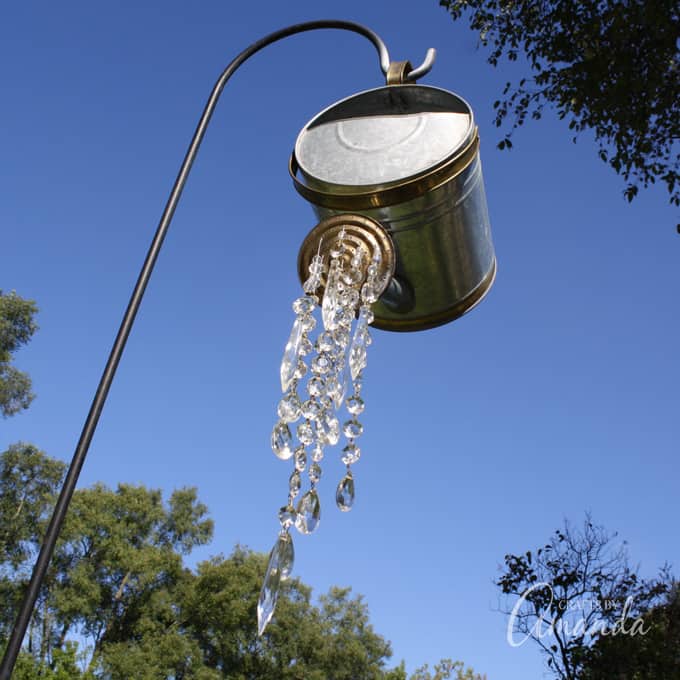
Debra has a lovely garden. It’s obviously fall here in southeast Wisconsin so all the brightly colored flowers have gone to sleep for the year, but the set up is full of whimsical goodies that I’ll show you here.
Much of what you’ll find in Debra’s yard was salvaged from the side of the road or picked up for pennies at a garage sale. Her garden path is lined with blue bottles that have been turned upside down and pushed into the earth.
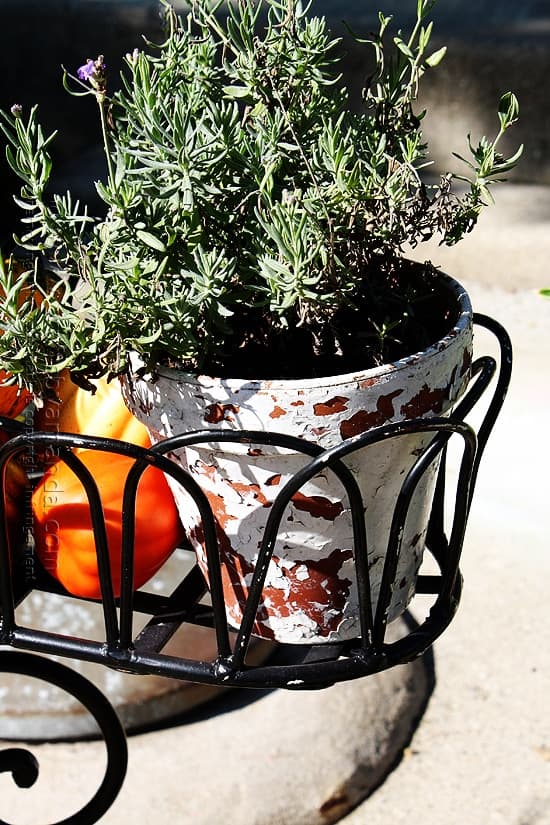
One of my favorite parts of her garden are these chippy herb pots. She found three of them stacked together in a garbage can.
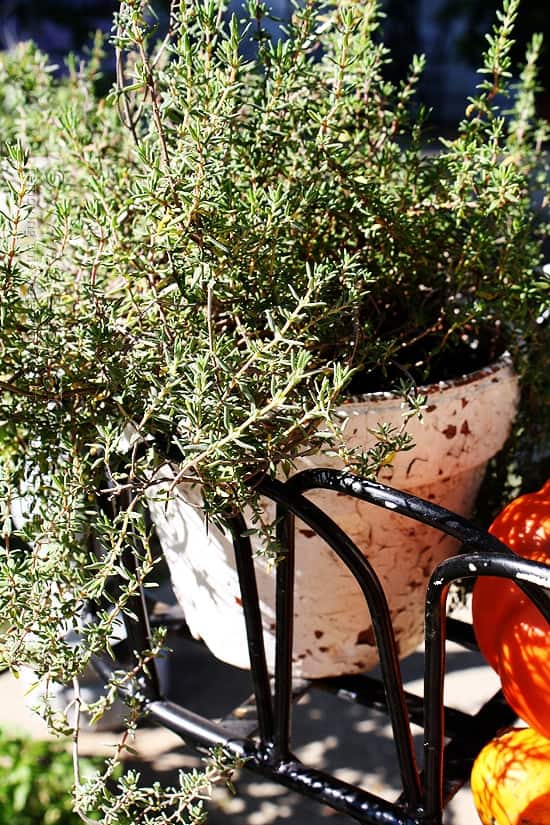
I love how she expressed it… she said that the previous owner probably said “Ewww the paint’s all chipping off..” (read that in a disappointed voice).
Debra’s reaction (read this with an excited voice) “Oooo! The paint’s all chipping off!!” :)
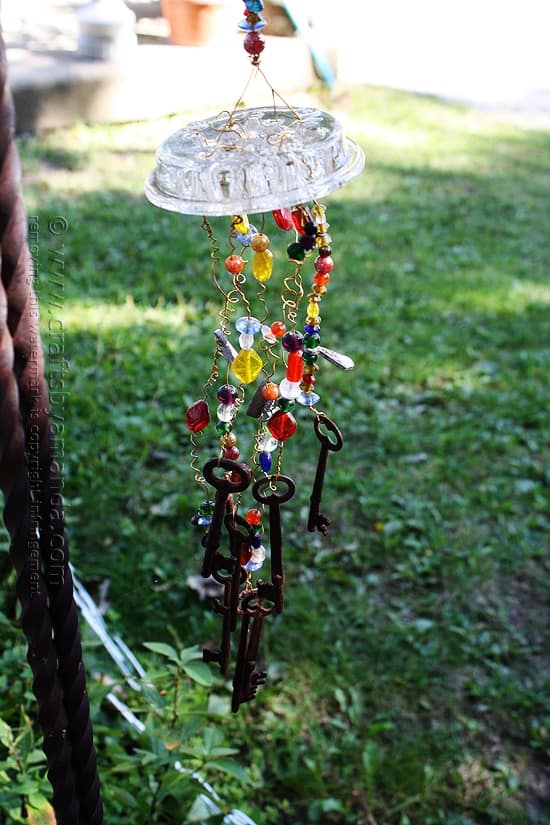
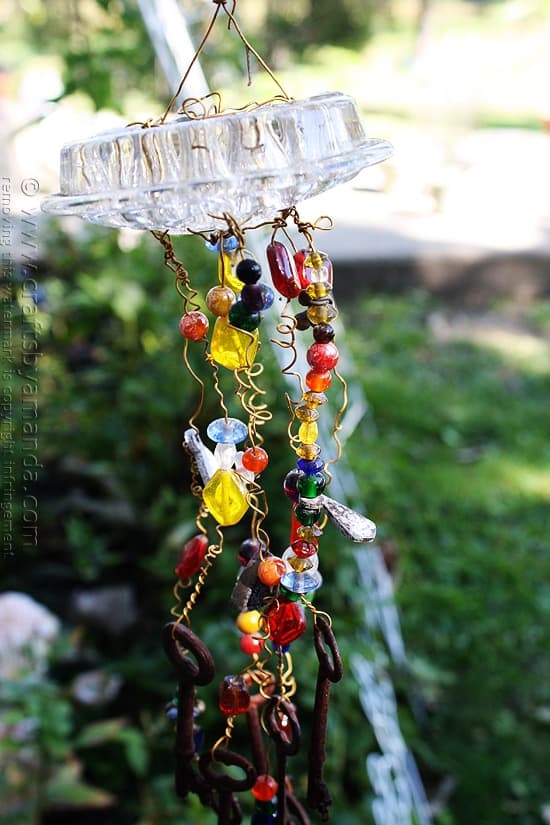
This pretty little garden gem was made from a glass flower frog, some colorful beads, wire and bunch of rusty keys.
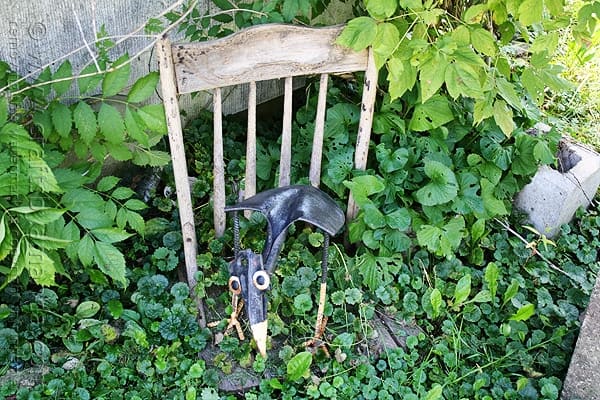
Over by the barn there’s a broken old chair covered with vines, and sitting on that chair is this whimsical crow made from metal and an old shovel.
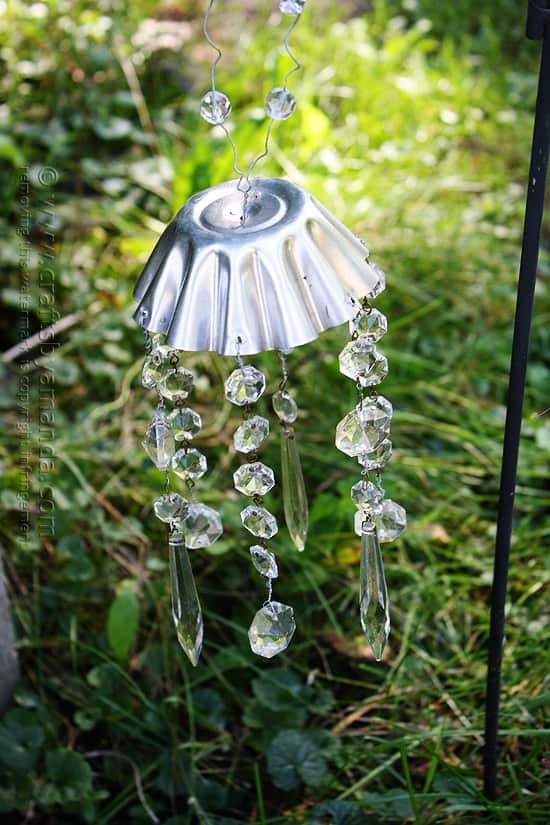
Hanging nearby are more crystals, this time they’re dripping from a small metal jello mold pan.
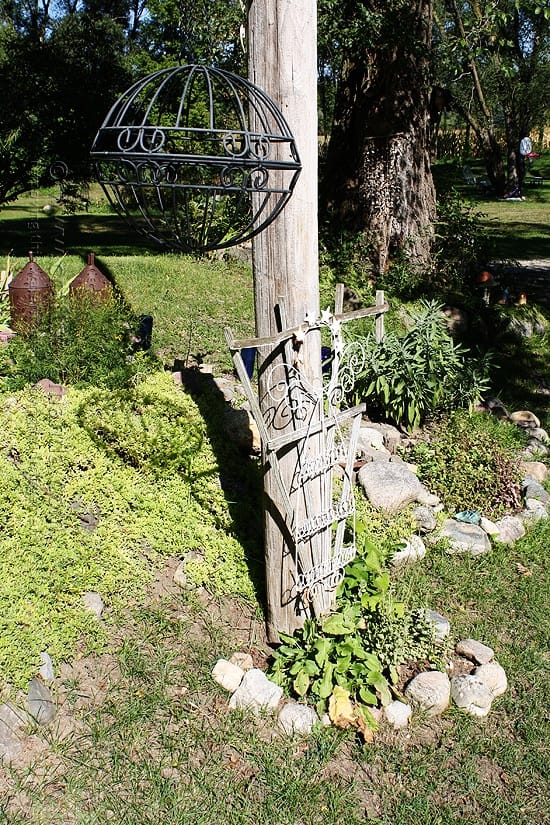
Another ornament is this hanging sphere made from two round plant hangers glued together.
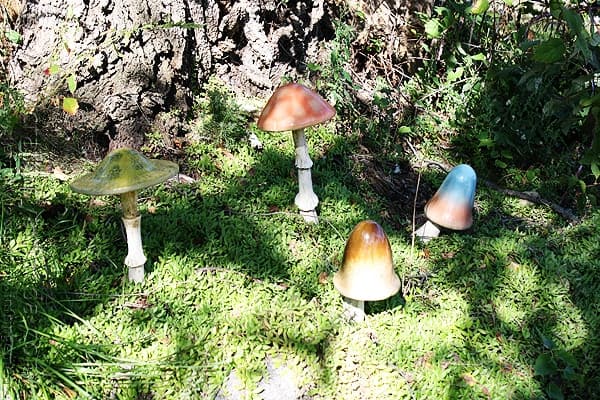
One of my favorite parts of the garden are these adorable toadstools. Maybe I should donate my fairy house to this scene!
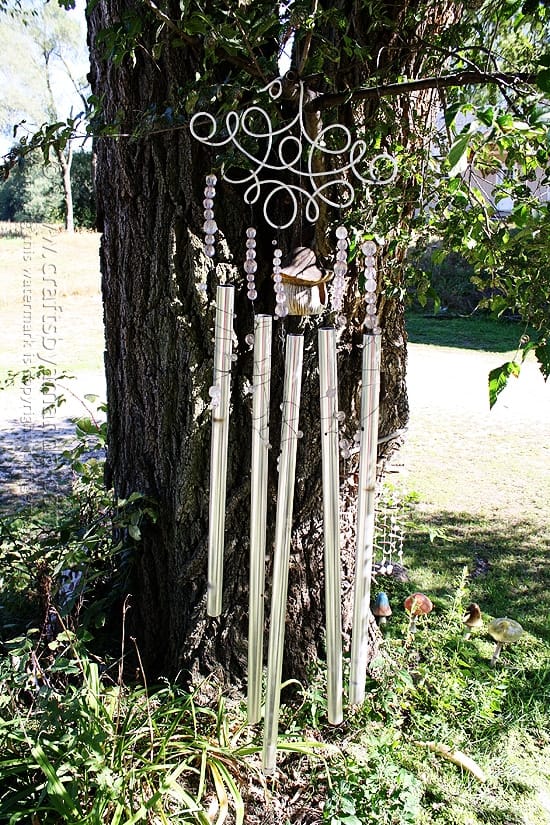
Around the corner from the toadstools is this great big wind chime made with more beads.
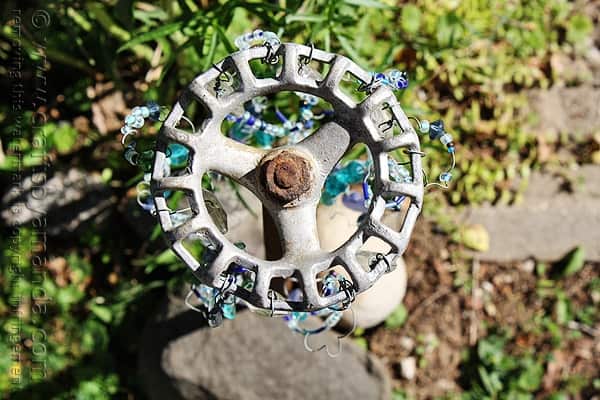
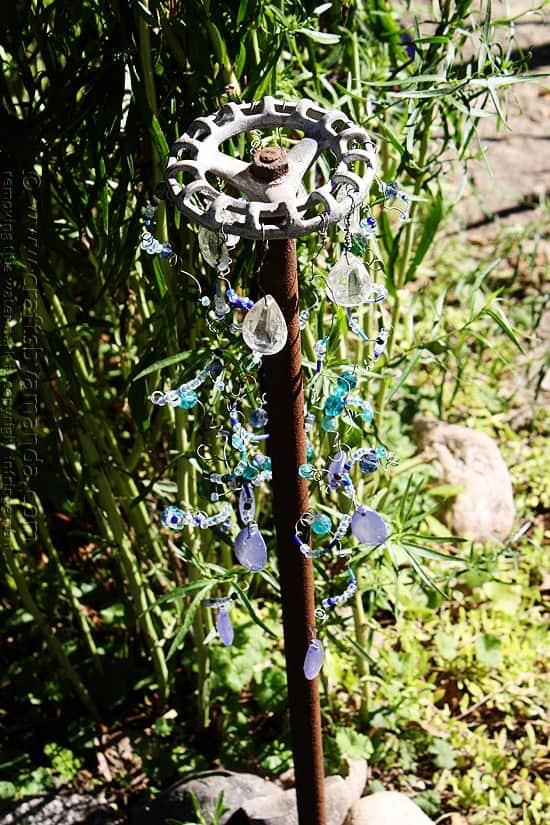
Debra even spruced up this old rusty water handle by adding gems and beads on wire.
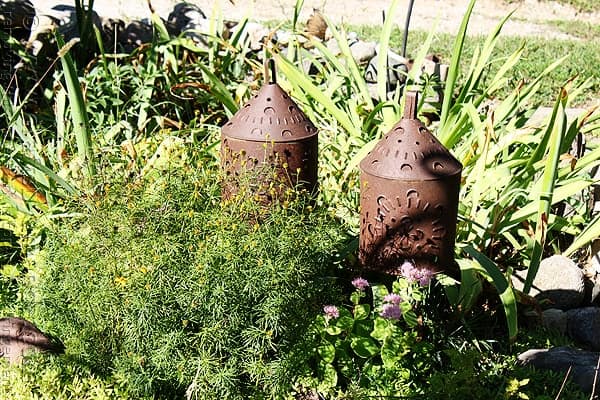
Debra and I have similar tastes when it comes to rusty goodness!
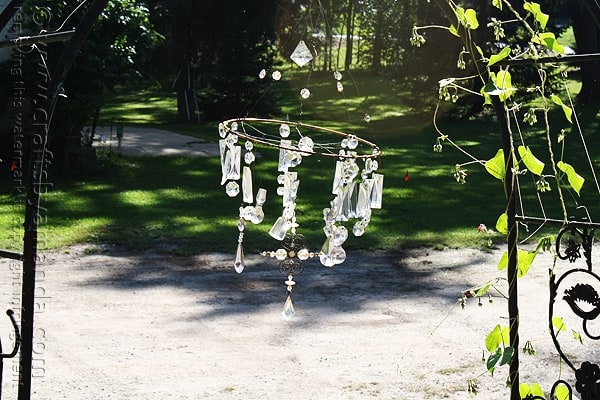
She has crystal goodness all over her garden and says “I am a lover of all things shiny!”
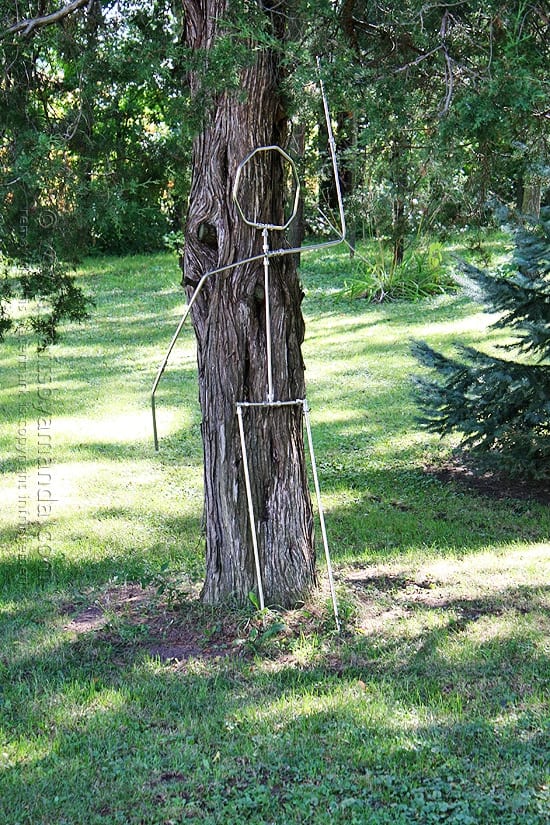
As you’re leaving Debra’s driveway, this metal man made from old pipes waves to say goodbye!
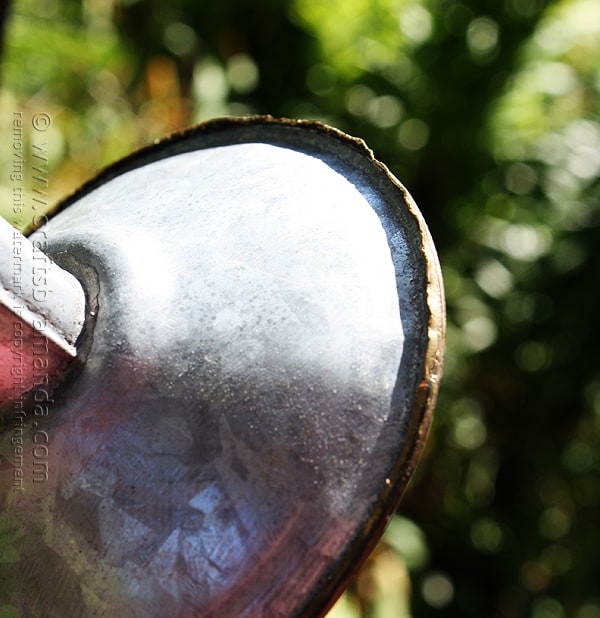
To make the watering can
- Watering tin can
- Crystal beads
- Thin floral wire
- Micro pliers
- Any type of bead (only 1 bead)
First, Debra removed the rim from the spout. Work slowly as it may be tight depending on the age of your can.
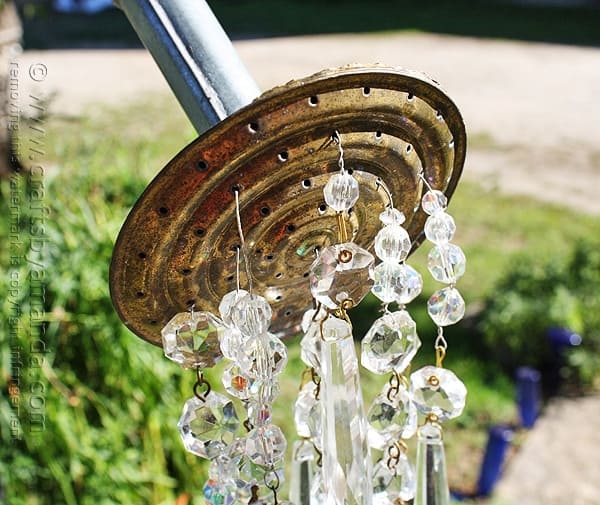
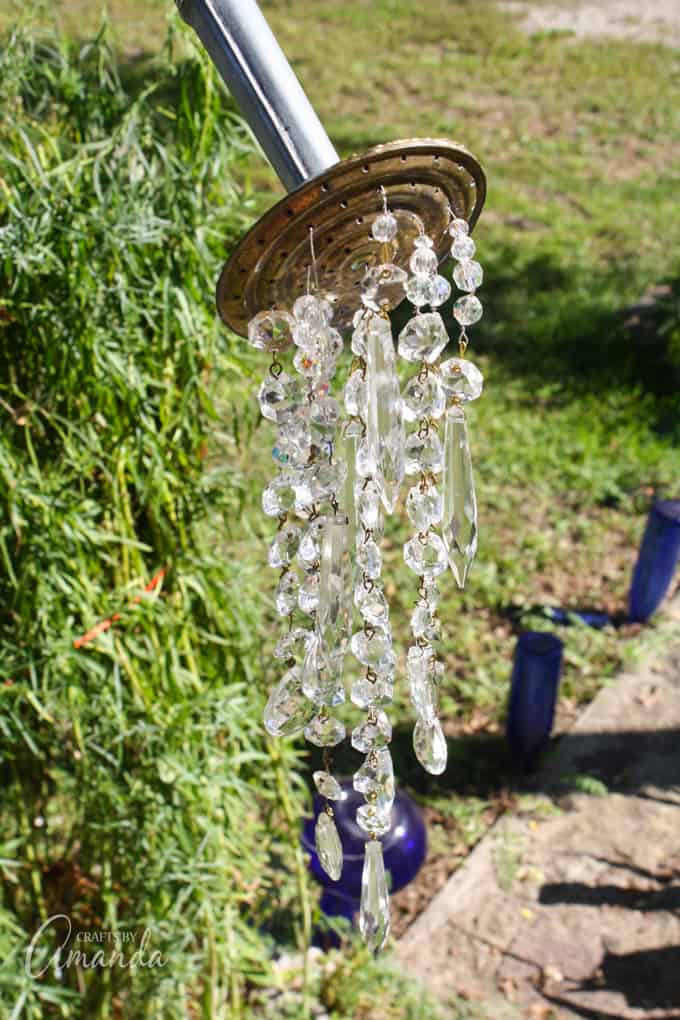
As you can see from the close-up, she strung crystals onto a piece of wire and threads the ends into the spout holes. From the inside of the spout, run a bead (any kind of bead as it won’t be visible) onto the wire and twist and wrap to hold the wire inside the spout. Then simply reattach the rim of the spout head to the can by crimping the edges with pliers.
Debra found her can at a garage sale for $1.00 and the crystals were given to her by a friend. You can find crystals on Amazon like these crystals.
Pretty awesome stuff. Debra’s pretty awesome too :) I just love how beautiful her garden and all her decor is! She is one crafty and creative lady! You may want to check out my Ladybug Painted Rocks that look oh so adorable sitting in a flower bed! Or you may also like How to Start a Fairy Garden as well!
Debra got her watering can from a garage sale. If you can’t find one, you can get one on Amazon

.
More DIY Garden Decor Ideas
- Recycled Key Garden Markers
- Ladybug Painted Rocks
- Cheese Grater Owl
- Beaded Decorative Garden Stakes
- Mason Jar Bird Feeder
A Watering Can That Pours Crystals
You can make this beautiful pouring watering can for your garden or your. Position over your flowers for a stunning display!
Age Group: Adult Crafts
Project Type: Crafts
Author: Amanda Formaro
Supplies
- Watering Can
- Crystals chandelier, craft, acrylic, any type
- Floral Wire
- Micro Pliers
- Any type of bead 1
Instructions
Remove the rim from the spout. Work slowly as it may be tight depending on the age of your can.
String crystals onto a piece of wire and thread the ends into the spout holes.
From the inside of the spout, run a bead as it won’t be visible, onto the wire and twist and wrap to hold the wire inside the spout. Then simply reattach the rim of the spout head to the can by crimping the edges with pliers.
This post was originally published on this blog on September 26, 2013.
Amanda Davis is the crafty, entrepreneurial mother of four children. She loves to bake, cook, make kid's crafts and create decorative items for her home. She is a crafting expert and guru in the kitchen and has appeared online and in print publications many times over the years.
Latest posts by Amanda Davis (see all)








 English (US) ·