
.jpg)
 1 day ago
9
1 day ago
9
PROTECT YOUR DNA WITH QUANTUM TECHNOLOGY
Orgo-Life the new way to the future Advertising by AdpathwayAuthor by Jane and Sonja on September 15, 2026 Updated on September 15, 2026
Turn ordinary rocks and pebbles from your yard into darling art you can give as a gift or display on your home.
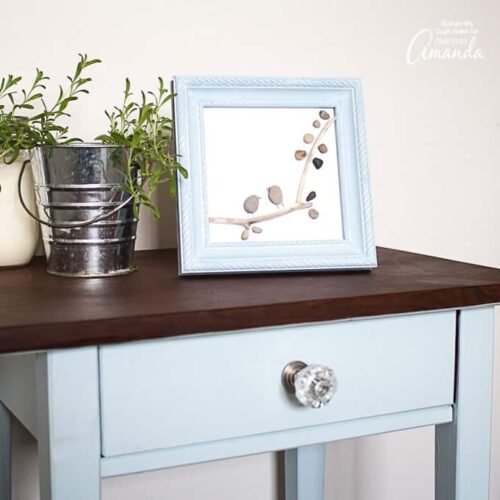
Rock crafts are all the rage right now, especially painted rocks. But today we’re going to show you how to recreate these two birds on a branch pebble art using some small stones and a twig you can easily find in your backyard.
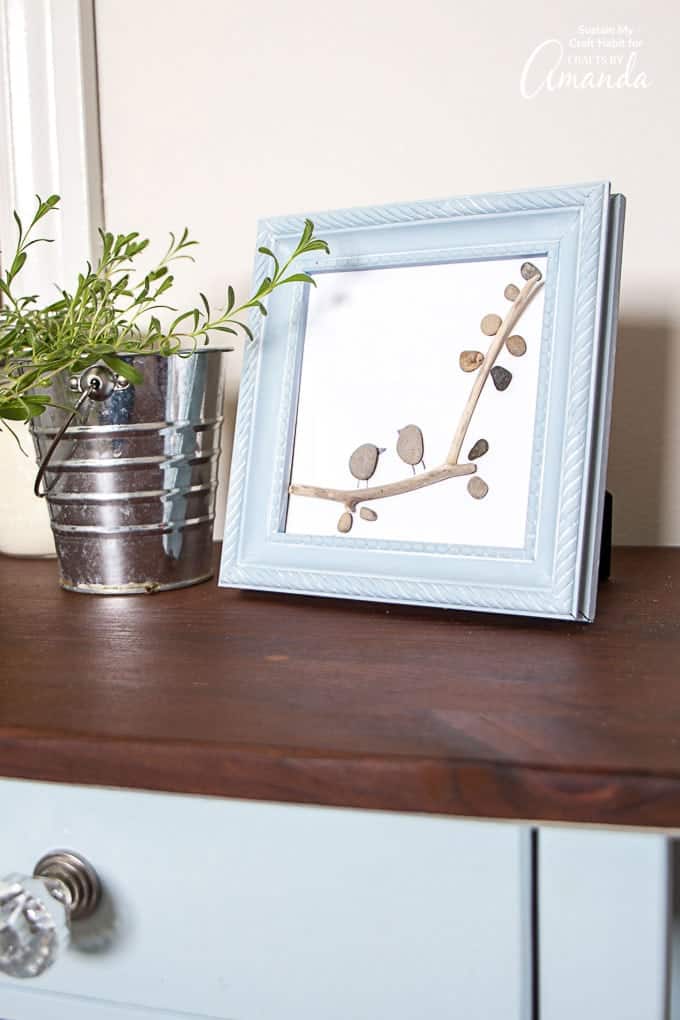
DIY Pebble Art
The creativity with this pebble art project is endless, it’s the up and coming art craft everyone’s going to want to make! When you’re done, be sure to check out our painted twig wall letter project as well!
In all the years I’ve lived in Southern Ontario, Canada, this past weekend was the first time I’d seen two striking cedar waxwing birds chirping while they perched in a neighbor’s oak tree. It brought about a bird-watching frenzy as we all diligently began searching the web for the name of these never before seen red tip winged, yellow tailed beauties. This DIY pebble art captures the excitement we all shared with the discovery.
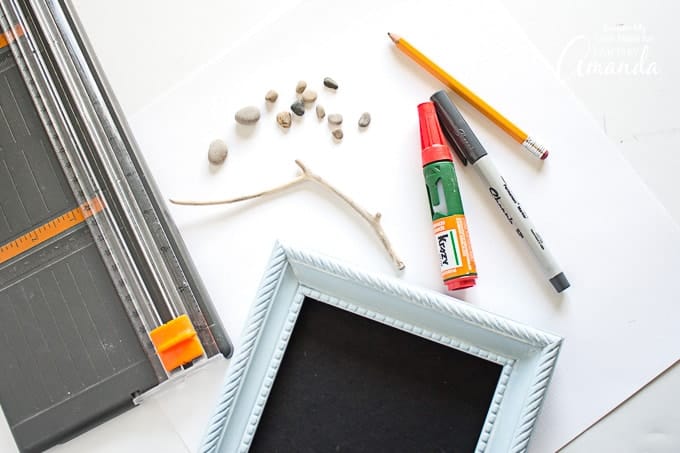
Materials Needed
- Pebbles – assorted sizes and shapes (x2 pebbles approx. ½” high x ½” wide and remaining smaller pebbles ⅛” to ¼”)
- Twig
- Picture Frame (glass removed)
- White cardstock
- Pencil and eraser
- Fine Tip Sharpie, black
- Krazy Glue, gloves
- Paper cutter or ruler and scissors
How to Make DIY Pebble Art
Find the full printable instructions and materials list at the end of this post.
Cut cardstock to size.
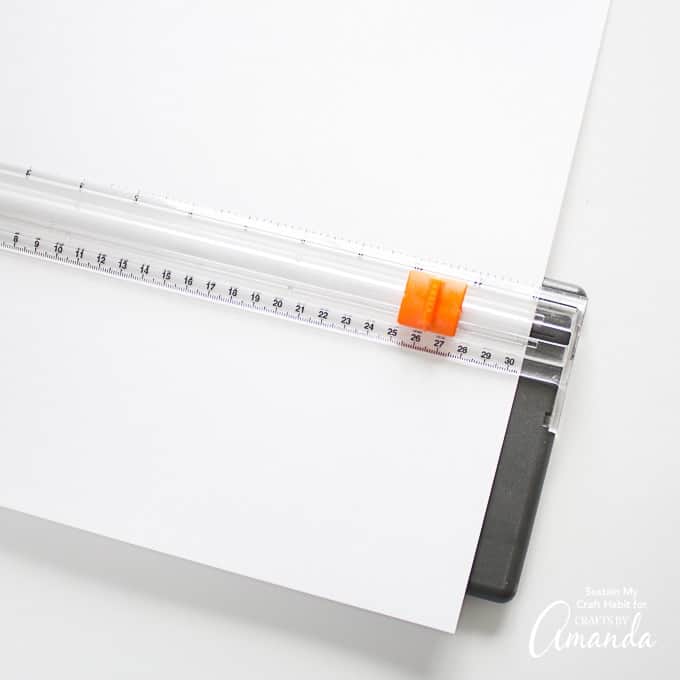
Temporarily lay your pieces on the paper to play around with the placement before gluing.
Place the twig onto the paper as desired.
Begin to place the smaller sized pebbles along the edges of the twig to resemble leaves.
Place the larger sized pebbles along the twig to resemble birds perching.
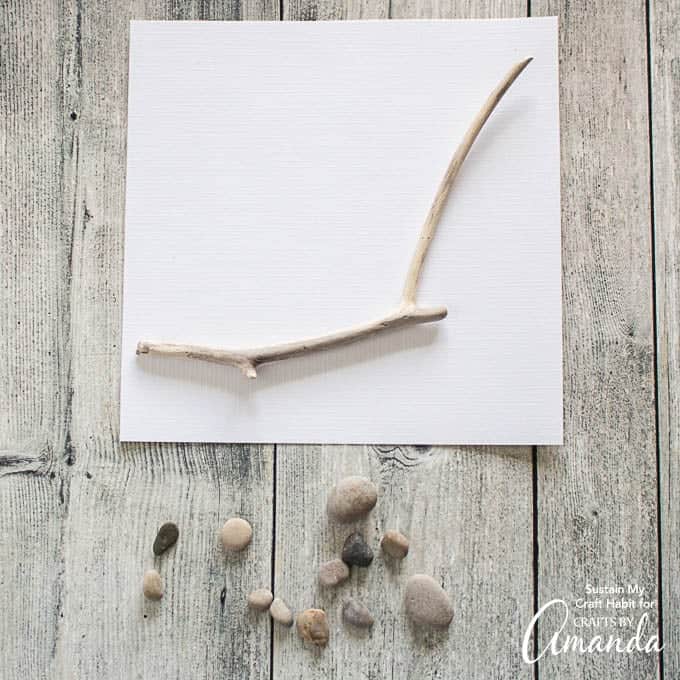
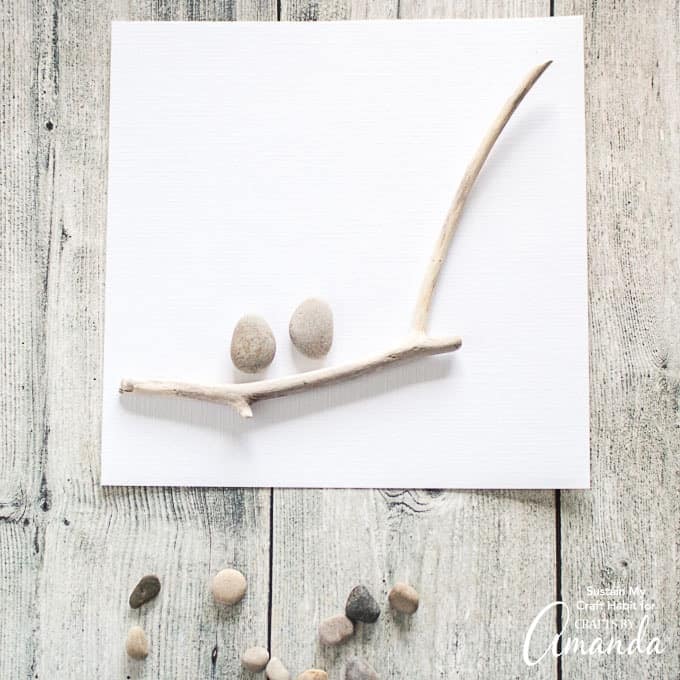
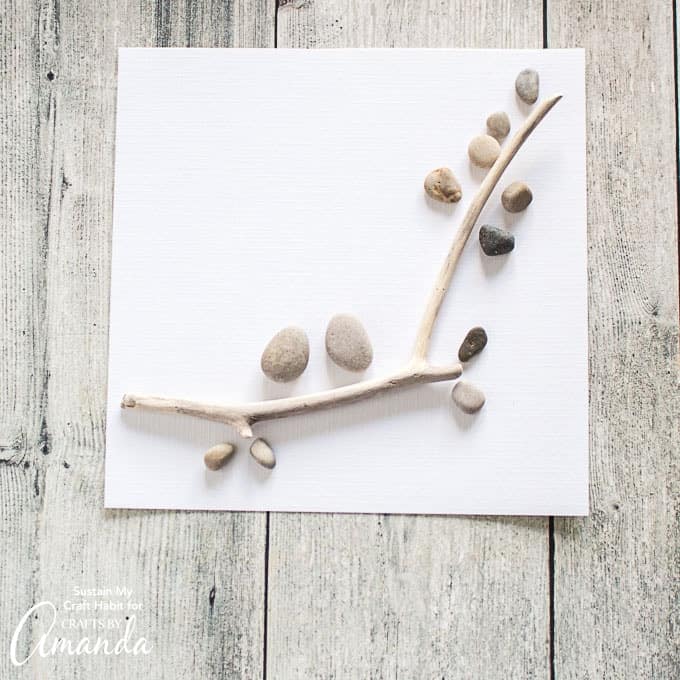
Lift one larger pebble at a time and using a pencil, faintly draw the bird beaks and the bird feet. Replace the larger pebble on top.
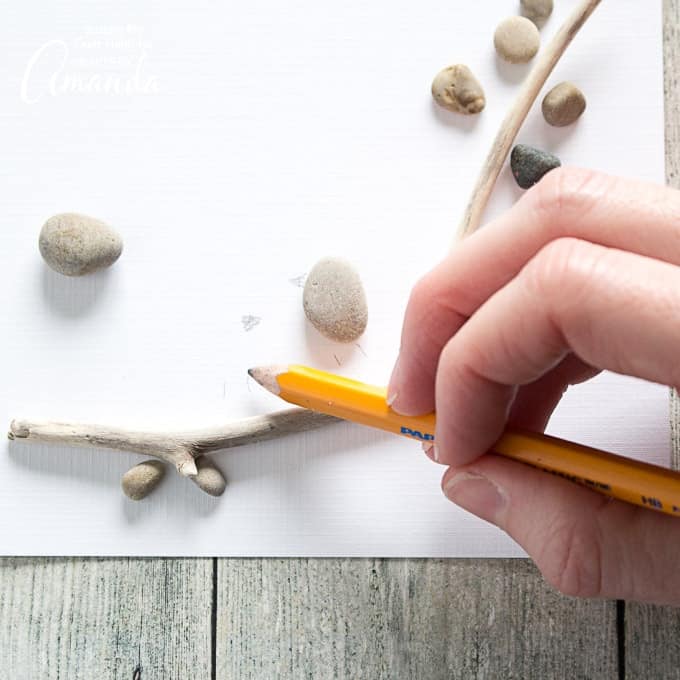
Repeat with the second larger pebble.
If you’re happy with the drawing, trace over top of the pencil markings with a fine tip black sharpie.
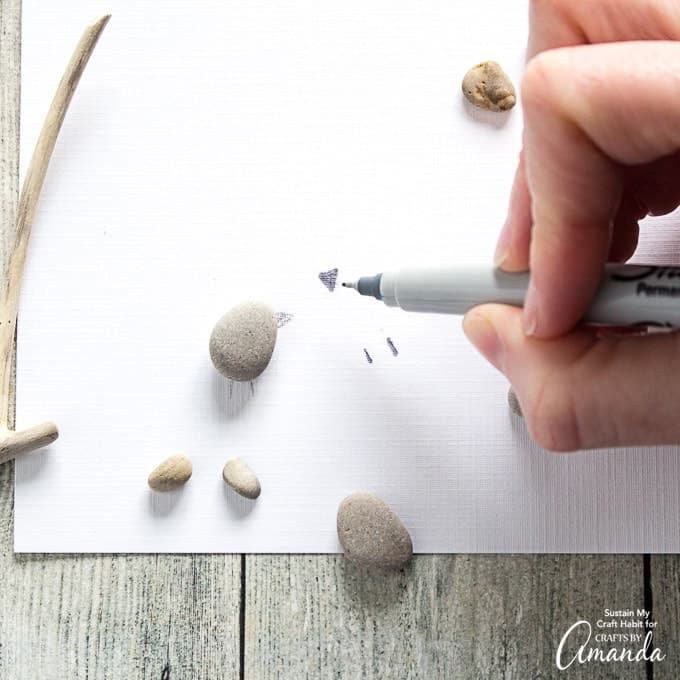
Let it dry and erase any visible pencil markings.
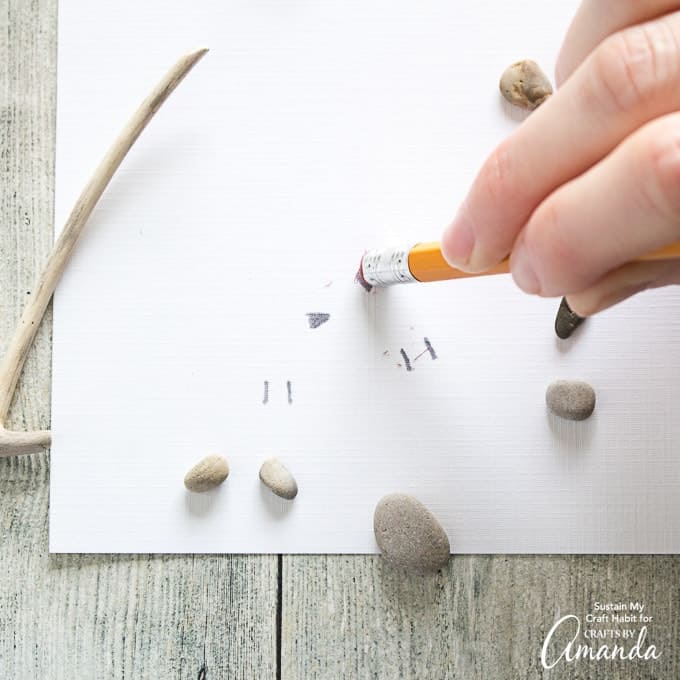
When you’re satisfied with the overall design, you can start to secure the pieces to the paper.
Using protective gloves, begin to dab Krazy Glue to the back side of the twig and press onto the paper. Hold for 10 seconds to secure in place.
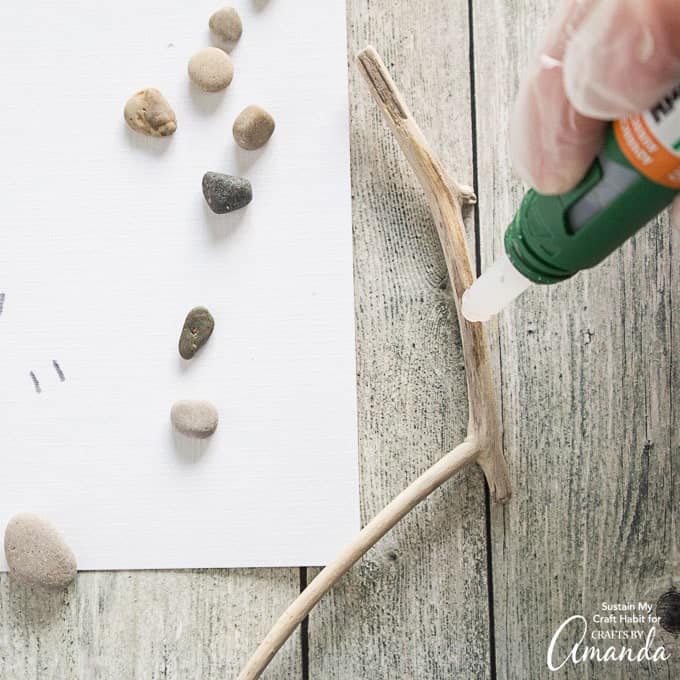
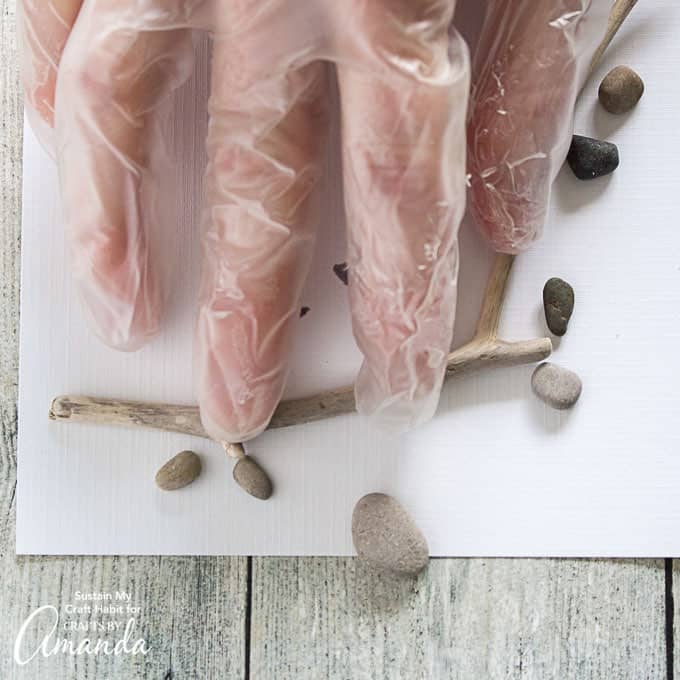
Repeat with each pebble. Hold in place on paper for 10 seconds before moving on to the next pebble.
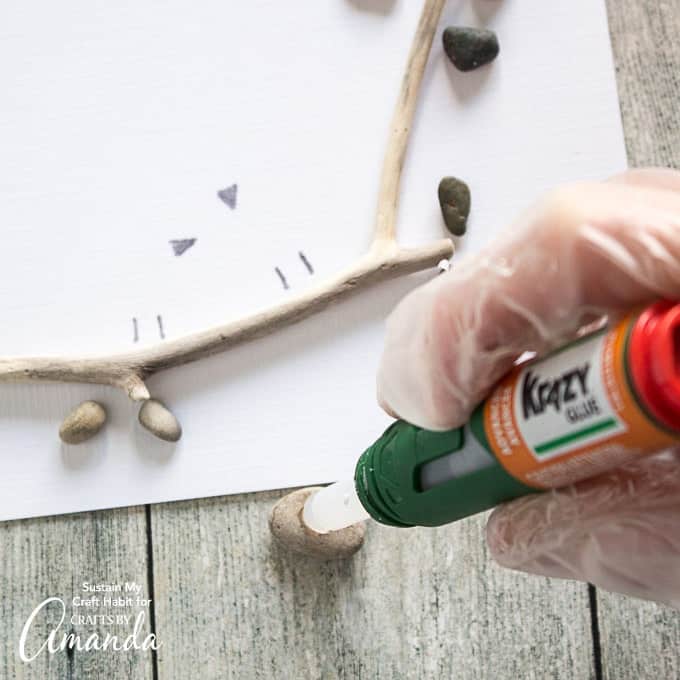
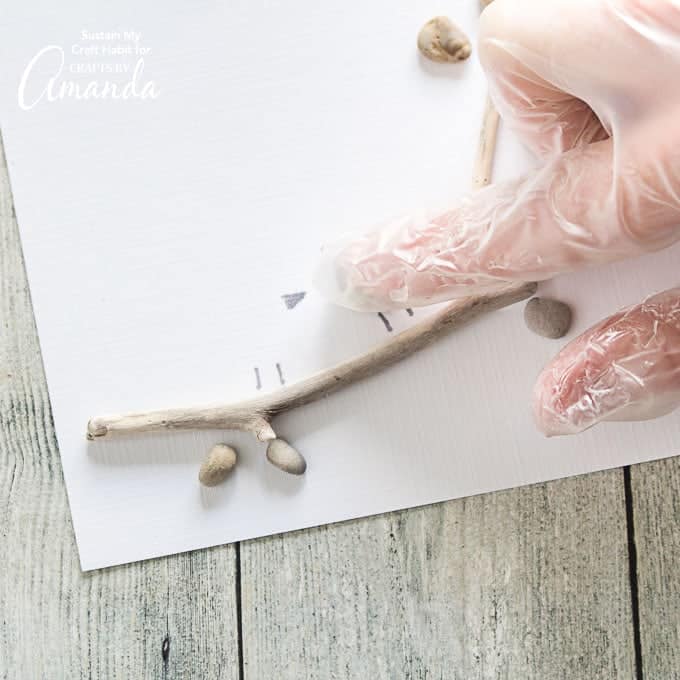
Leave it to fully set overnight.
Insert the pebble art into an open front picture frame without the glass insert.
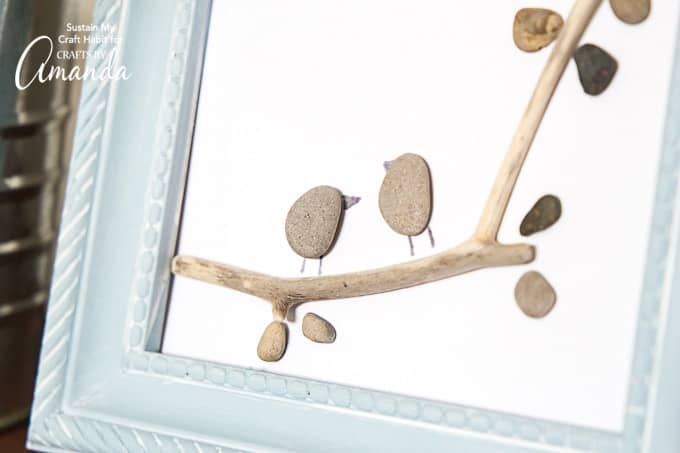
Check out more wall art projects below!
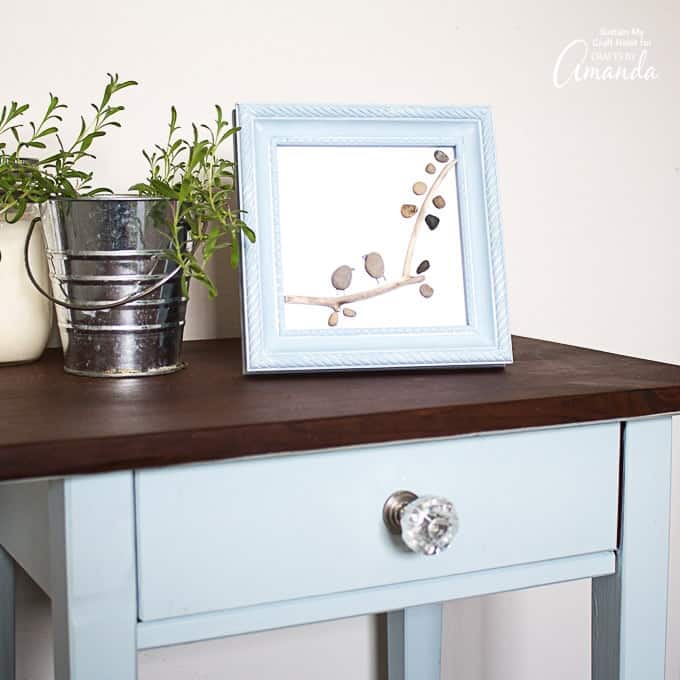
My sister Jane and I from Sustain My Craft Habit, have been collecting rocks and pebbles to craft with for quite some time. Whether it’s for a rock’n wall art, a rock’n tic-tac-toe game or one of many rock painting projects, such as this recent daisy painted rocks craft, the possibilities are really endless. Did you notice that beautiful blue painted picture frame, it’s the same Serene blue chalky paint we used to refinish an outdated bedroom dresser.
- Button Starfish Wall Art
- Driftwood Crab
- Four Seasons Button Tree
- Wisconsin State String Art
- Farmhouse Memo Board
DIY Pebble Art
Turn ordinary rocks and pebbles from your yard into darling art you can give as a gift or display on your home.
Author: Amanda Formaro
Supplies
- Pebbles
- Twig
- Krazy Glue
- Pencil
- Fine tip marker
- Cardstock paper
- Picture Frame
Instructions
Collect needed materials.
Position pebbles and twig on cardstock in desired location.
Using a pencil, faintly draw the beaks and legs of the birds.
Trace over with a fine tip marker.
Erase pencil markings.
Securely glue each pebble and twig in place.
Place inside a frame with the glass removed.
This post originally appeared here on Jun 25, 2018.
Jane and Sonja are sisters, moms and lifelong craft addicts both living near Toronto, Canada with their families. They share their love of creativity, nature and coastal craft and DIY ideas on their blog Sustain My Craft Habit.
Latest posts by Jane and Sonja (see all)
Reader Interactions
Free CraftsBy email every week
Latest crafts straight to your inbox!









 English (US) ·