
.jpg)
 2 months ago
67
2 months ago
67
PROTECT YOUR DNA WITH QUANTUM TECHNOLOGY
Orgo-Life the new way to the future Advertising by AdpathwayAuthor by Ann Kollegger on May 5, 2026 Updated on May 5, 2026
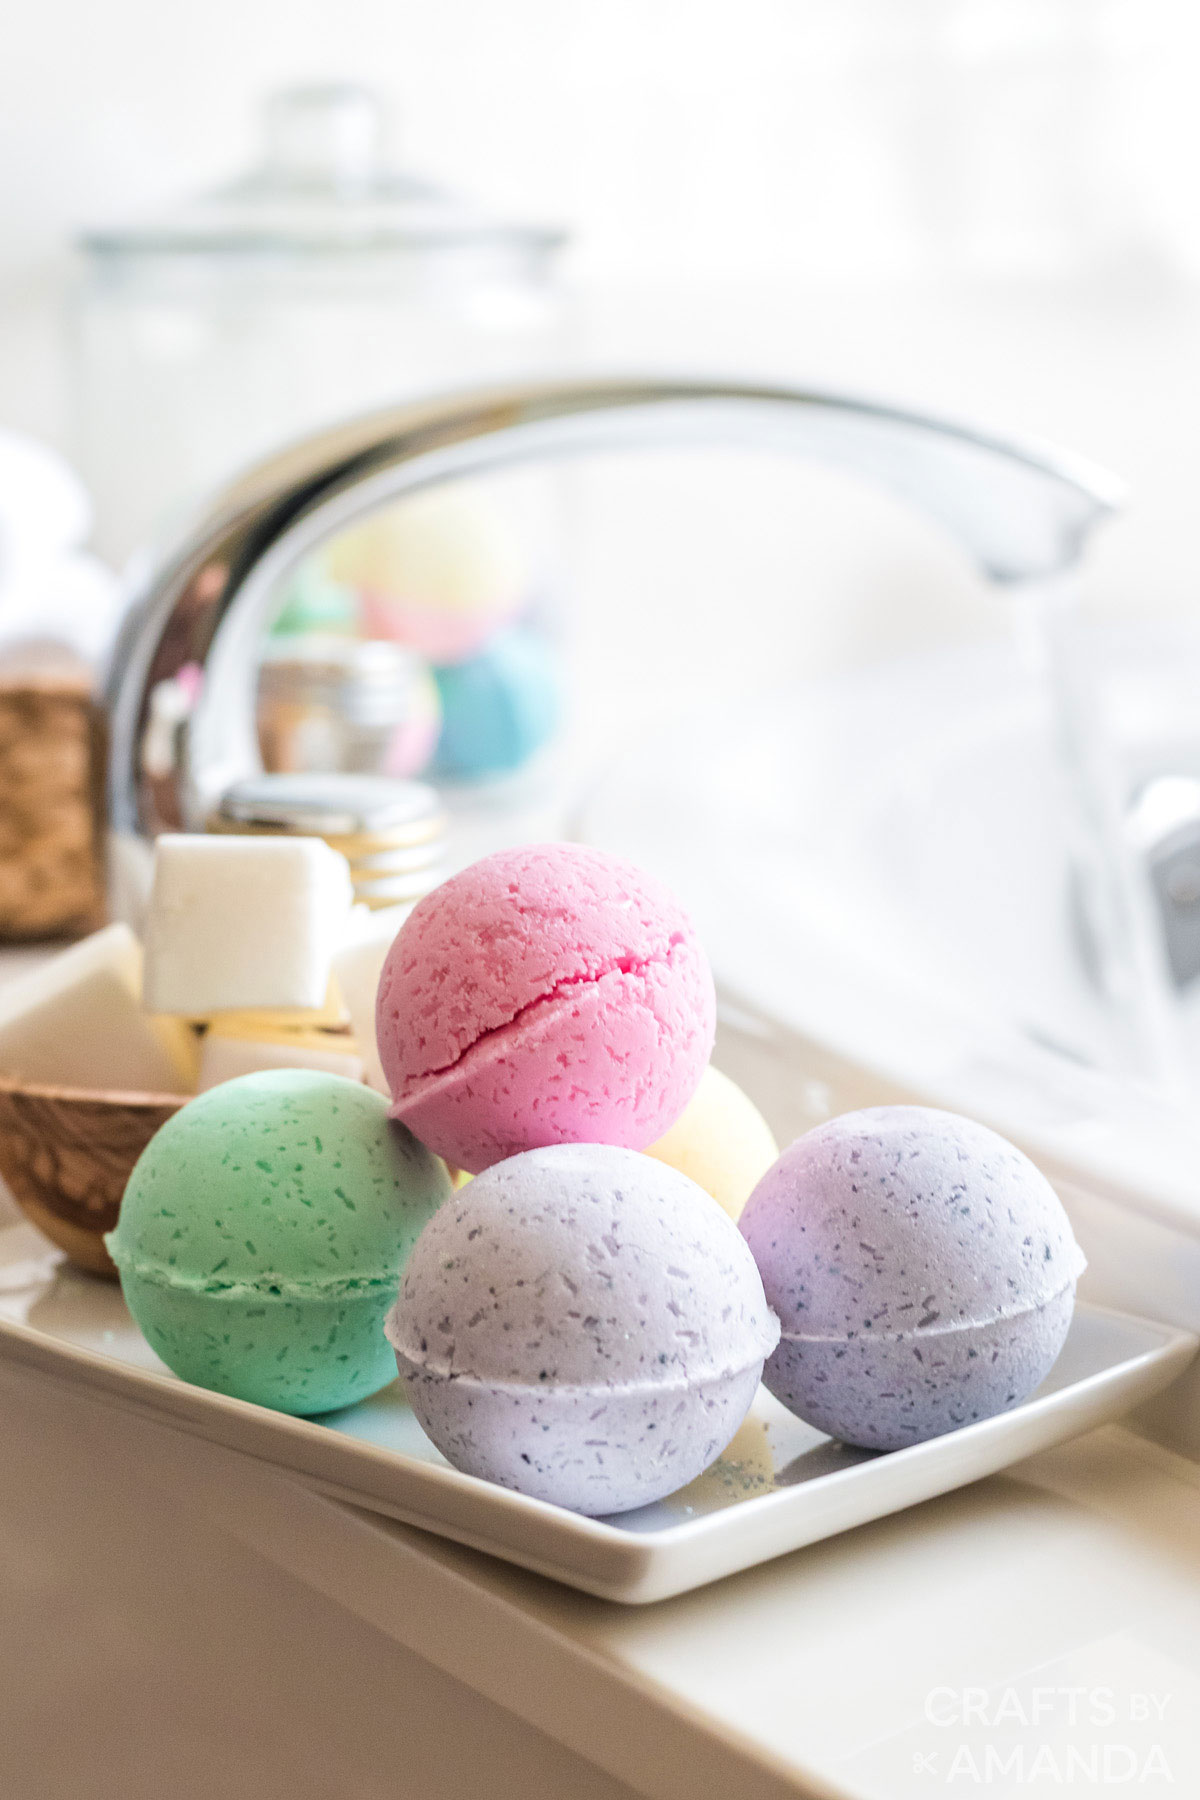
Learn how to make bath bombs at home. Homemade bath bombs are easy to make and are great for DIY gift giving.
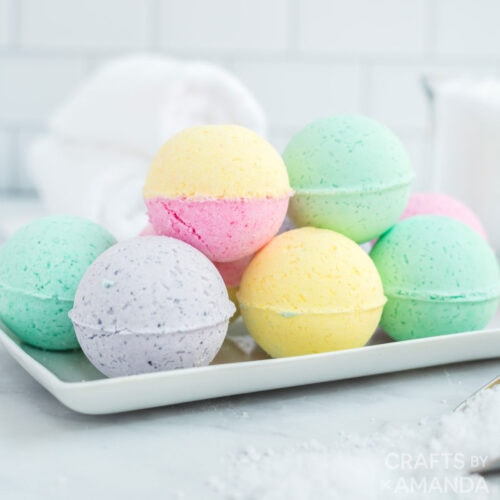
Homemade bath bombs are fun and easy to make! You can add options like dried flowers or herbs, essential oils, and colors to really customize your bath bombs.
Why this project is so fun
This is a pretty easy project for young kids with some supervision. Spark their imagination by letting them help measure and mix, fill the molds, and decide on colors and fragrance.
It’s a perfect project for tweens and teens to create on their own, or for adults to make as gifts for the holidays or birthdays!
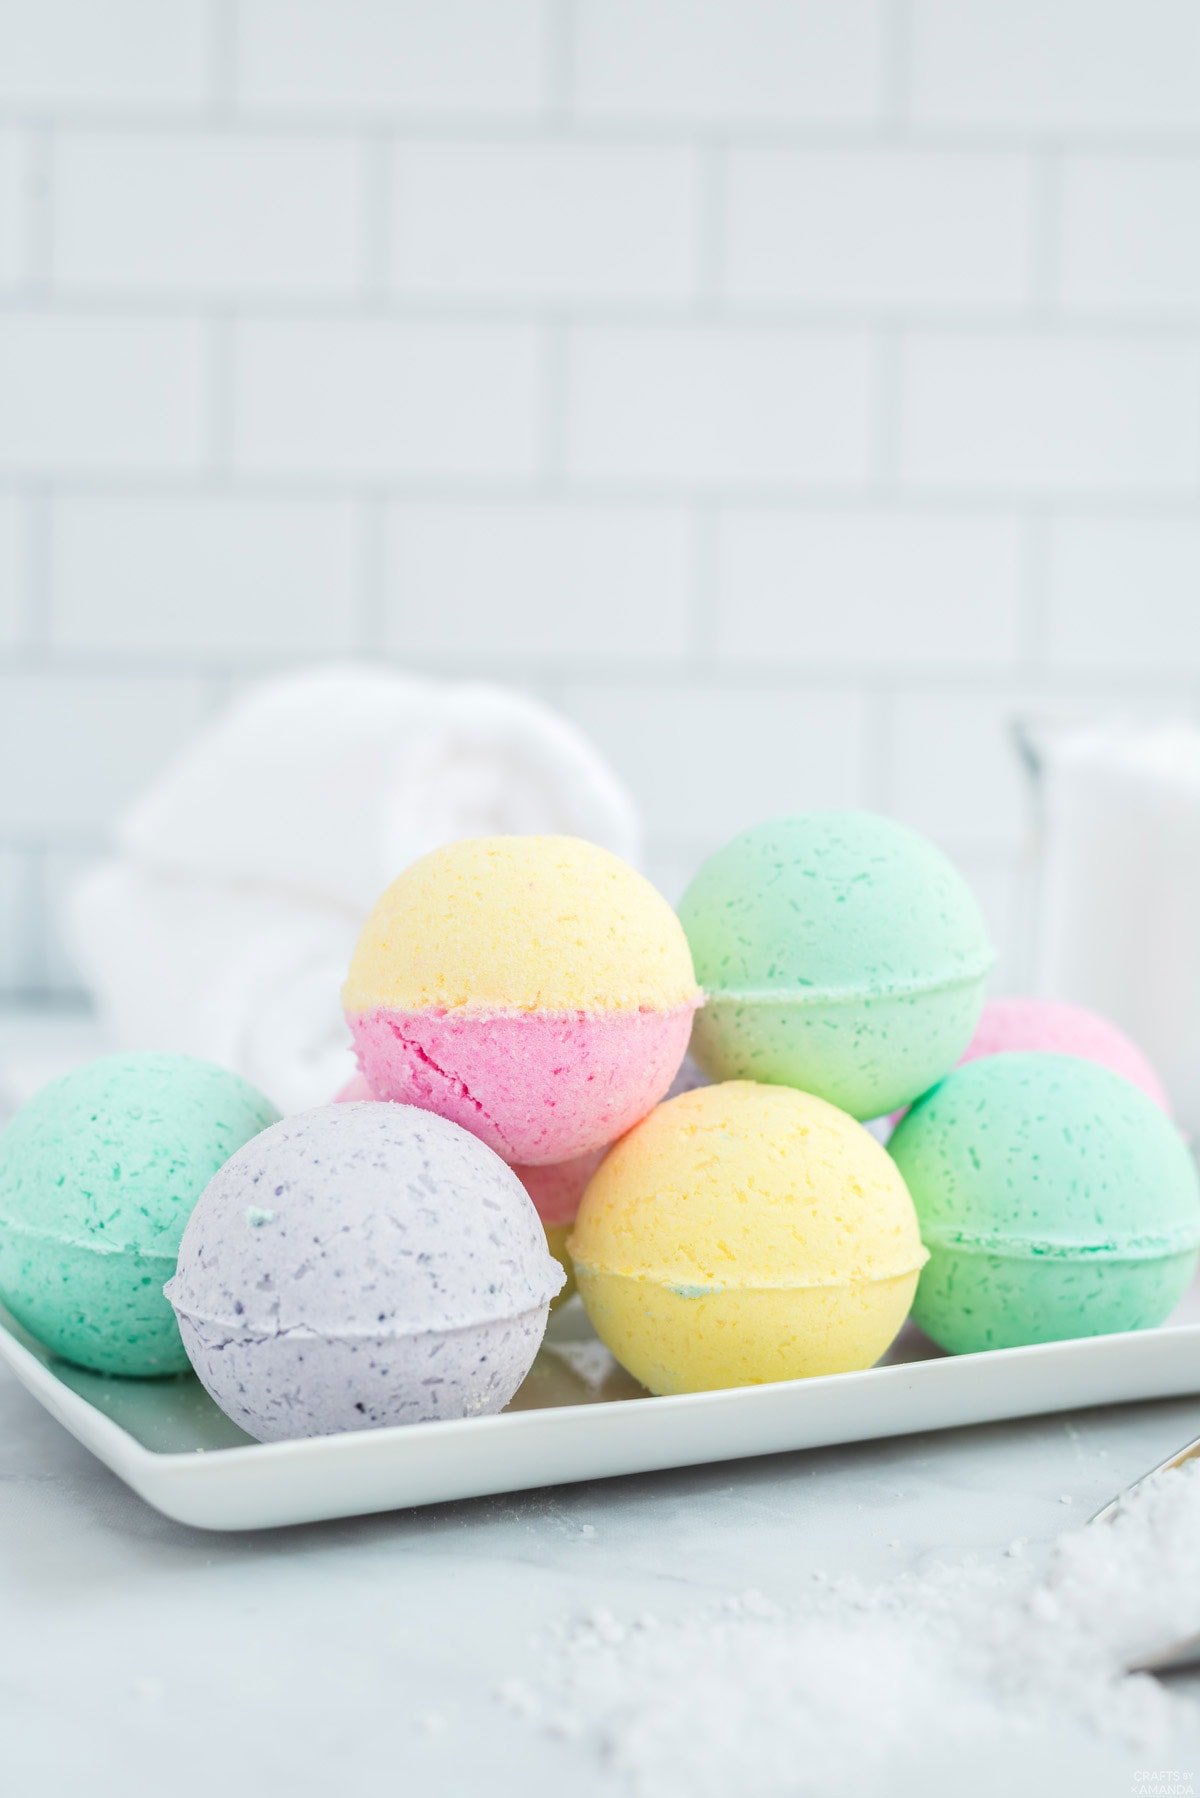
Basically, you can add in whatever extra flair you’d like to these bath bombs. When they are done, add 1 (or 2 depending on the size of the bath bombs) to a warm bath and sit back and relax, or make a batch to give as gifts. Pair them with some Orange Bath Salts or Peppermint Bath Salts for an extra relaxing gift.
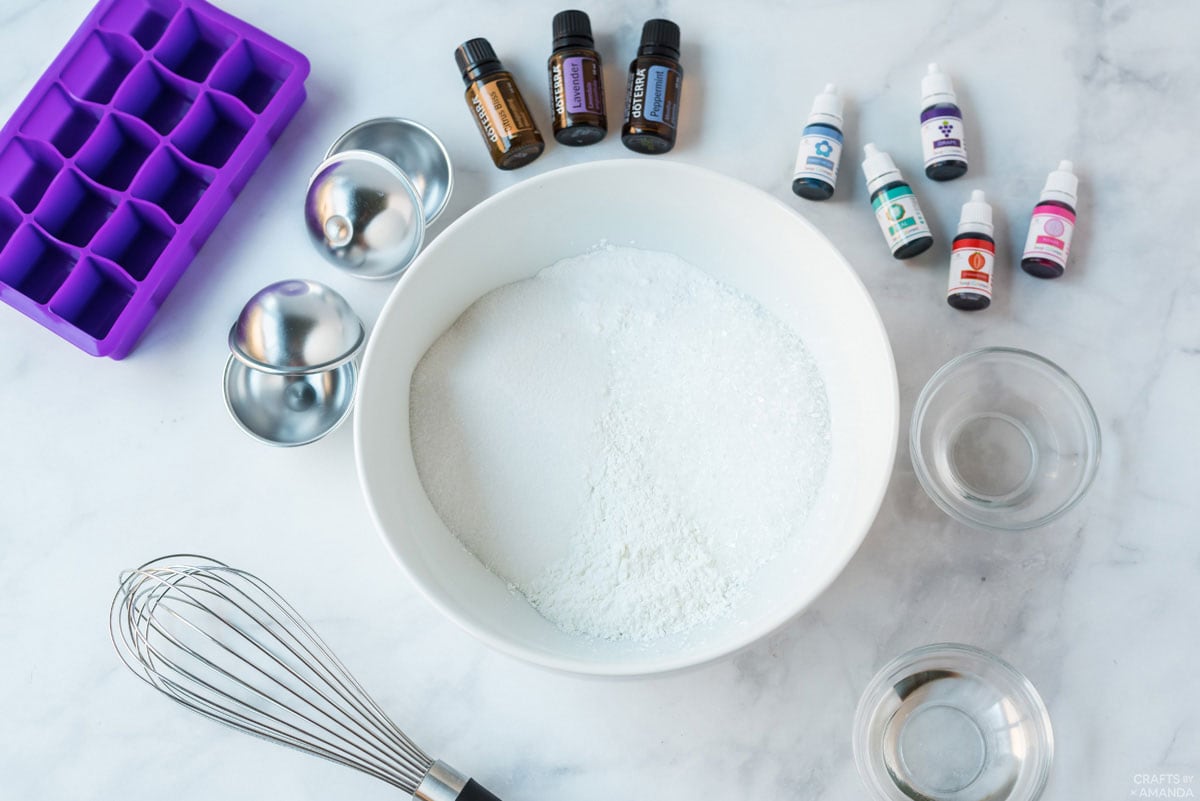
Supplies You Will Need:
Note: These ingredients make enough for 3-4 round bath bombs or 12-14 smaller squares.
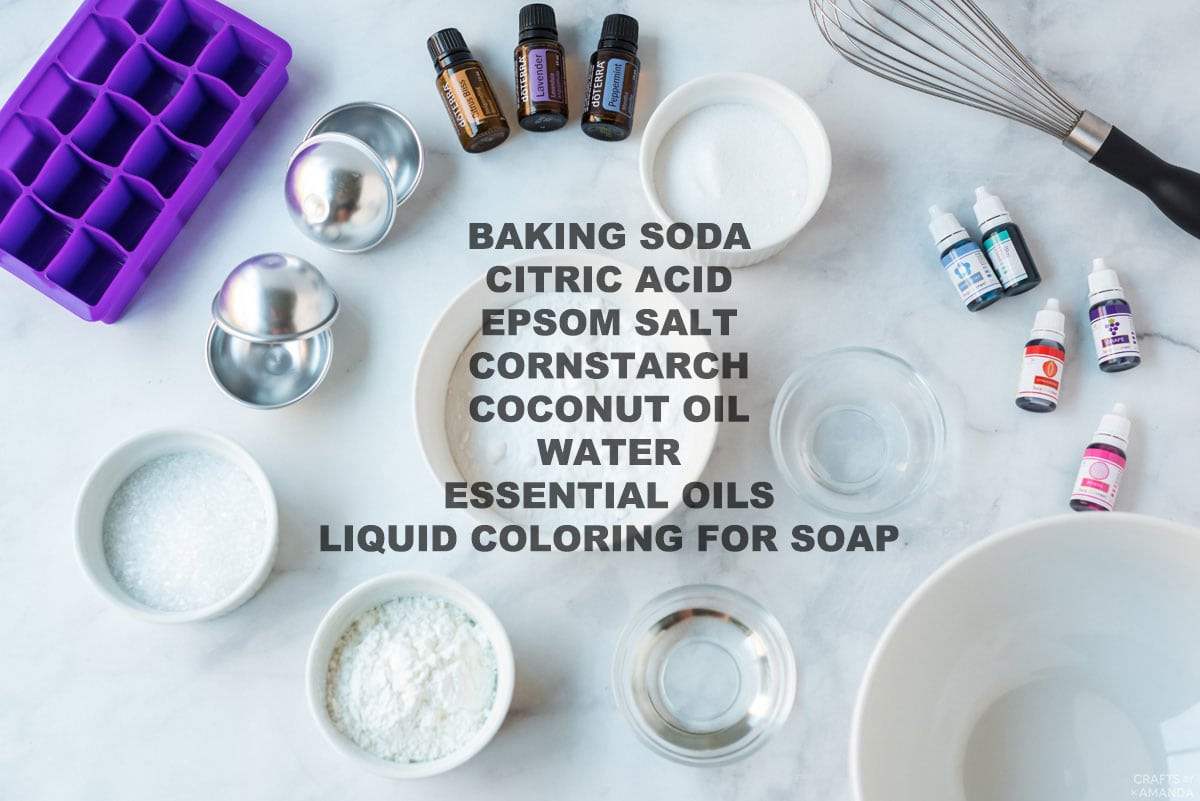 Get full list of supplies and directions in the printable version at the end of this post.
Craft Information
- Age level: 5 and up
- Mess factor: medium
- Time to complete: 30 minutes plus dry time
- Cost estimate: 50 cents each depending on size
How to Make Bath Bombs
These step by step photos and instructions are here to help you visualize how to make this project. Please scroll down to simply print out the instructions!
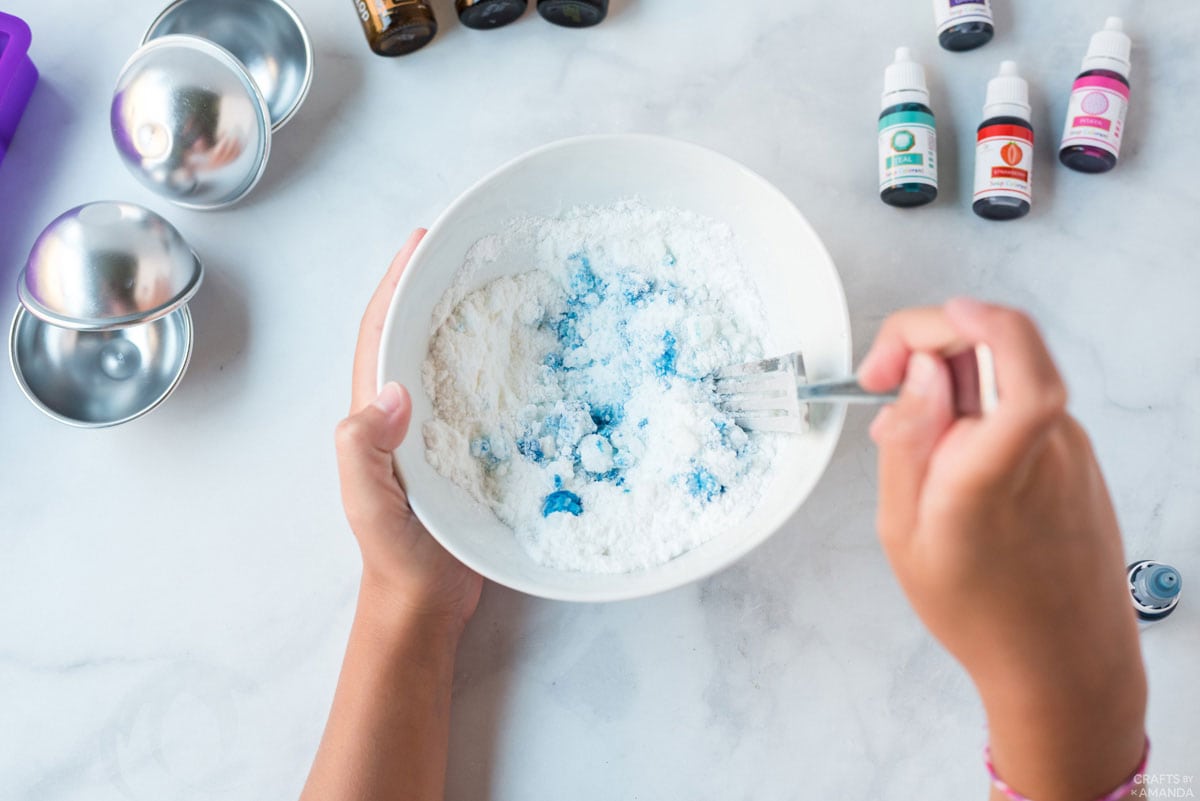
- Combine the baking soda, citric acid, Epsom salt, and cornstarch together in a medium-size bowl. Use a whisk or fork to stir together and remove any lumps. If adding dried flowers or herbs, add them in this step.

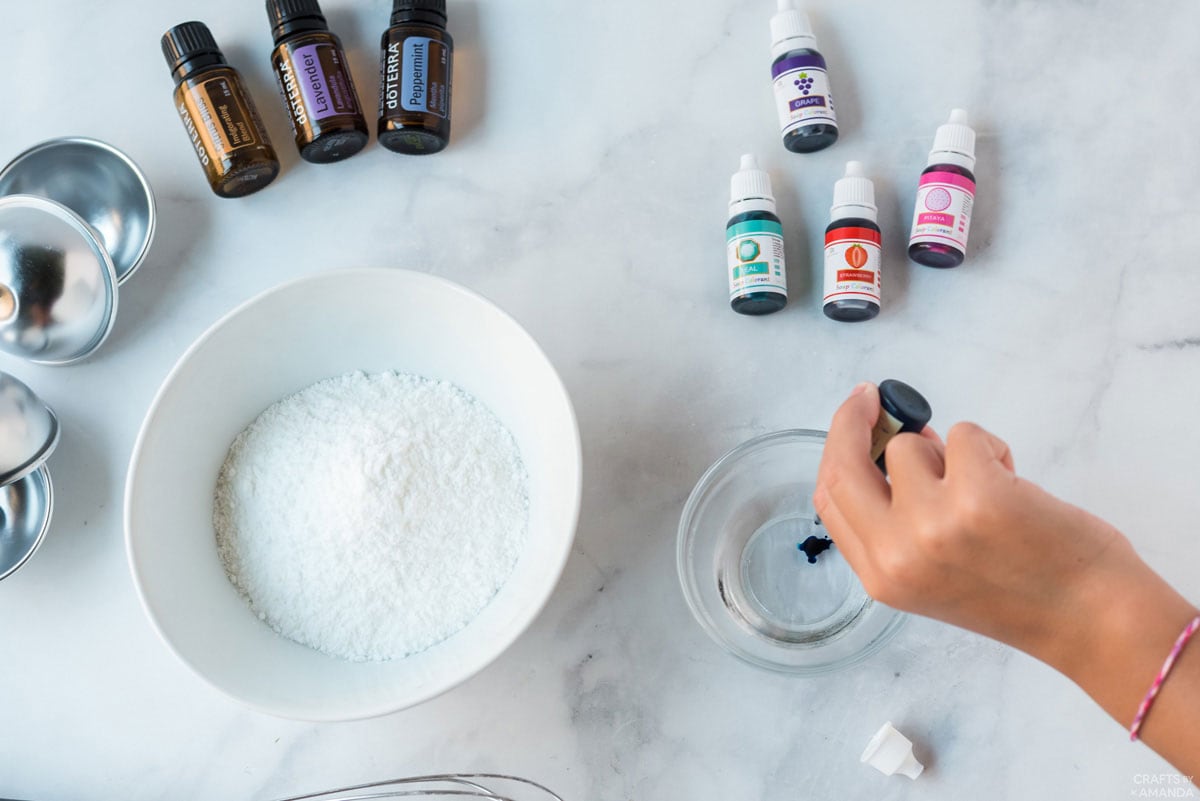
- In a small glass jar or bowl, stir together melted coconut oil and water.
- If coloring your bath bombs, add 1-2 drops of soap coloring to the wet ingredients and stir.
- If adding essential oils, add 8-15 drops during this step.
- Slowly (and I mean slowly!) pour the wet mixture in with the dry mixture, whisking as you go. If you see the mixture fizz or foam, you may be adding the liquid too quickly. Just slow down adding the wet mixture.
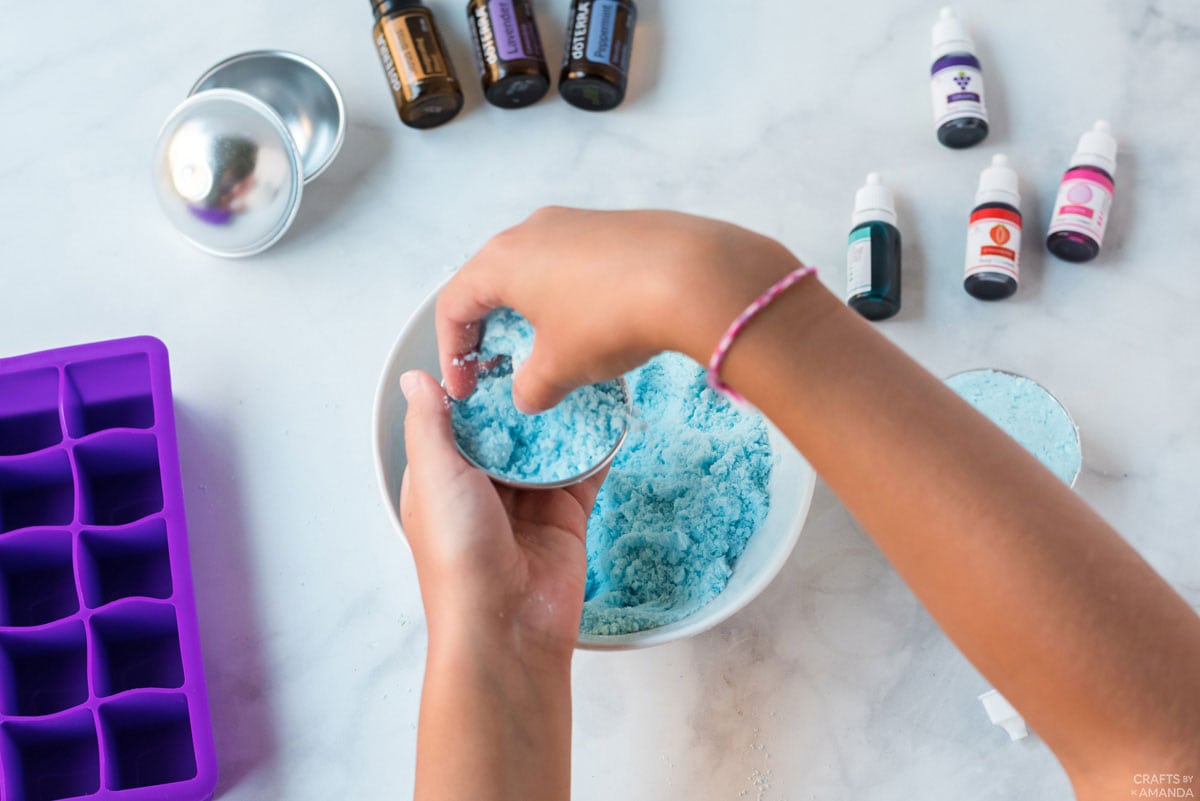
- Once the wet ingredients are combined with the dry, take a small amount in your hand and squeeze it together. It should stick together in maybe 1-2 pieces. If it’s still too powdery to hold together, just slowly add a tiny bit more water and try squeezing it again.
Molding With 2-Sided Molds
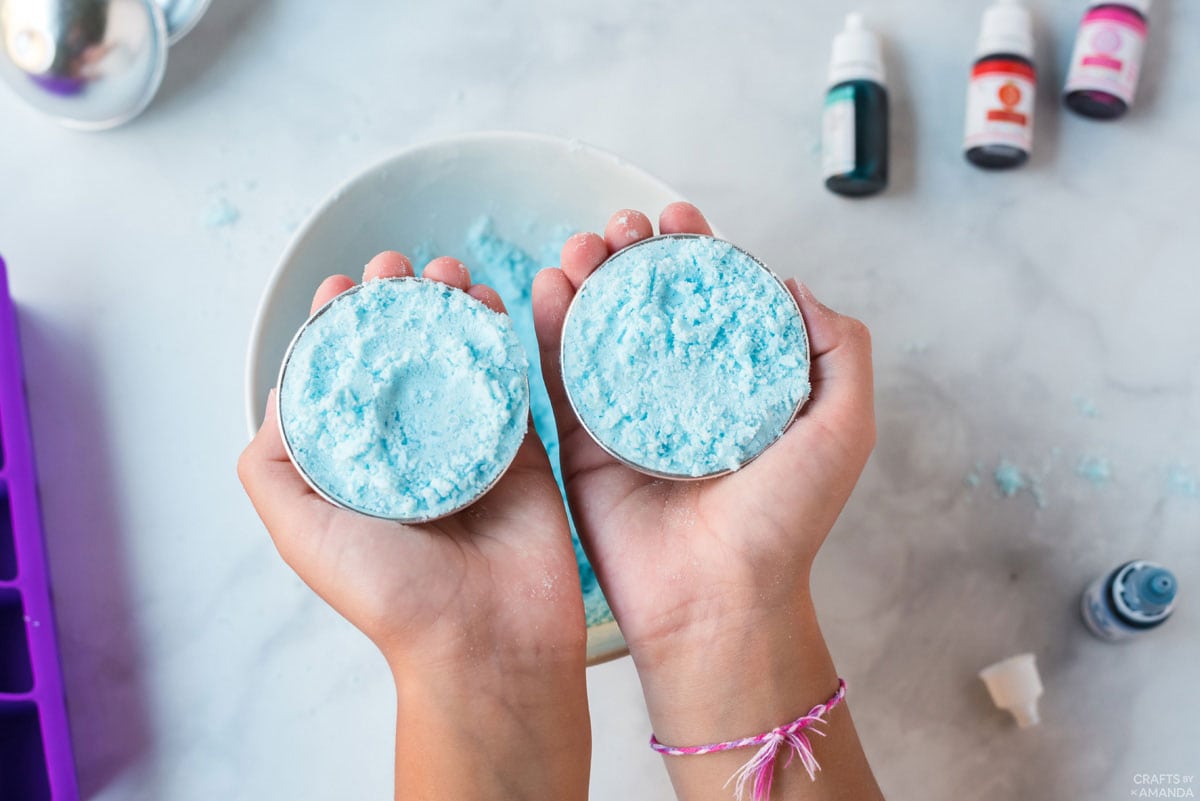
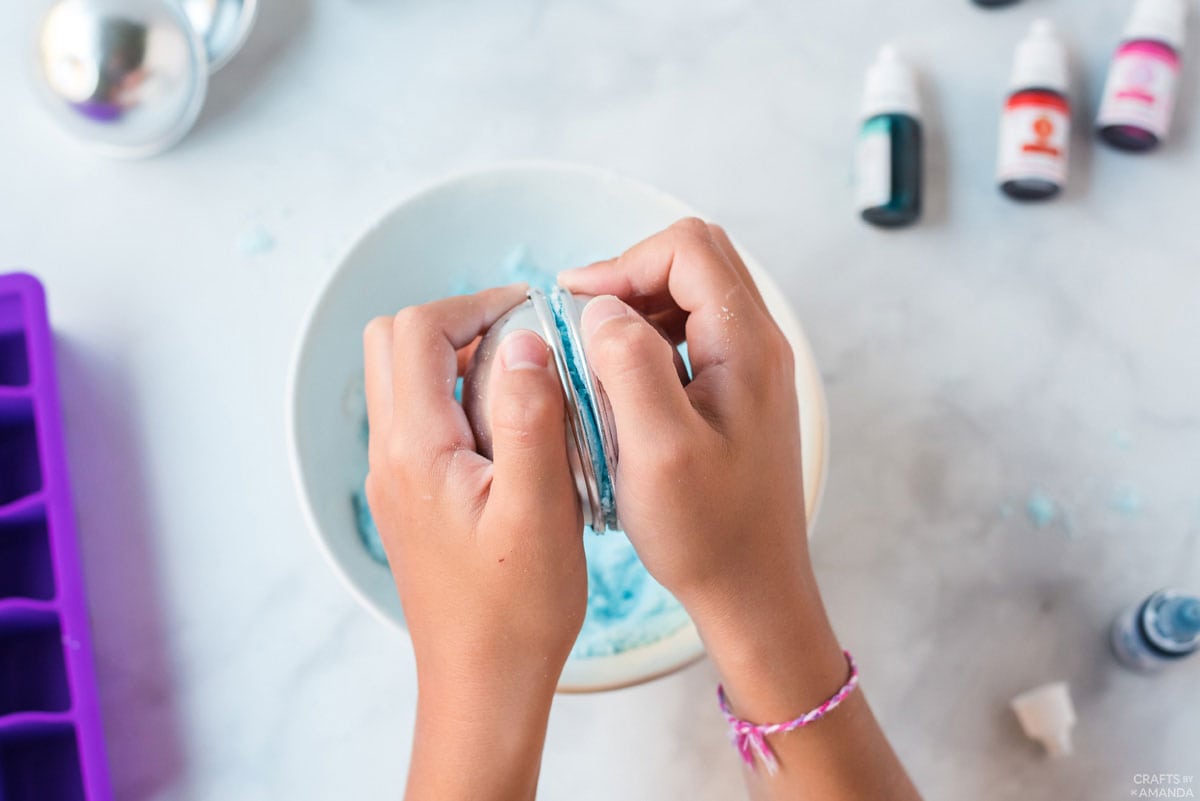
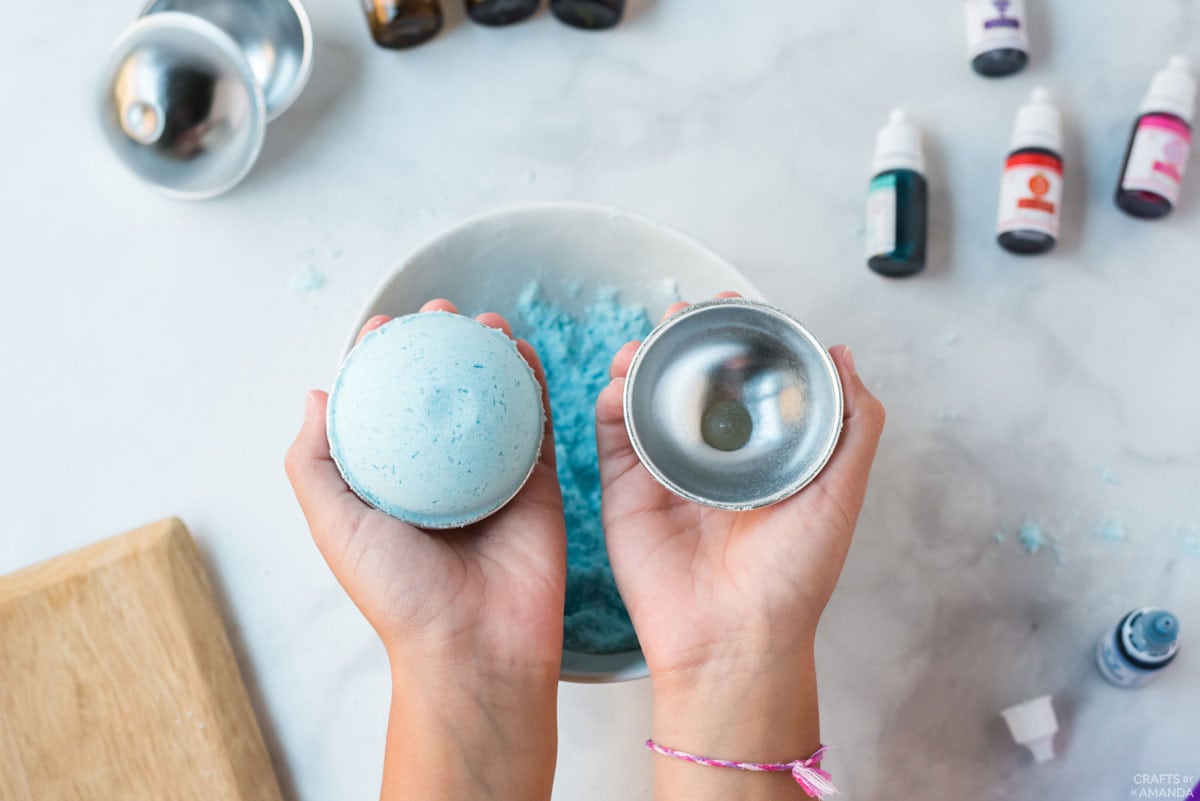
Tightly pack each half of your two-sided mold with the mixture until it’s just overflowing a little. Press the mold pieces together, then gently remove one side of the mold. Place the bath bomb on a tray and allow to dry out before removing the other side (about an hour). The key here is be gentle in the un-molding process!
Molding with Silicone Ice Cube Tray
Tightly pack the bomb mixture into the silicone ice cube tray slots, smooth and flatten the top. Let set for about 10 minutes and then carefully turn the tray over and un-mold the bath bombs onto a baking sheet with a gentle tap to the top of each shape. As mentioned above, the key is to be gentle in the un-molding process!
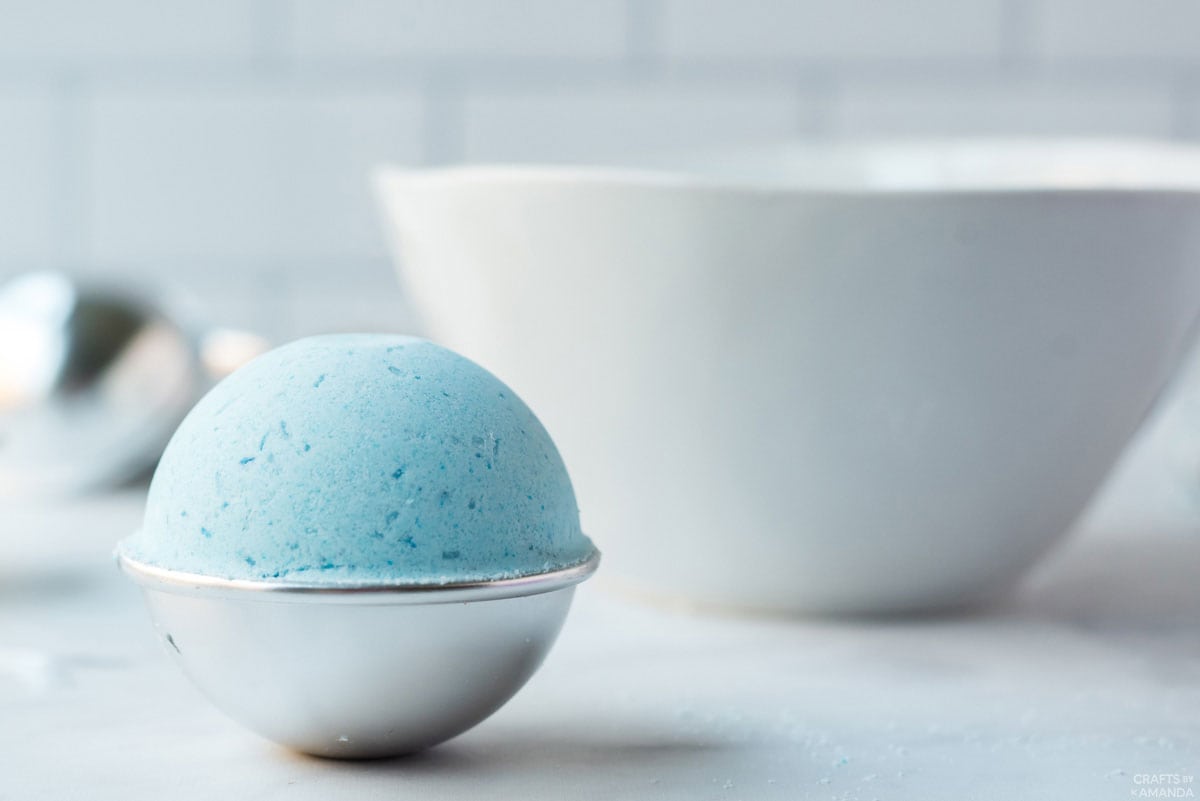
Once your bath bombs are un-molded and on a baking sheet, they should dry at least 8 hours or overnight.
Craft Tips
- For alternate bath bomb molds, you can use plastic fillable Easter eggs, a silicone ice cube tray, or take a look around your recycling bin! You want something that is a little flexible. Do not use plastic ice cube trays, as the bombs may break apart when removing.
- To make a bath bomb with 2 different colored sides: after step 2, split the wet and dry ingredients in half so you have 2 evenly measured bowls of dry and 2 evenly measured jars of wet ingredients. Add 1-2 drops of 1 color to 1 wet mixture and 1-2 drops of a different color to the 2nd wet mixture. Following step 4-5 below and then Fill 1 side of 2 piece mold with one color, and the other side gets the filled with 2nd color and then follow step 6 forward.
- In case a bath bomb cracks while removing it from a mold, go back to step 6 and start the molding process again. If needed, add a tiny bit of water to remix ingredients.
- If your Epsom salts already have a fragrance, you can skip adding the essential oils.
- If you are making as gifts, keep in mind that people may be sensitive or allergic to different ingredients.
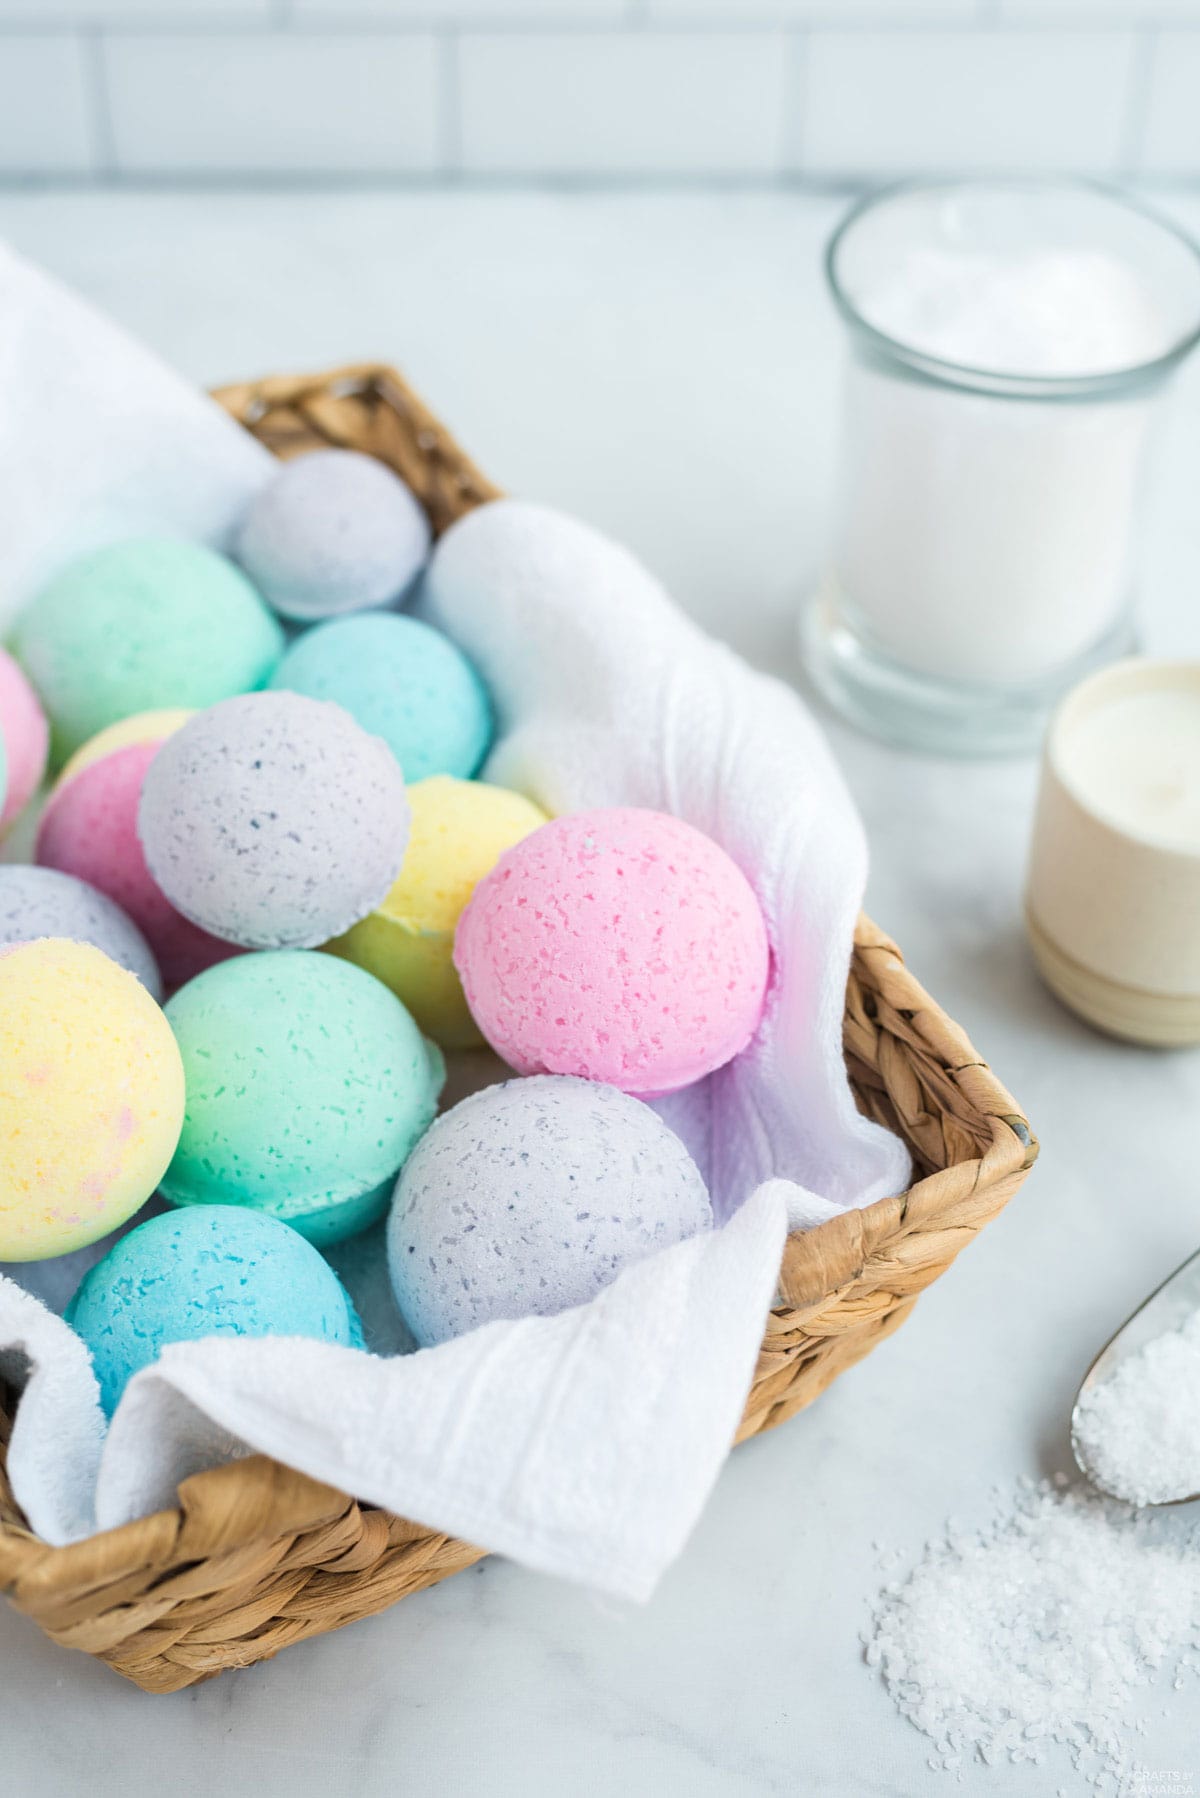
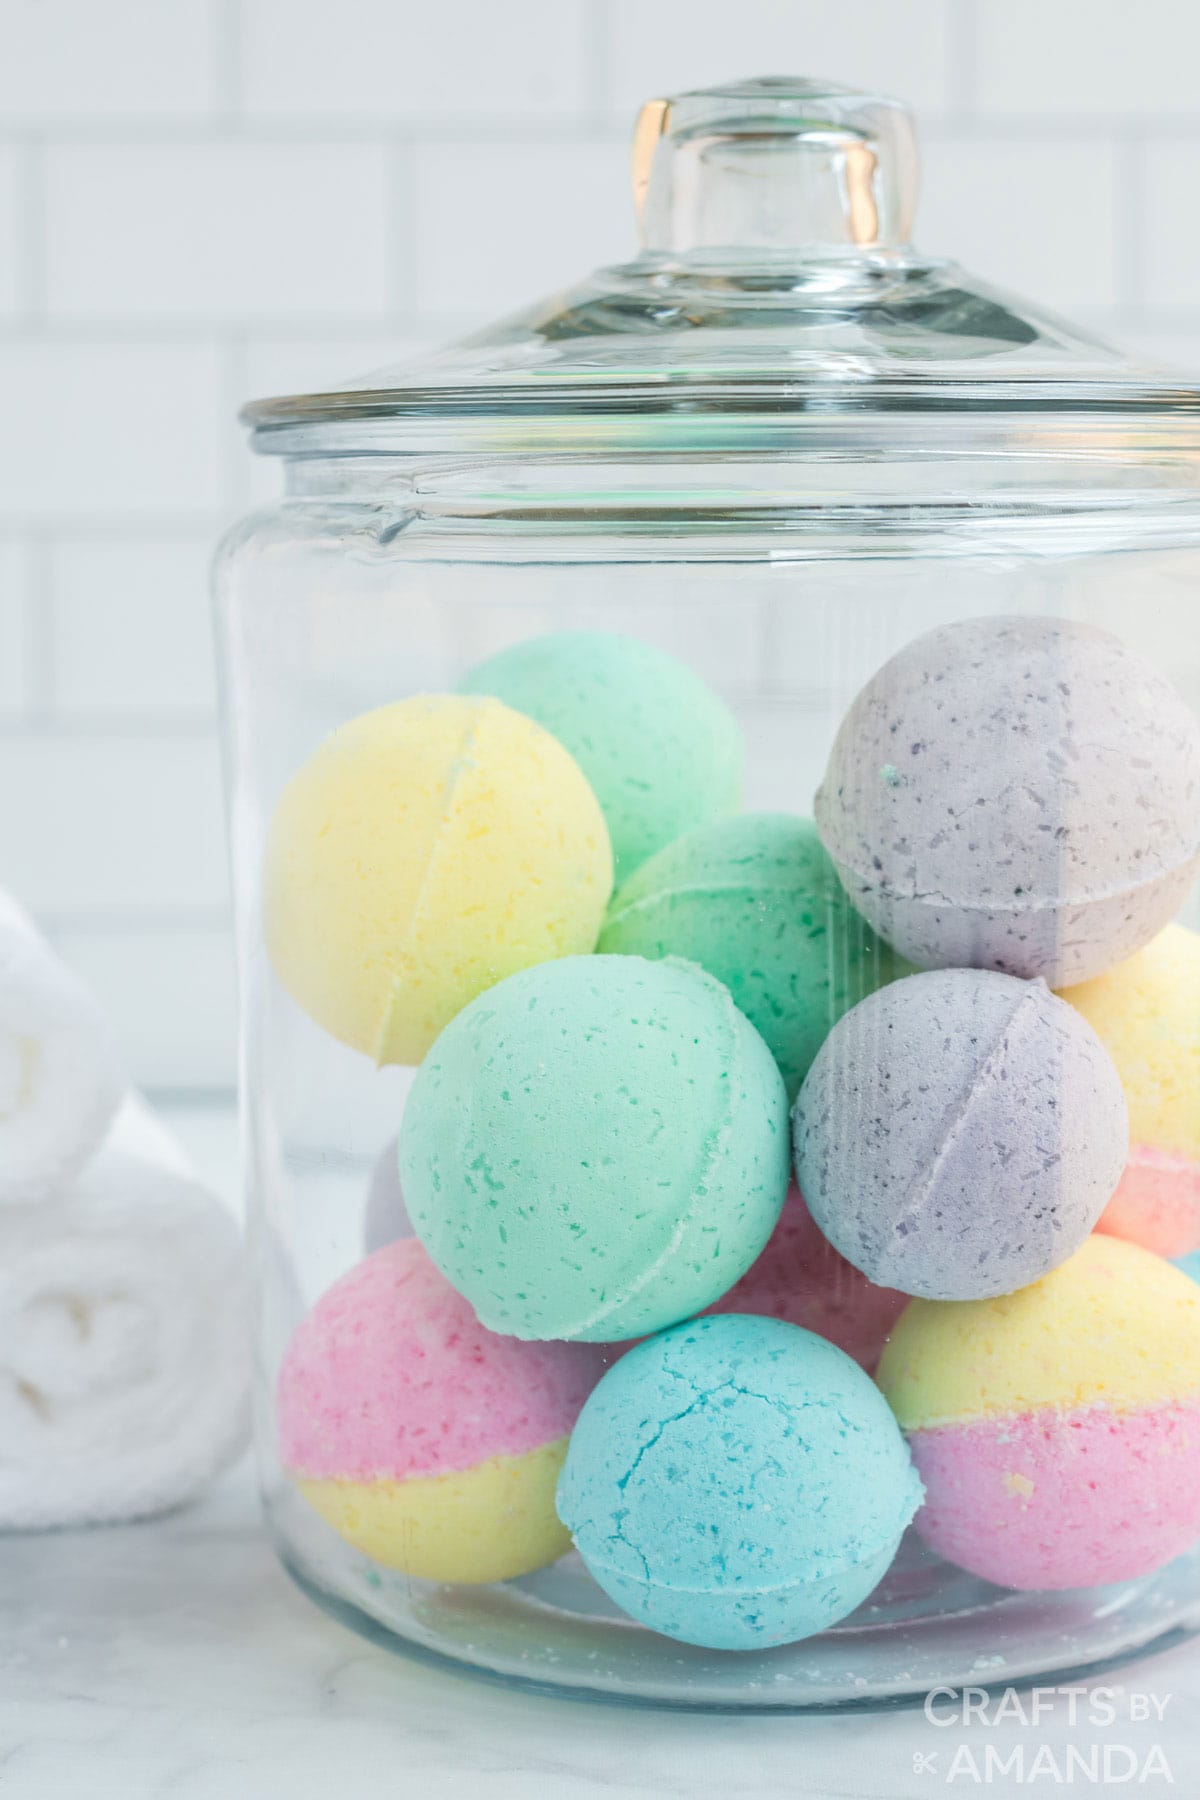
Once the bath bombs are totally dry, store in a glass jar. These make great gifts!
More DIY Gift Ideas
- Lavender Sugar Scrub
- Orange Bath Salts
- DIY Dried Lavender Candles
- How To Make Herbal Sachets
- How to Make Lavender Soap
- Lavender Bath Bombs
I love to create and share my projects with you! I know it’s hard to remember to come back and search, so I’ve made it easy for you with my weekly newsletter! You can subscribe for free and I’ll send you fun crafts and delicious recipes every week right to your email.
How To Make Bath Bombs
Learn how to make bath bombs at home. Homemade bath bombs are easy to make and are great for DIY gift giving.
Crafting Time30 minutes
Dry Time8 hours
Total Time8 hours 30 minutes
Age Group: Adult Crafts, Kids Crafts
Project Type: Crafts
Makes: 3 round bath bombs
Supplies
- 1 cup baking soda
- 1/2 cup citric acid
- 1/2 cup Epsom salt
- 1/2 cup Corn Starch
- 2 1/2 Tablespoon coconut oil Melted
- 3/4 Tablespoon water
- 8-15 drops essental oils
- Bath Bomb molds see notes under craft tips
- Optional: Food grade dried lavender flowers or fresh rosemary
- Liquid coloring for soap
Craft tools
Medium size mixing bowl
Small glass jar
Spoon
Whisk or fork
Measuring cup
Measuring spoons
Baking sheet with sides
Instructions
Combine the dry ingredients together in medium size bowl. Use the whisk or fork to stir together and remove any lumps. If adding dried flowers or herbs, add them in this step.
In the small glass jar, stir together the wet ingredients.
If coloring your bath bombs, now add 1-2 drops of coloring to the wet ingredients and stir.
Slowly (and I mean slowly!) pour the wet mixture in with the dry mixture, whisking as you go. If you see the mixture fizz or foam, you may be adding the liquid too quickly. Just slow down adding the wet mixture.
Once the wet ingredients are combined with the dry, take a small amount in your hand and squeeze it together. It should stick together in maybe 1 -2 pieces. If it’s still too powdery to hold together, just slowly add a tiny bit more water and try squeezing it again.
Molding With 2 Sided Molds
Tightly pack each half of your mold with the mixture until it’s just overflowing a little. Press the mold pieces together, then gently remove one side of the mold. Place the bath bomb on a tray and allow to dry out before removing the other side (about an hour). The key here is be gentle in the un-molding process!
Molding With Silicone Ice Cube Tray
Tightly pack the bomb mixture into the molds, smooth and flatten the top. Let set for about 10 minutes and then carefully turn tray over and un-mold the bath bombs onto a baking sheet with a gentle tap to the top of each shape. As mentioned above, the key is to be gentle in the un-molding process!
Once your bath bombs are un-molded and on a baking sheet, they should dry at least 8 hours or overnight.
Once the bath bombs are totally dry, store in a glass jar. These make great gifts!
Expert Tips & FAQs
- For Bath Bomb molds, you can use plastic fillable Easter eggs, a silicone ice cube tray or take a look around your recycle bin! You want something that is a little flexible. Do not use plastic ice cube trays, as the bombs may break apart when removing.
- To make a bath bomb with 2 different colored sides: after step 2, split the wet and dry ingredients in half so you have 2 evenly measured bowls of dry and 2 evenly measured jars of wet ingredients. Add 1-2 drops of 1 color to 1 wet mixture and 1-2 drops of a different color to the 2nd wet mixture. Following step 4-5 below and then fill 1 side of 2 piece mold with one color, and the other side gets the filled with 2nd color and then follow step 6 forward.
- In case a bath bomb cracks while being removed from a mold, go back to step 6 and start the molding process again. If needed, add a tiny bit of water to remix ingredients.
- If your epsom salts already have a fragrance, you can skip adding the essential oils.
- If you are making as gifts, keep in mind that people may be sensitive or allergic to different ingredients.
- These ingredients make enough for 3-4 large (6 cm) diameter bath bombs or 12-14 smaller squares.
This post originally appeared here on Aug 28, 2020.
Ann Pianta Kollegger has designed craft products, greeting cards and other products which have been sold nationwide. Her most valuable creative moments have been with her own kids and with the patients she worked with at a local children’s hospital.
Latest posts by Ann Kollegger (see all)
About Ann Kollegger
Ann Pianta Kollegger has designed craft products, greeting cards and other products which have been sold nationwide. Her most valuable creative moments have been with her own kids and with the patients she worked with at a local children’s hospital.
Reader Interactions
Free CraftsBy email every week
Latest crafts straight to your inbox!








 English (US) ·