
.jpg)
 1 day ago
19
1 day ago
19
PROTECT YOUR DNA WITH QUANTUM TECHNOLOGY
Orgo-Life the new way to the future Advertising by AdpathwayAuthor by Amanda Davis on July 14, 2026 Updated on July 14, 2026
Get creative with these adorable mini coastal clay houses. Display them in a shadowbox, fish bowl, mason jar, or on their own on a shelf.
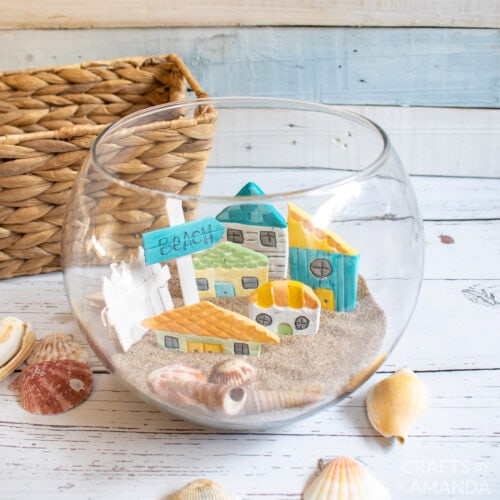
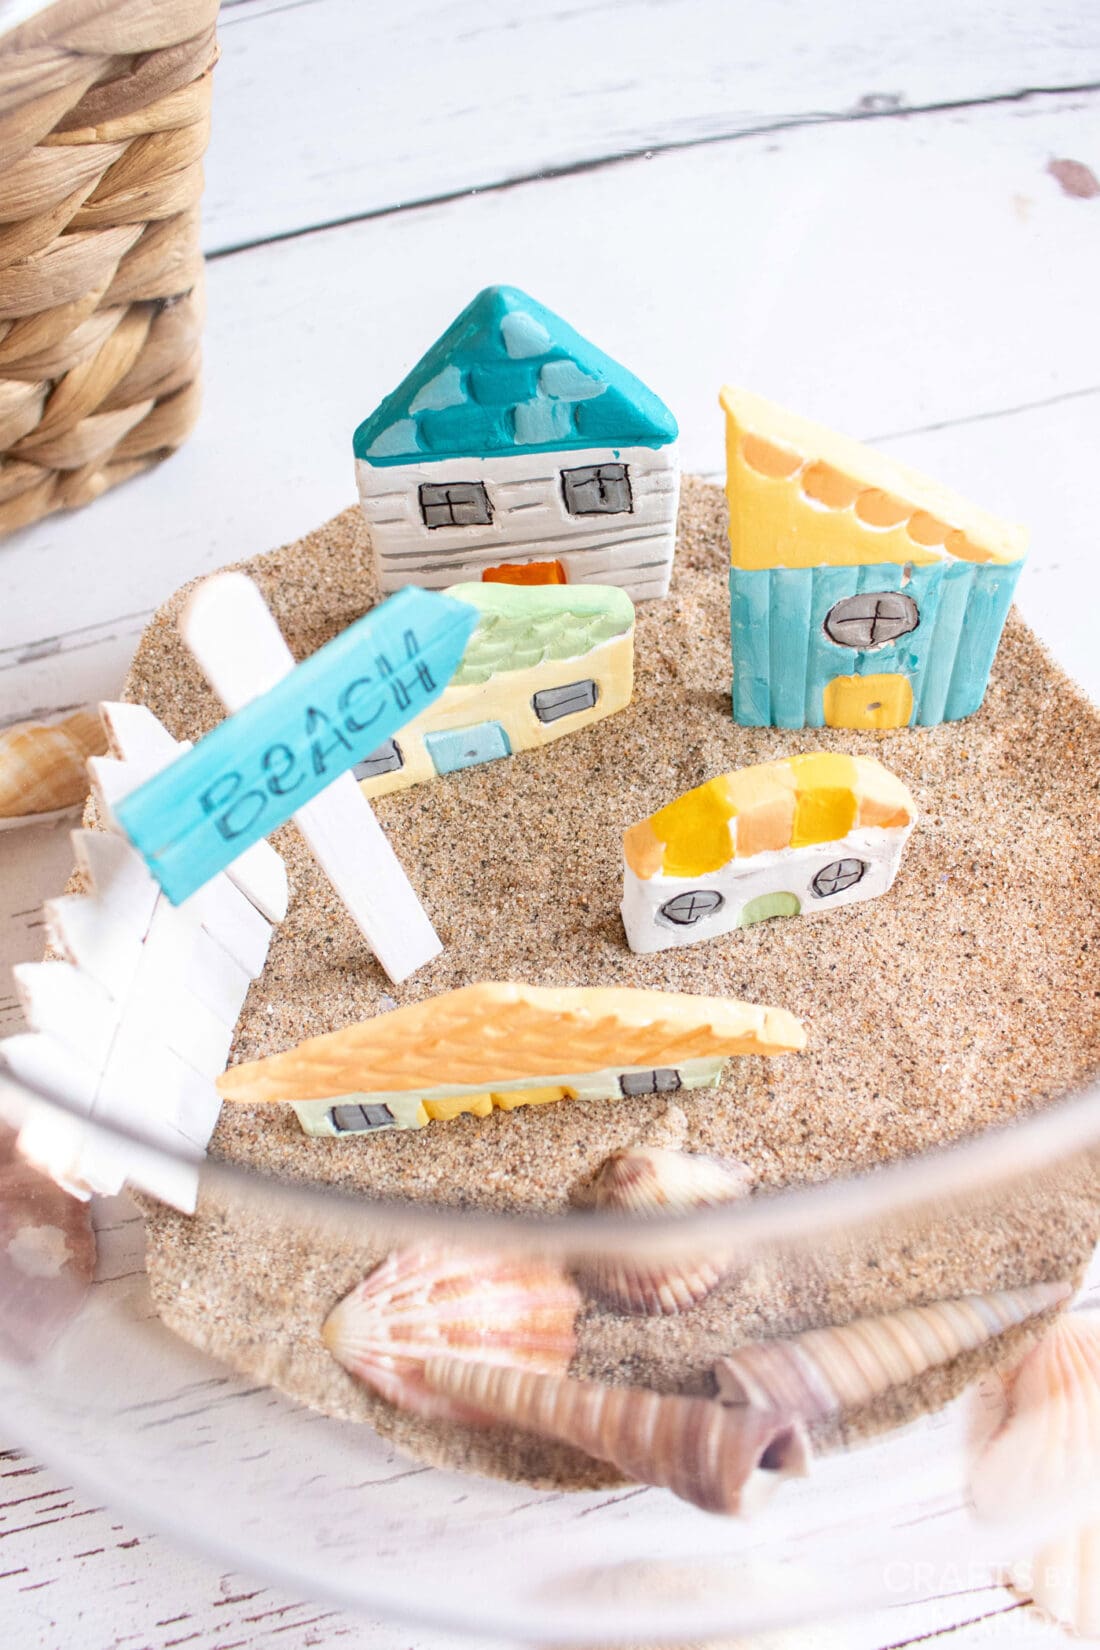
These mini coastal clay houses are placed inside a fishbowl with sand and seashells creating a beachy getaway in your own home!
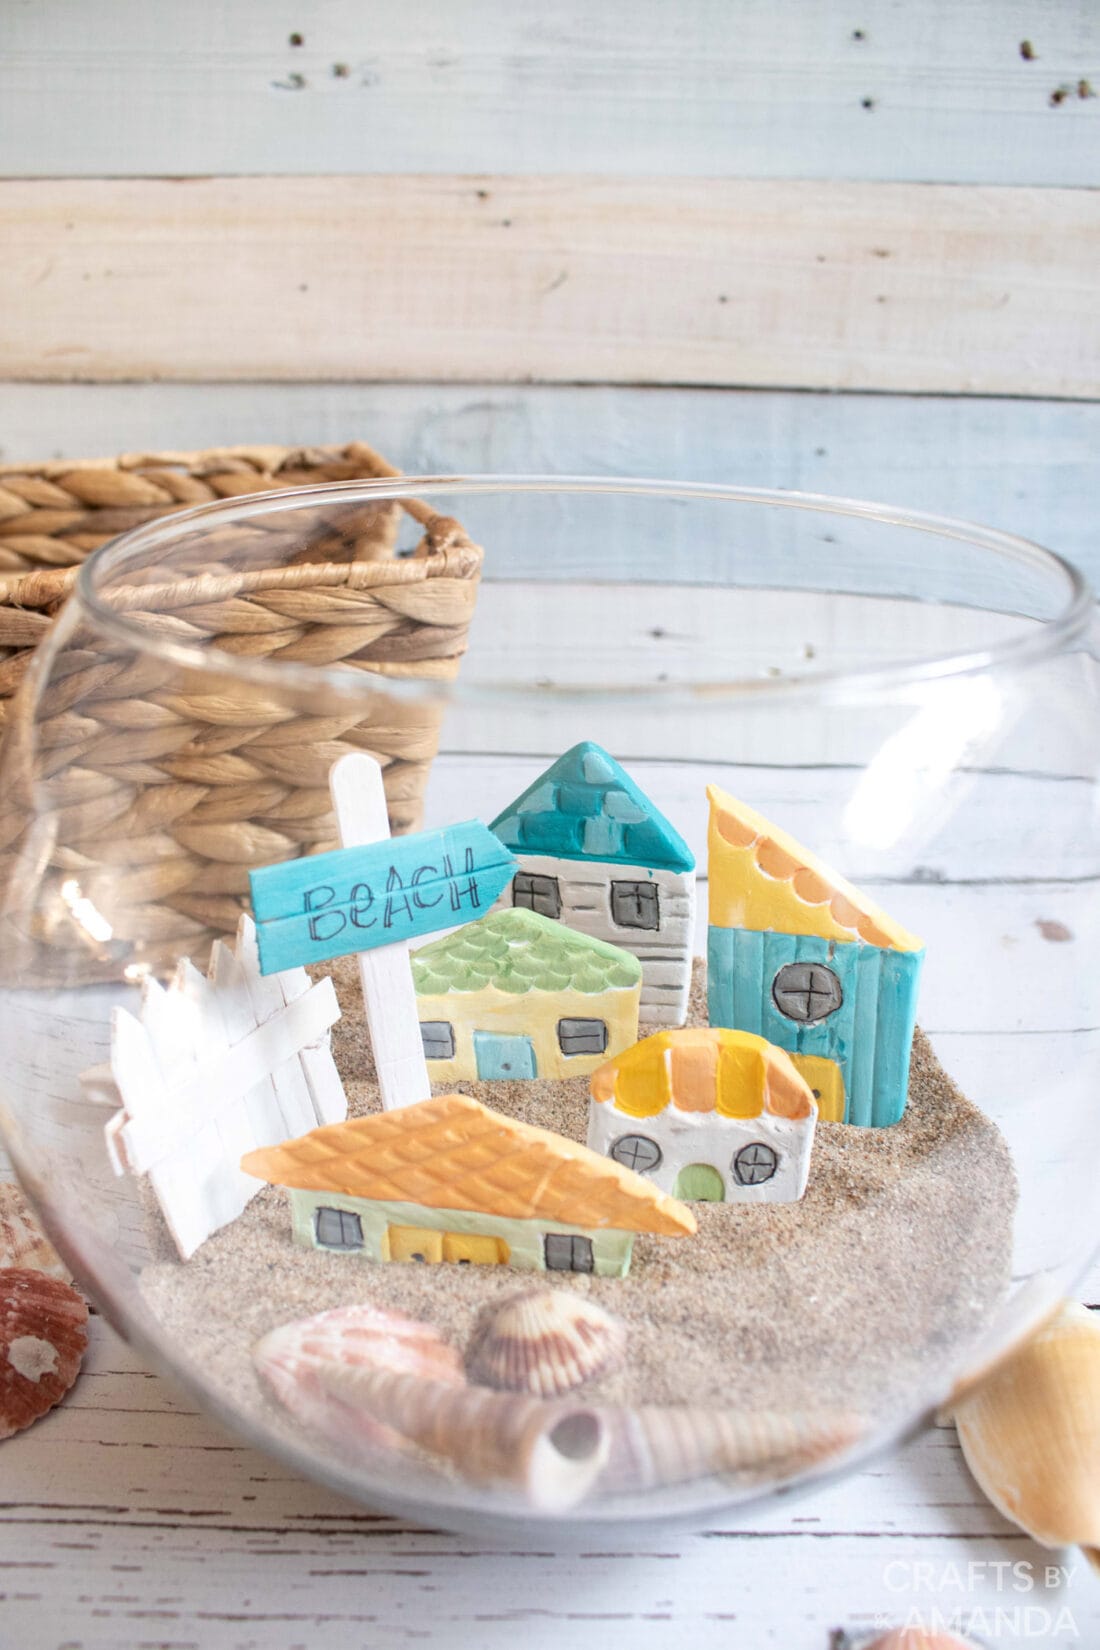
Why we love this project
With summer in full swing, these mini coastal clay houses displayed inside a glass bowl make the perfect addition to our collection of beach-themed crafts and terrariums.
I mean, how adorable are these coastal-themed houses? There are so many ways you can use them around the house. Place them inside a shadowbox with sand and shells similar to how we set up our Christmas village shadowbox or display them on their own on a bookshelf. They’d also look cute in flowerpots or in a fairy garden!
Helpful Project Information:
- Age Level: 12 and up
- Mess Factor: Medium (paint)
- Level of Difficulty: Medium
- Time to Complete: Less than 2 hours active. 24-hour dry time for clay.
- Cost Estimate: Less than $20.00 depending on supplies you have on hand
Craft supplies you will need
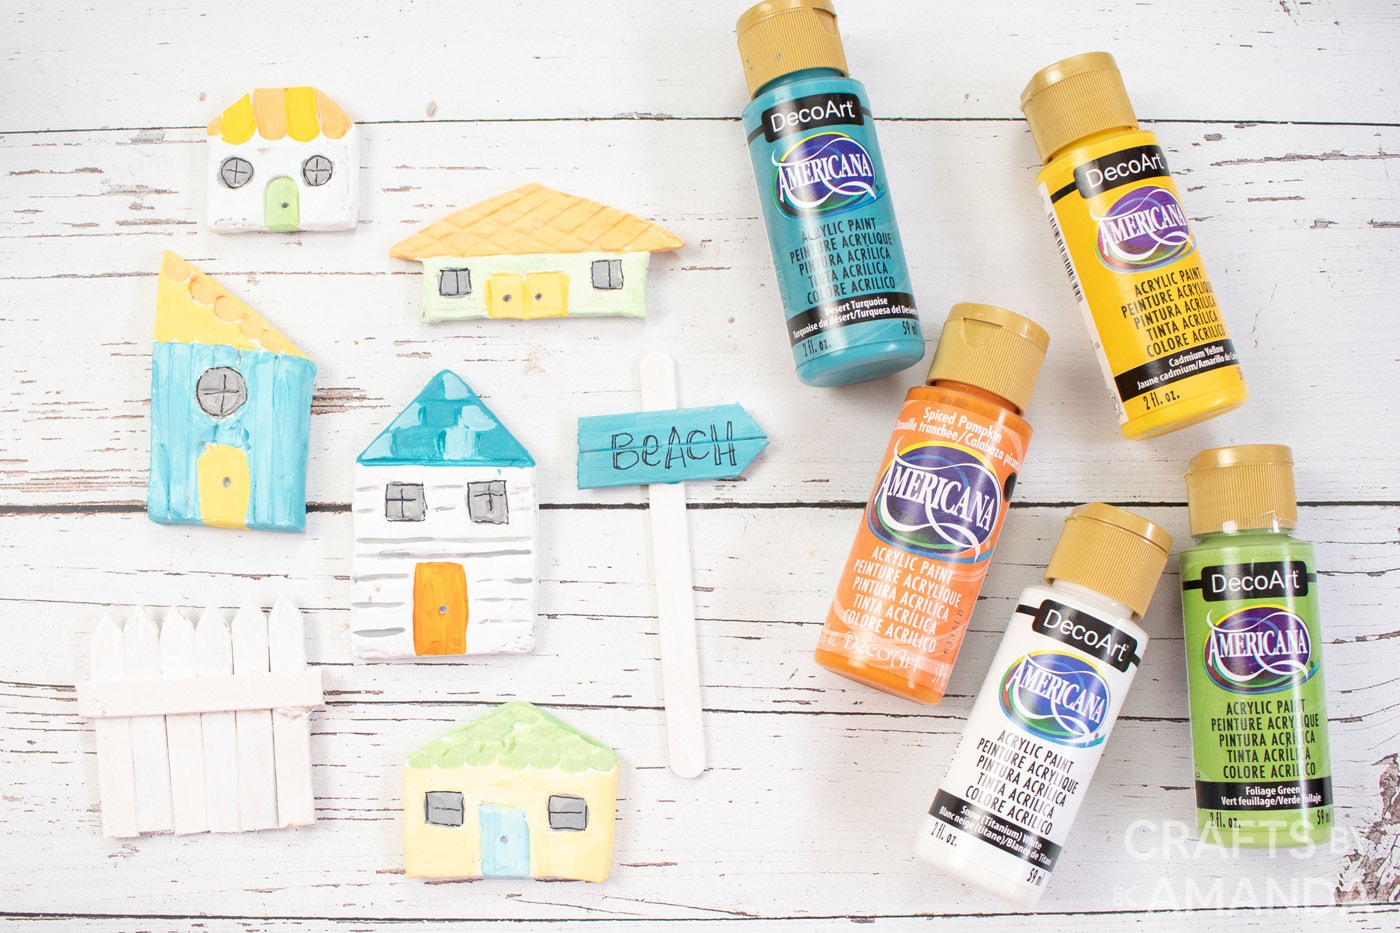
All of the paint colors used in this craft are DecoArt Americana® Acrylics. These acrylic paints come in a huge range of color options so feel free to mix and match the colors to your liking! They’re our favorite paints to use for all our projects, as they work amazing on almost every surface.
DecoArt Americana Acrylic Paints We Used
- Desert Turquoise
- Cadmium Yellow
- Spiced Pumpkin
- Foliage Green
- Mistletoe (Green)
- Steel Gray
- Snow(Titanium) White
- Espresso
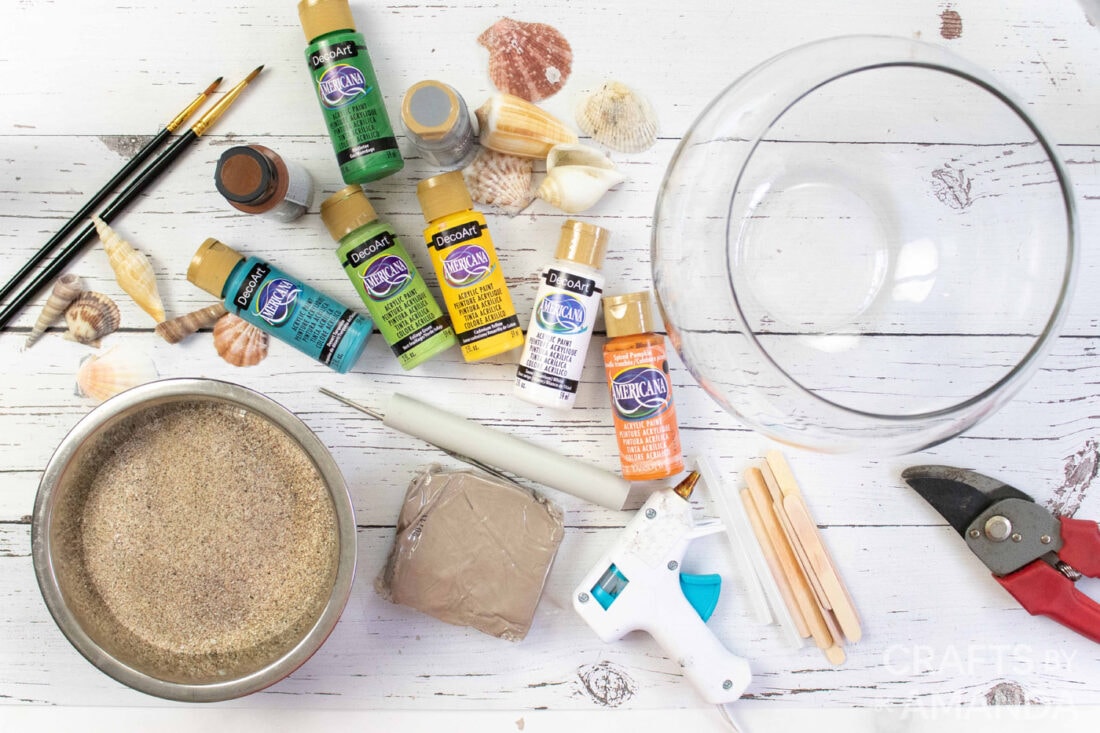
Get full list of supplies and directions in the printable version at the end of this post.
How to Make Mini Coastal Clay Houses
These step by step photos and instructions are here to help you visualize how to make this project. Please scroll down to simply print out the instructions!
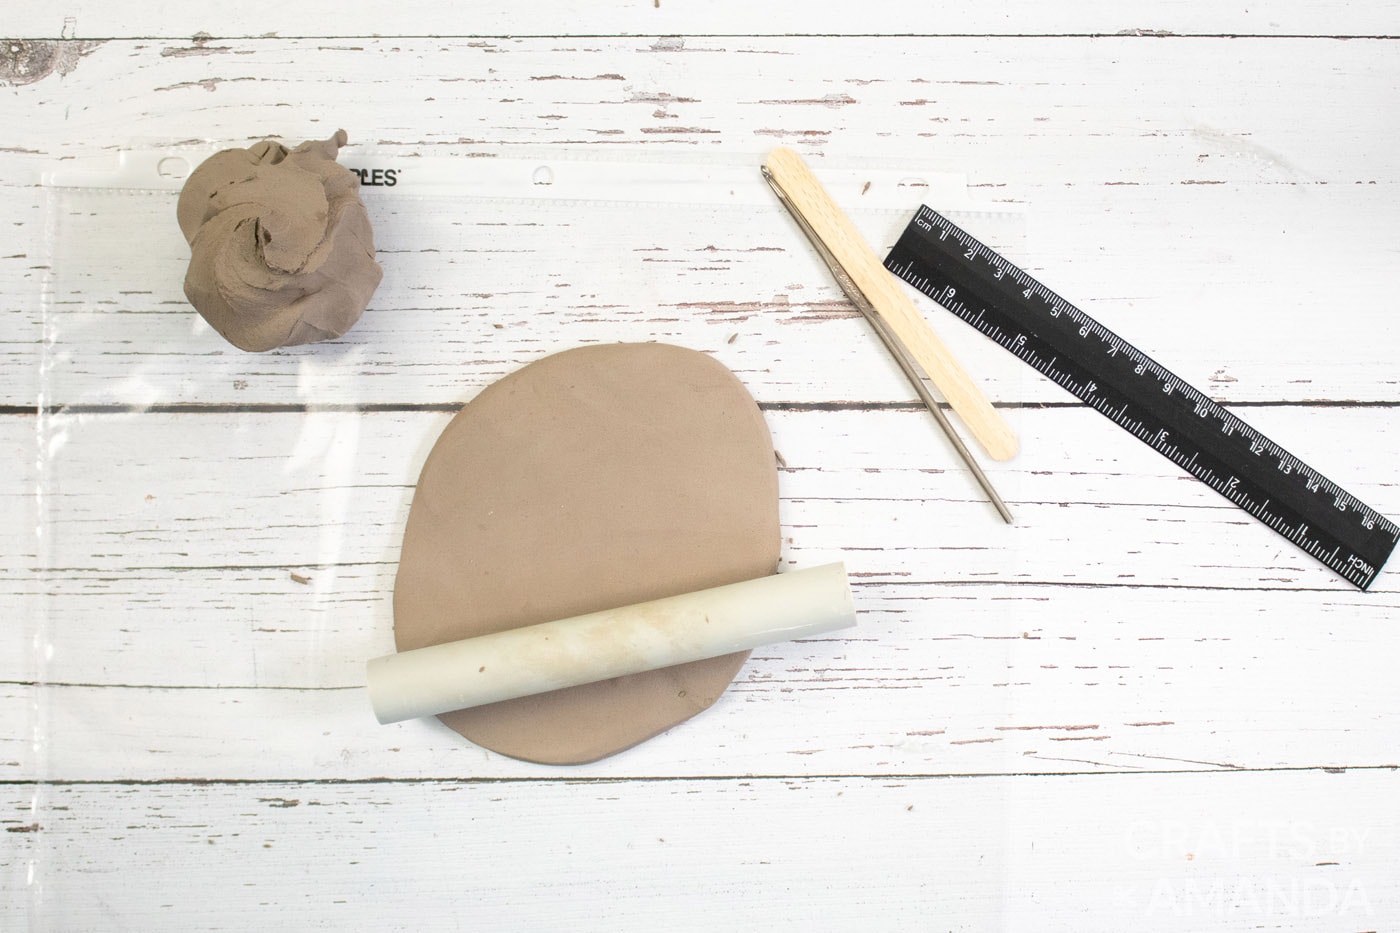
- Remove about half of the air dry clay from the package, enough to make 4-5 houses. Knead briefly to soften. Break off small, working amounts of clay. Form into a ball and then roll to ¼” thickness.

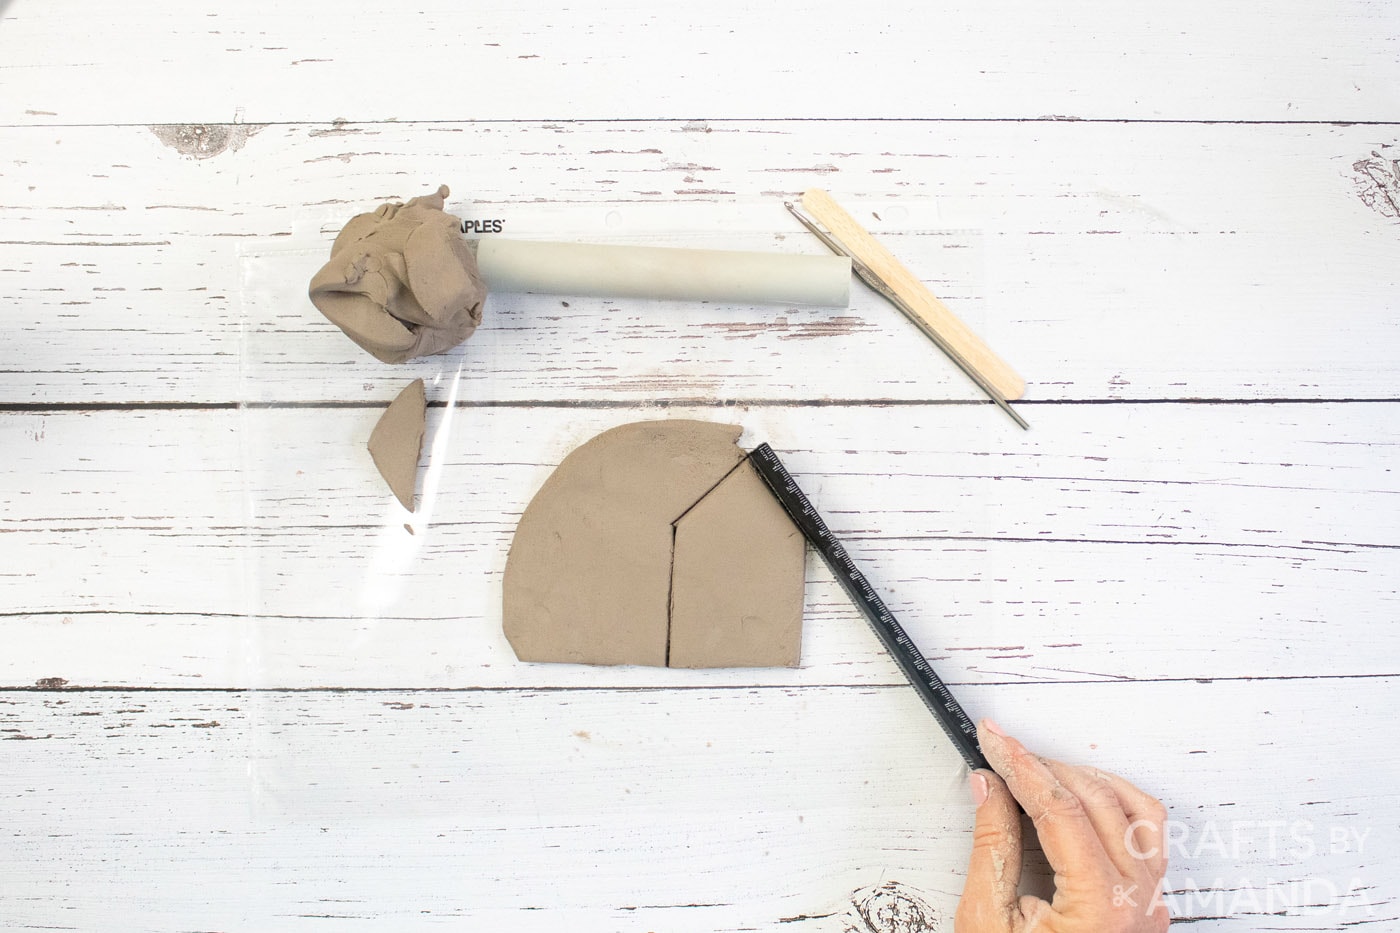
- With straight edge tools or pottery tools, cut out house shapes using the pattern guide to help. Make houses as large or small as you like – these were about 2-3inches in size.
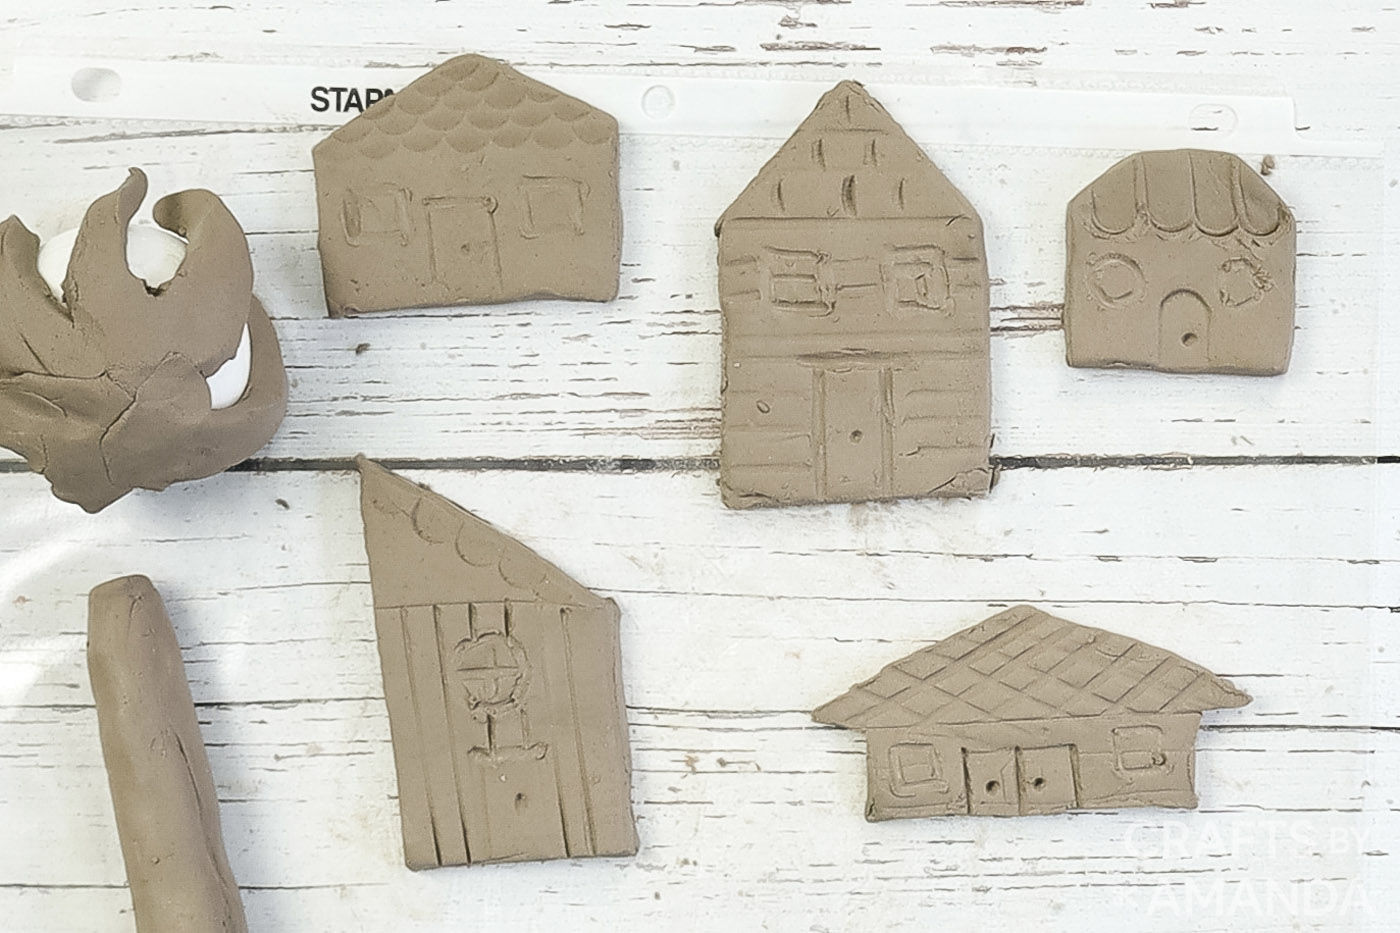
- Add doors and windows to the houses and embellishments such as scallops, hatch marks, and shiplap.
- Smooth edges (dampening with a bit of water will help). Let dry completely.
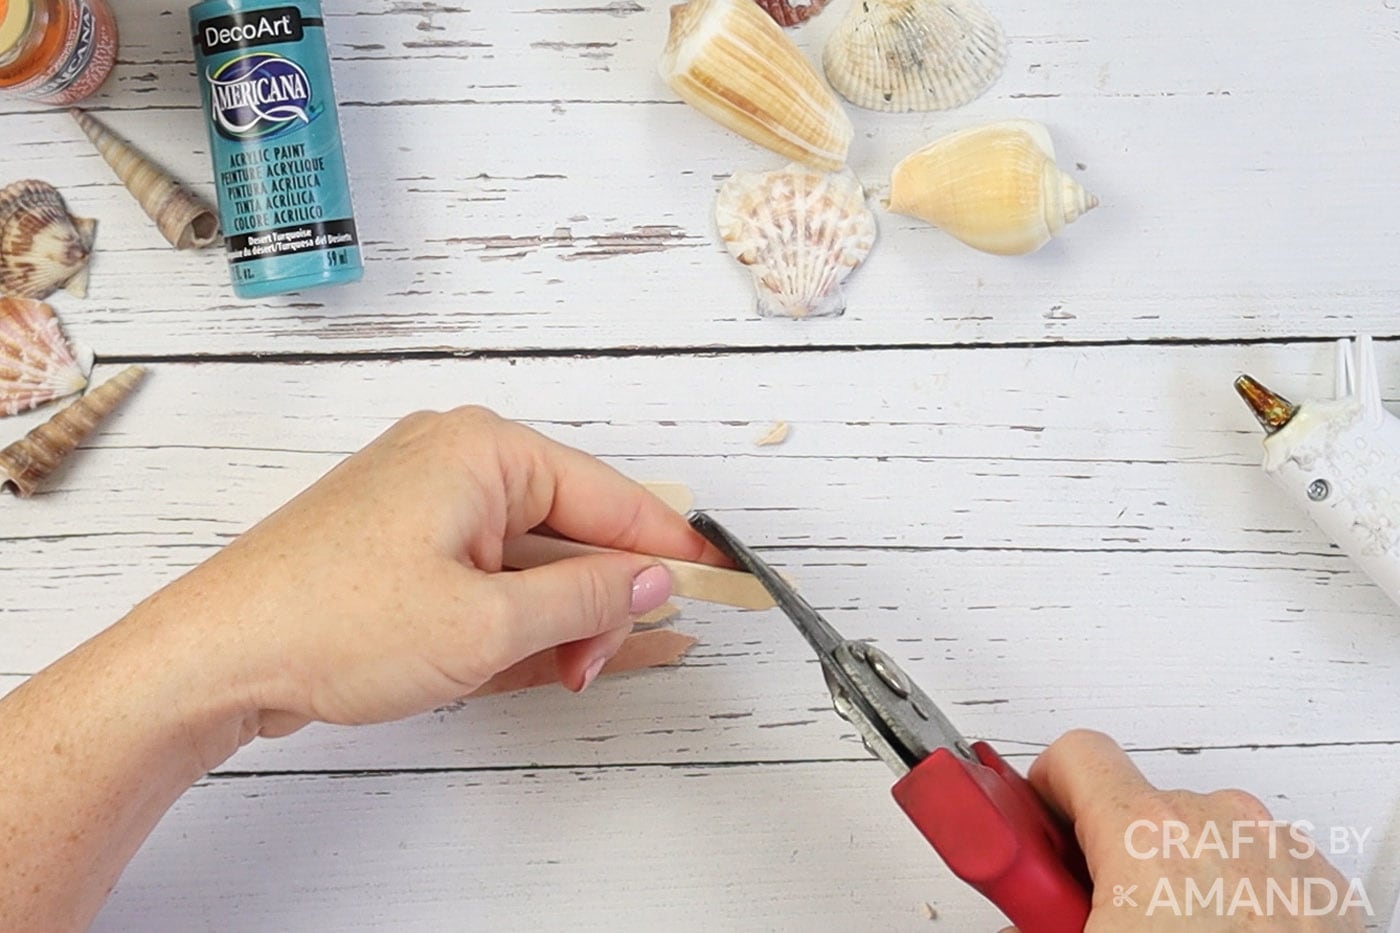
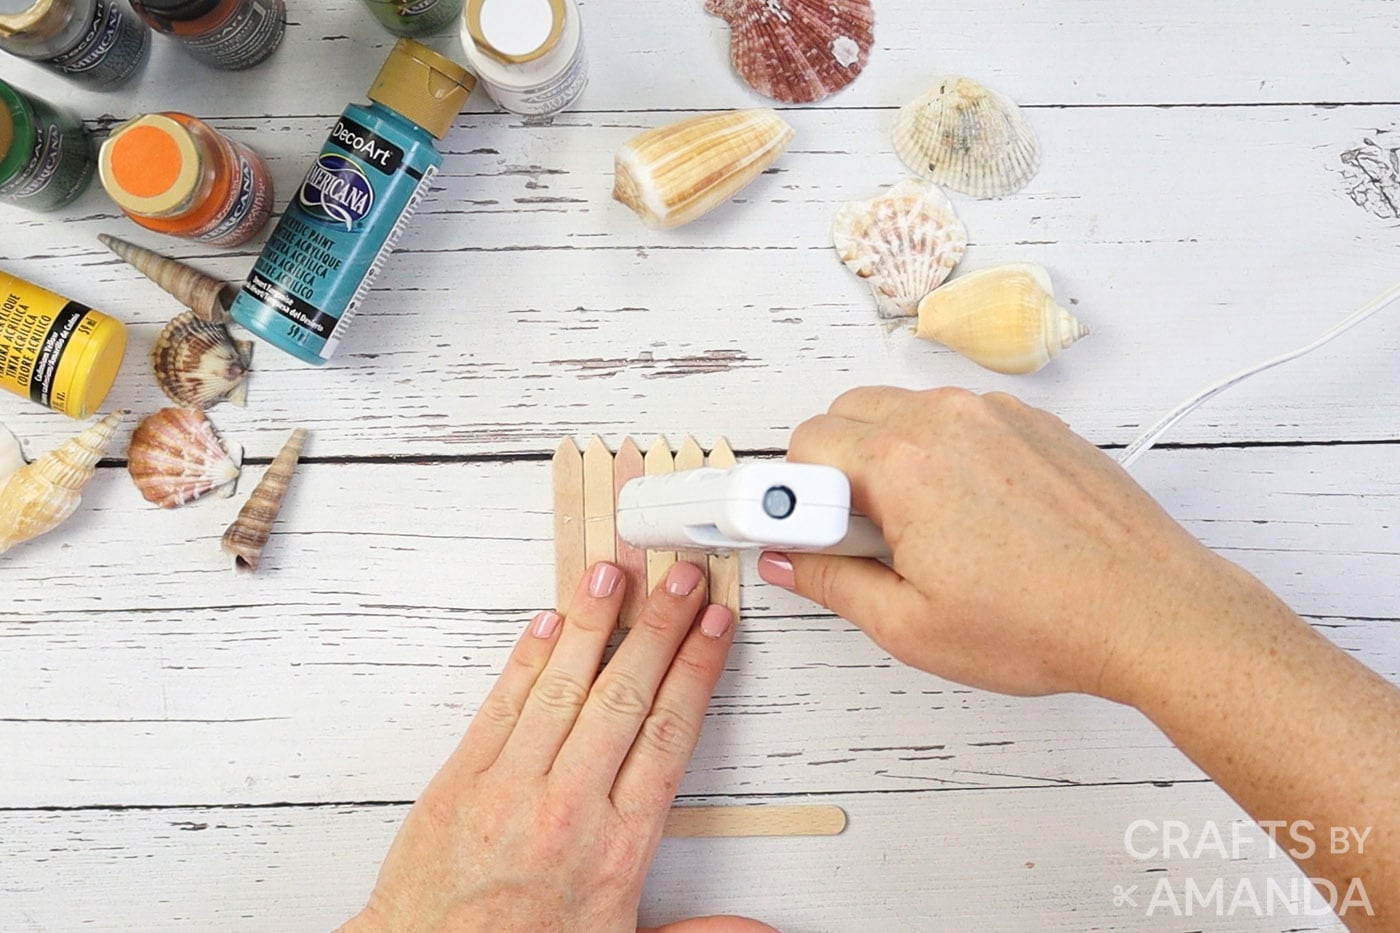
- Cut one end of a popsicle stick to make pickets for the fence. Trim the other end to about 3” long. Make 6 identically sized pieces. If needed, sand the cut ends.
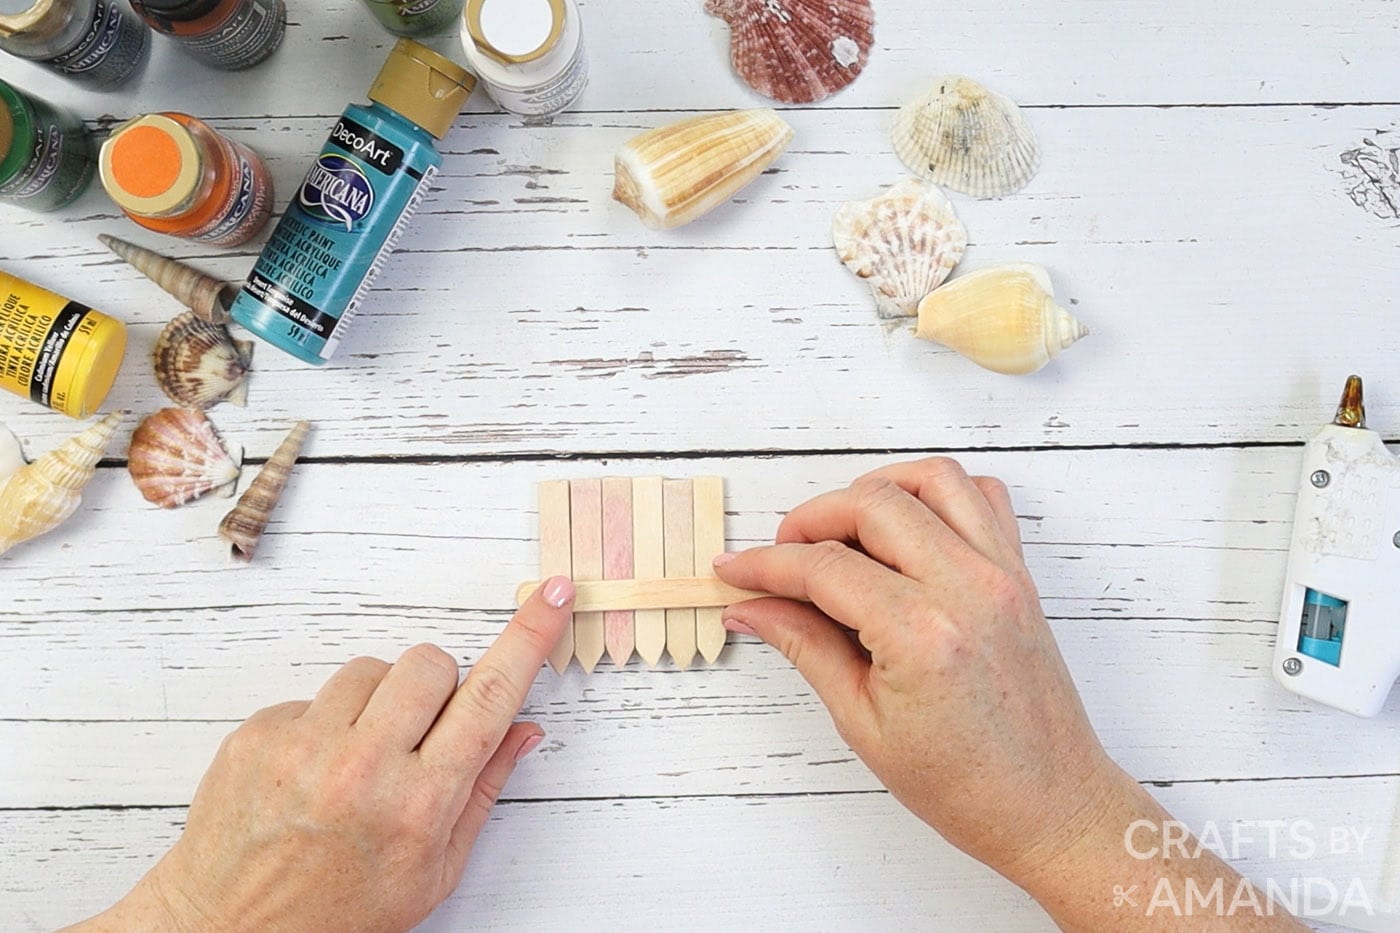
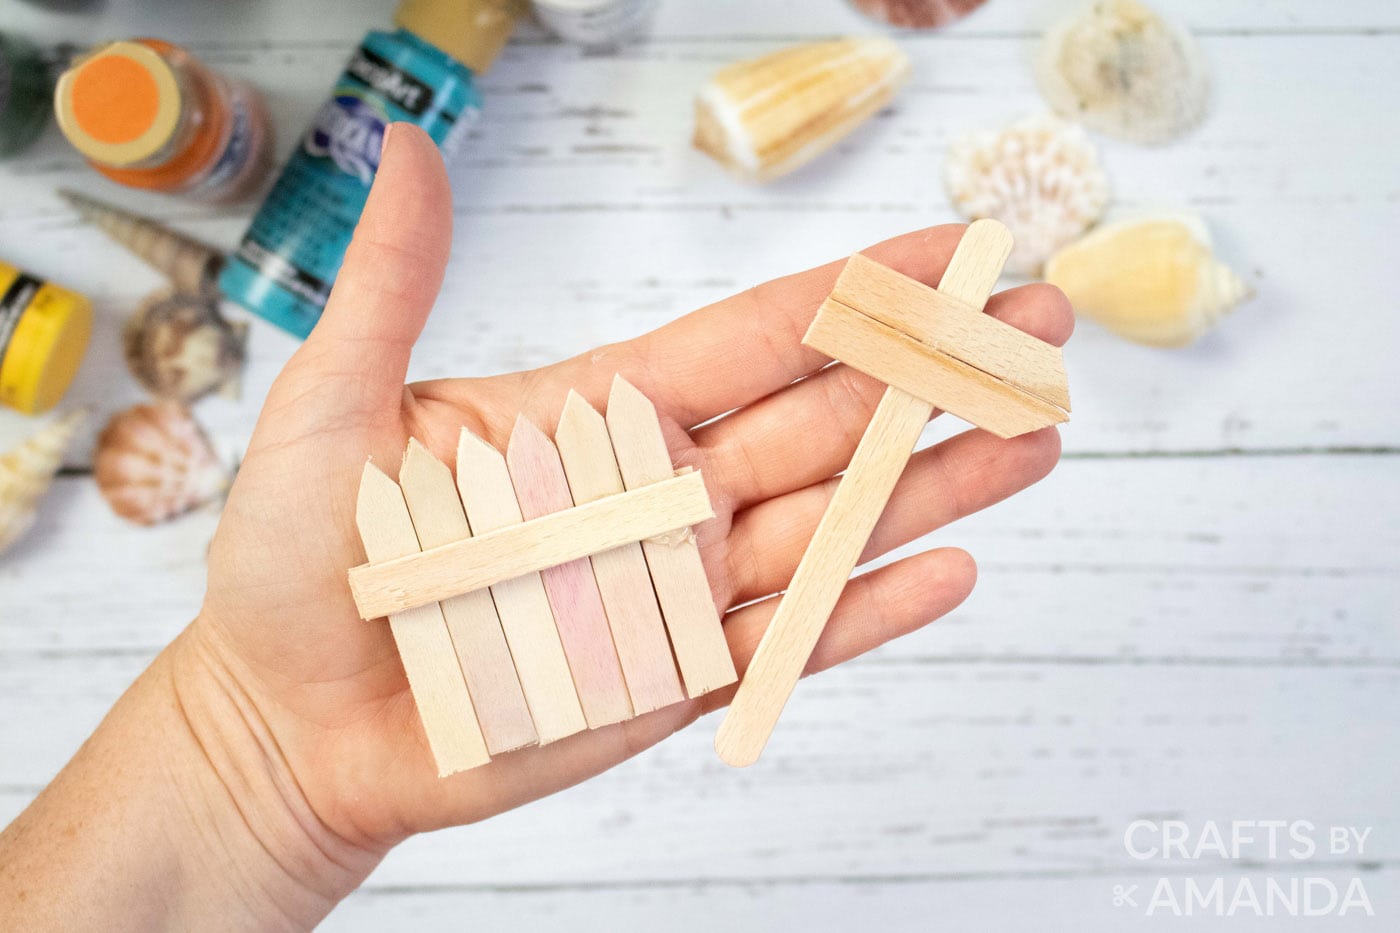
- Line up the cut pickets in a row to resemble a fence. Glue another popsicle stick across to hold them together and then add another popsicle stick closer to the top. Trim the popsicle sticks to the length of the fence.
- Cut ends of two popsicle sticks at a diagonal. Glue these pieces to another popsicle stick to form a sign.
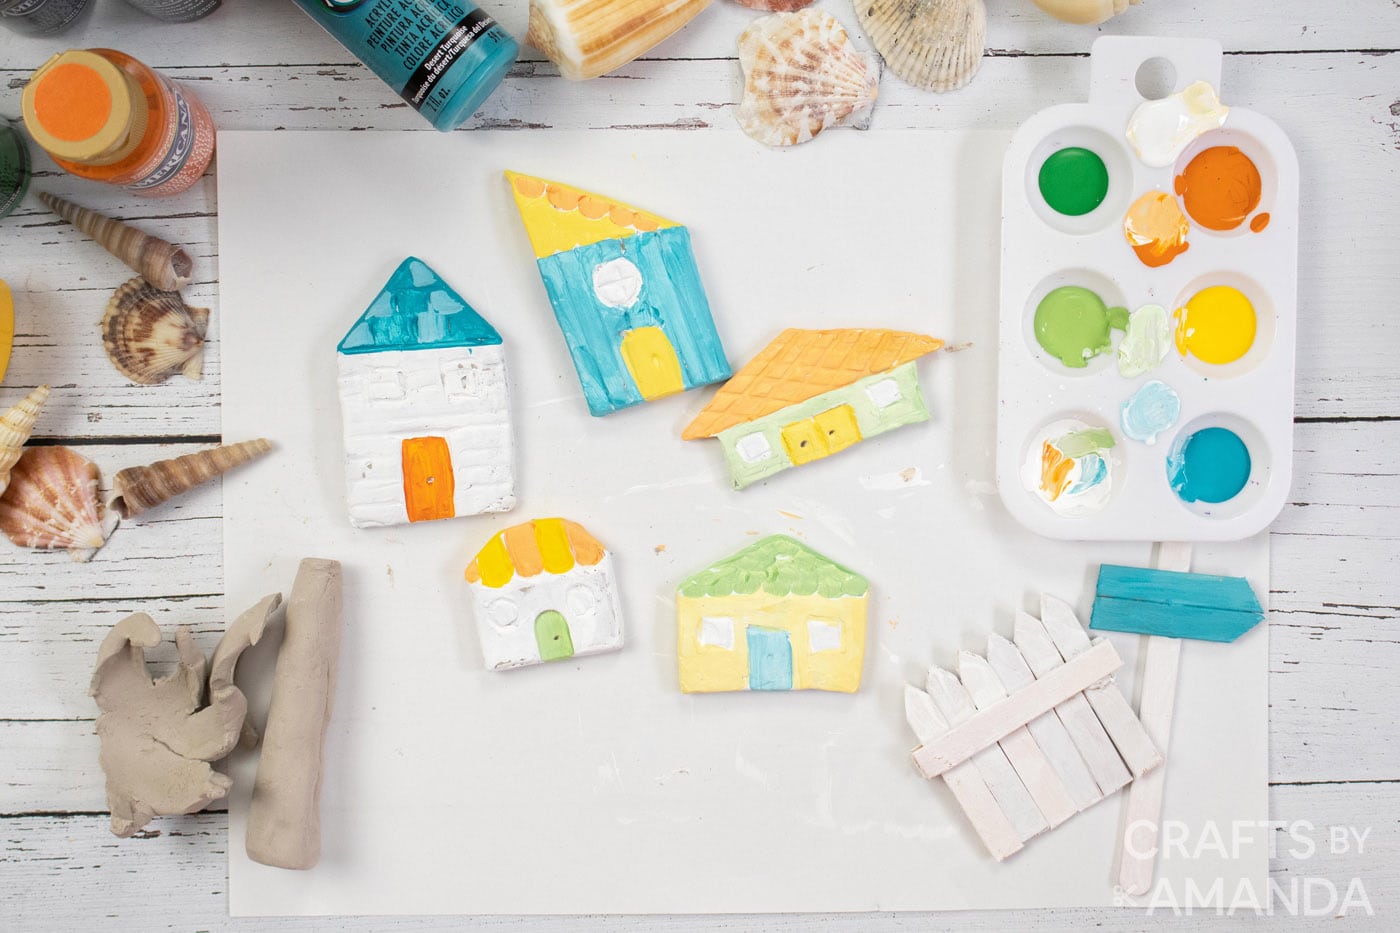
- Paint the surface of all the clay houses in white acrylic paint. Let dry and repeat on the other side. Refer to the printable project guide for how to paint the houses in beachy, coastal colors.
EXPERT TIP: Blend the paints with white to create different shades of color.
- Use a sharpie or fine tip marker to add details to the painted houses, such as on the windows and for writing on the sign.
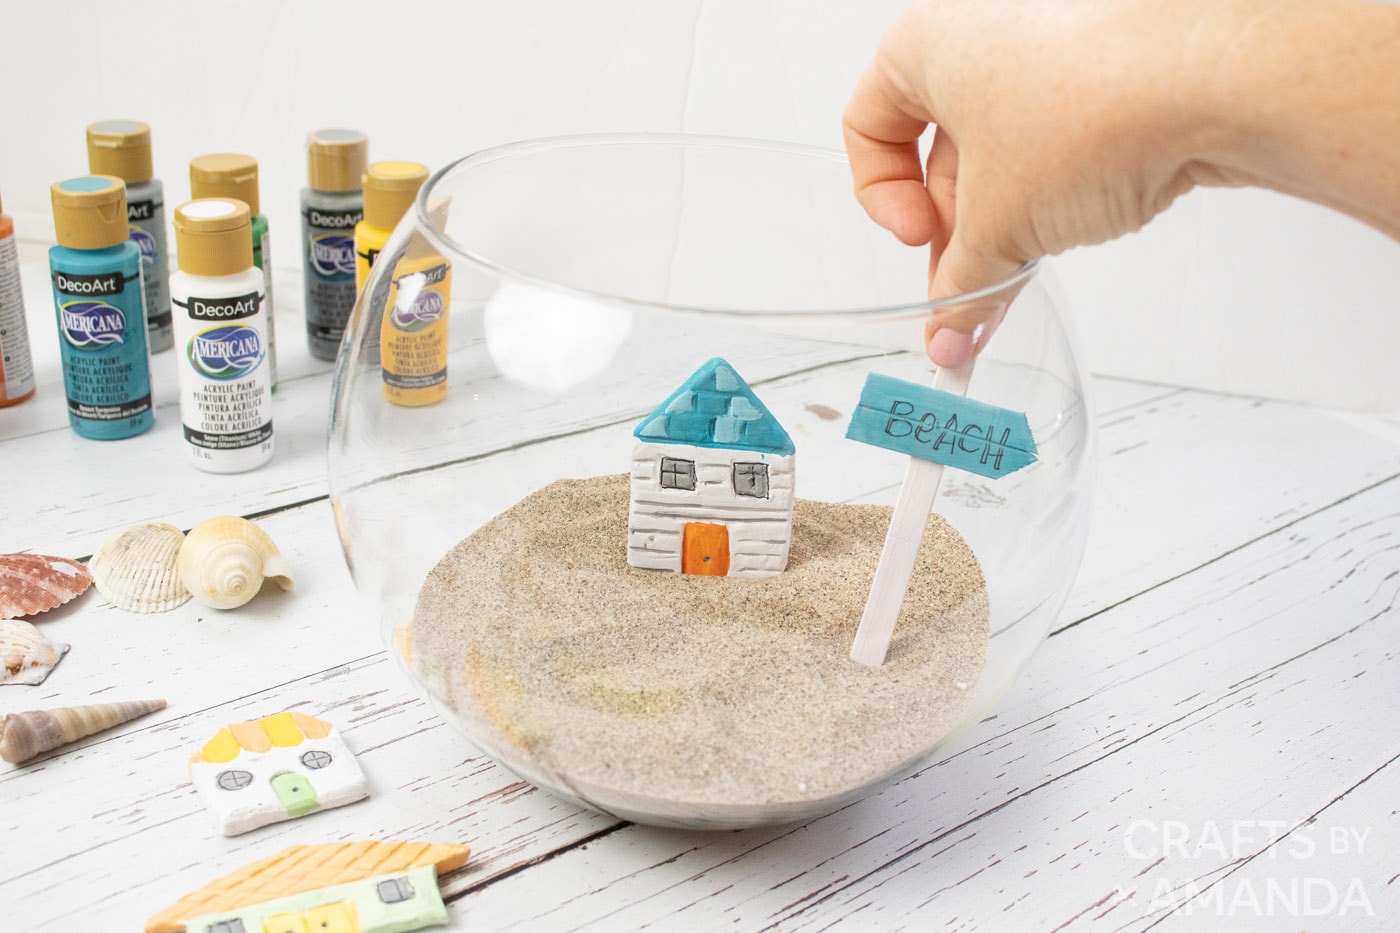
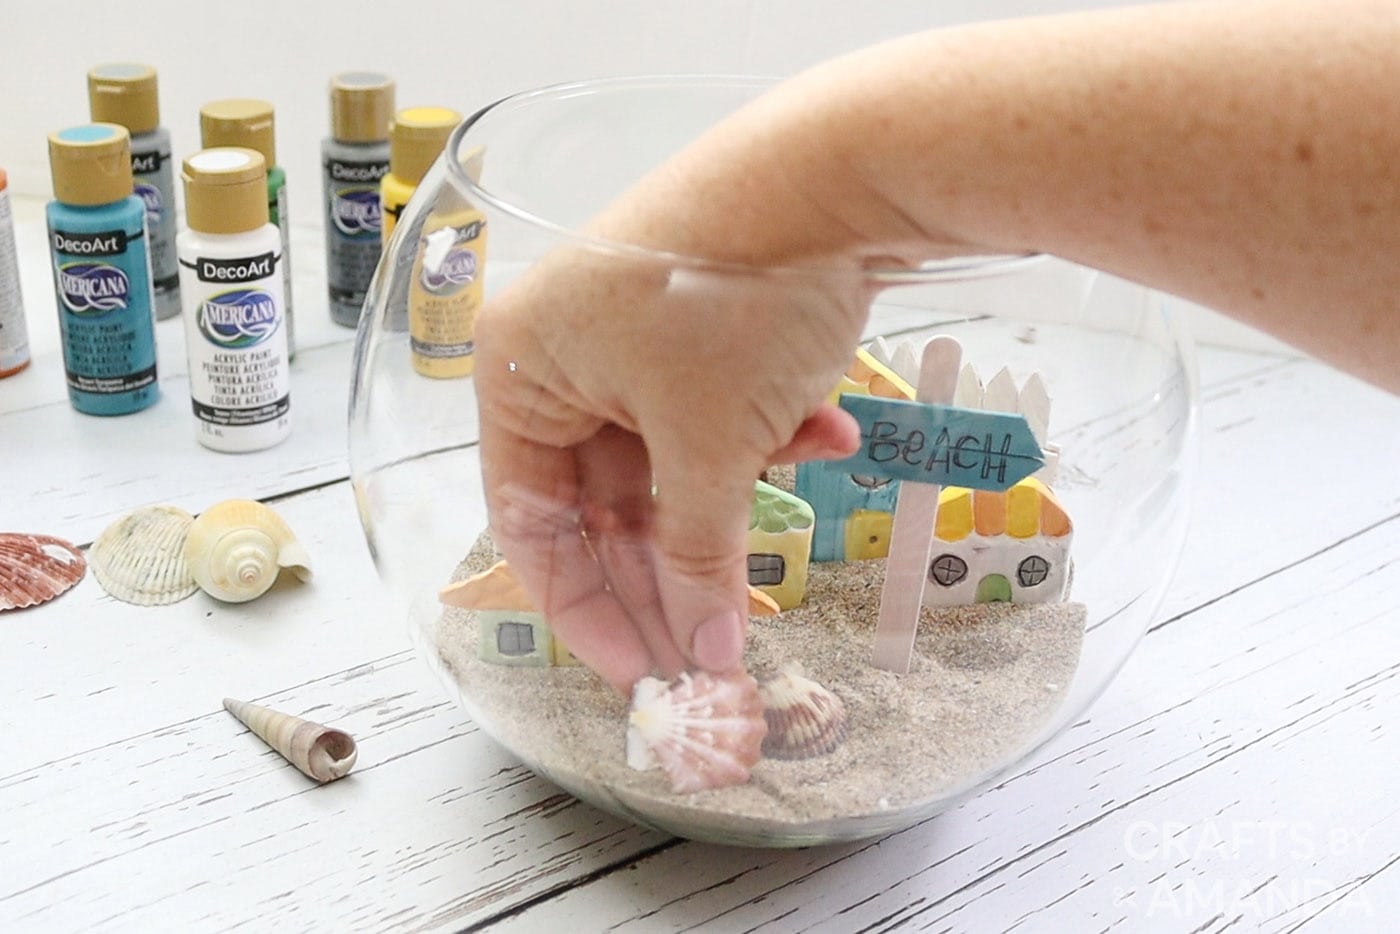
- Pour natural sand into the fishbowl and smooth out so it’s level. Place the houses inside the bowl, layering them inside with the tallest in the back and the shortest houses in the front.
- Add the fence, sign, and some seashells. Keep rearranging the pieces until you’re happy with the placement.

Expert Crafting Tips
- You can make your clay houses longer than we did here to help them stick further into the sand.
- Mix and match colors or combine two colors to create your own.
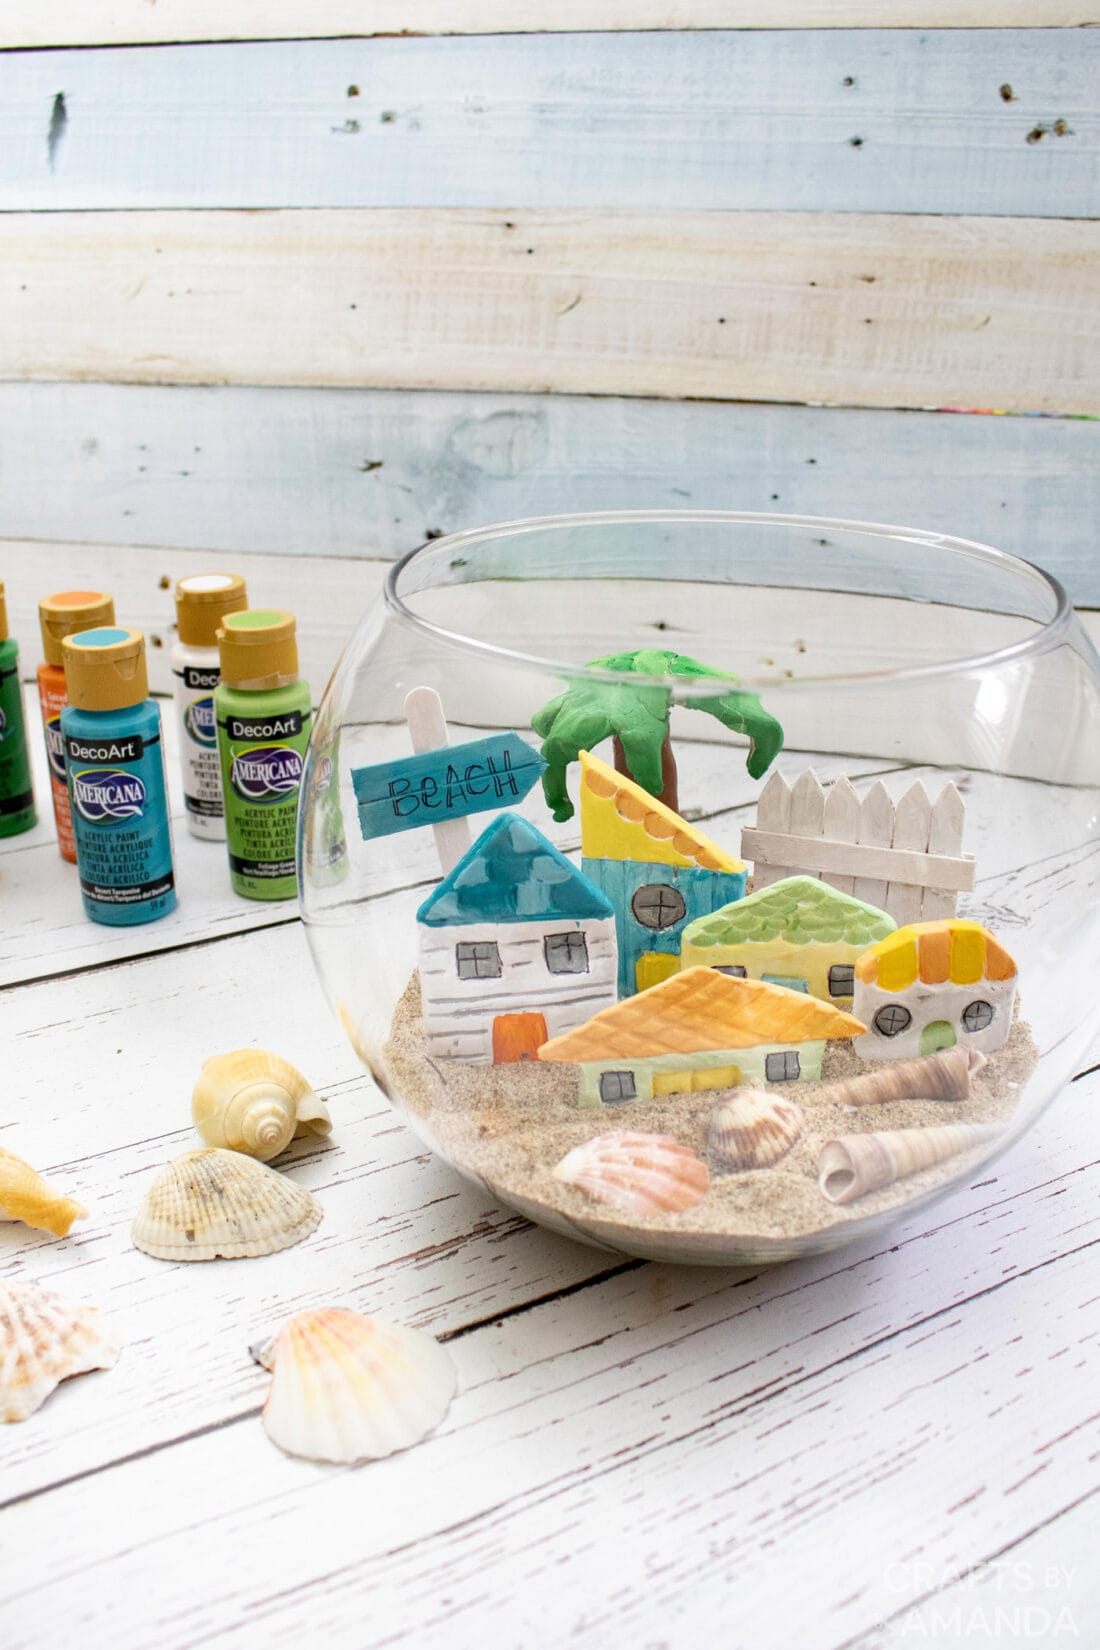
- The palm tree pictured above is also made out of clay. Wrap the clay around a styrofoam ball to make the leaves. Create a base for the tree out of clay as well and paint. You can also make a beach ball to add in or even an umbrella!
These clay houses would look adorable painted in colors to match Halloween or Christmas, make a big batch of clay houses to paint and display however you want!
More Coastal Crafts and Projects
- Seashell Wreath
- Beach Terrarium
- Twig Coastal Wreath
- Mason Jar Canisters
- 35 Beach Crafts and Coastal Wall Art
I love to create and share my projects with you! I know it’s hard to remember to come back and search, so I’ve made it easy for you with my weekly newsletter! You can subscribe for free and I’ll send you fun crafts and delicious recipes every week right to your email.
Mini Coastal Clay Houses
Get creative with these adorable mini coastal clay houses. Display them in a shadowbox, fish bowl, mason jar, or on their own on a shelf.
Prep Time30 minutes
Crafting Time30 minutes
Dry Time1 day
Age Group: Adult Crafts
Project Type: Home Decor
Supplies
DecoArt Americana Acrylic Paint Colors
- Desert Turquoise
- Cadmium Yellow
- Spiced Pumpkin
- Foliage Green
- Mistletoe (green)
- Steel Grey
- Snow (titanium) White
- Espresso
Craft tools
Clay tools
Gardening shears
paintbrushes
Instructions
Remove about half of the clay from the package, enough to make 4-5 houses.
Knead briefly to soften. Break off small, working amounts of clay. Form into a ball and then roll to ¼” thickness.
With straight edge tools, cut out house shapes using the pattern guide to help. Make houses as large or small as you like – these were about 2-3inches in size.
Add doors and windows to the houses and embellishments such as scallops, hatch marks, and shiplap.
Smooth edges (dampening with a bit of water will help). Let dry completely, around 24 hours.
Cut one end of a popsicle stick to make pickets for the fence. Trim the other end to about 3” long. Make 6 identically sized pieces. If needed, sand the cut ends.
Line up the cut pickets in a row to resemble a fence. Glue another popsicle stick across to hold them together and then add another popsicle stick closer to the top. Trim the popsicle sticks to the length of the fence.
Cut ends of two popsicle sticks at a diagonal. Glue these pieces to another popsicle stick to form a sign.
Paint the surface of all the clay houses in white acrylic paint. Let dry and repeat on the other side. Refer to the printable project guide for how to paint the houses in beachy, coastal colors.
Blend the paints with white to create different shades of color.
Use a sharpie or fine tip marker to add details to the painted houses, such as on the windows and for writing on the sign.
Pour sand into the fishbowl and smooth out so it’s level. Place the houses inside the bowl, layering them inside with the tallest in the back and the shortest houses in the front.
Add the fence, sign, palm tree, and some seashells. Keep rearranging the pieces until you’re happy with the placement.
Expert Tips & FAQs
- You can make the palm tree pictured in the post by wrapping clay around a styrofoam ball as the “leaves”. Create a log out of clay to use as the base of the tree. Paint the palm tree leaves in green and paint the tree trunk in brown. Let dry and then glue the pieces together.
This post originally appeared here on July 5, 2021.
Amanda Davis is the crafty, entrepreneurial mother of four children. She loves to bake, cook, make kid's crafts and create decorative items for her home. She is a crafting expert and guru in the kitchen and has appeared online and in print publications many times over the years.
Latest posts by Amanda Davis (see all)
Reader Interactions
Free CraftsBy email every week
Latest crafts straight to your inbox!








 English (US) ·