
.jpg)
 11 months ago
112
11 months ago
112
PROTECT YOUR DNA WITH QUANTUM TECHNOLOGY
Orgo-Life the new way to the future Advertising by AdpathwayAuthor by Amanda Davis on August 1, 2025 Updated on August 1, 2025
These paper plate ladybugs are a great painting project for kids of all ages. It's awesome for helping fine-tune your child's motor skills while having lots of fun in the process!
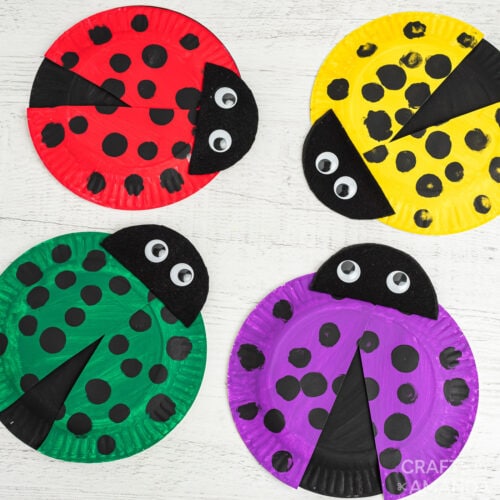
Kids will love making these adorable paper plate ladybugs this spring and summer using colorful paint, paper plates, felt, and googly eyes.
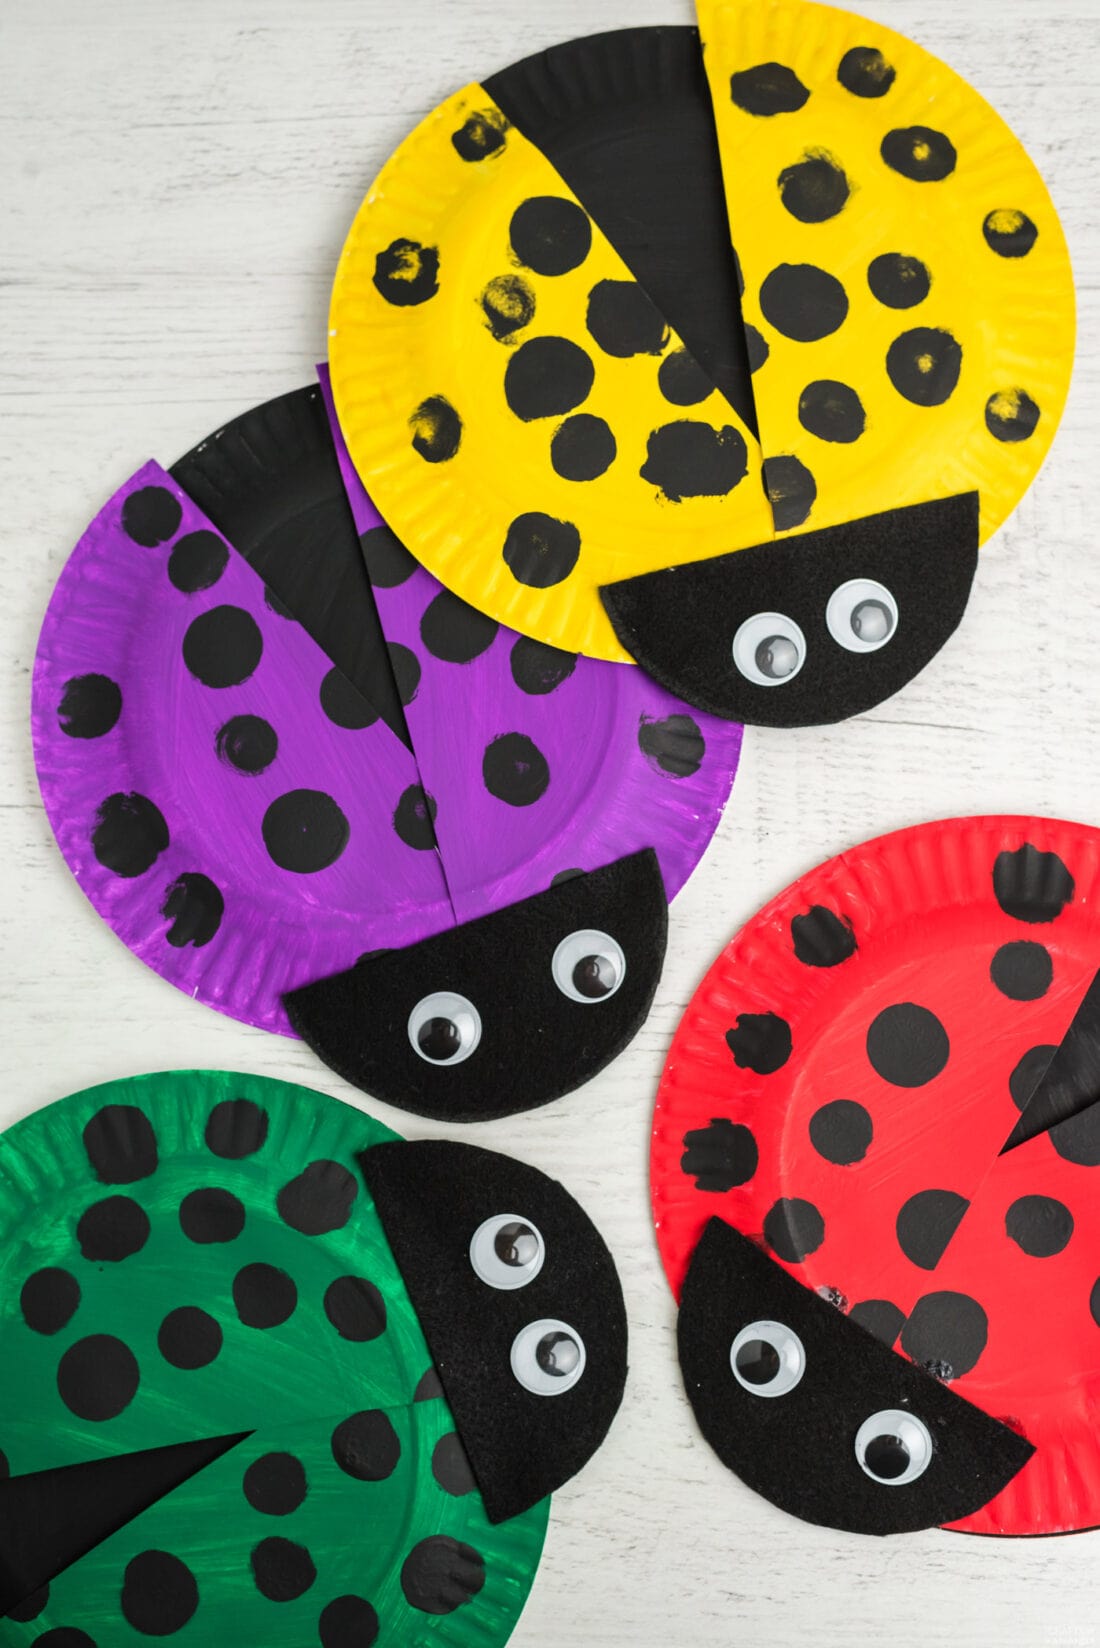
Why we love this project
This paper plate ladybug craft is perfect as a summer camp activity or as a classroom project. You could also easily work it into a homeschool lesson on insects or simply have fun on a rainy day indoors.
There’s no doubt that we love paper plate crafts for kids around here. These ladybugs can be painted in so many different color combinations, so let your child’s creative direction take the lead on this project!
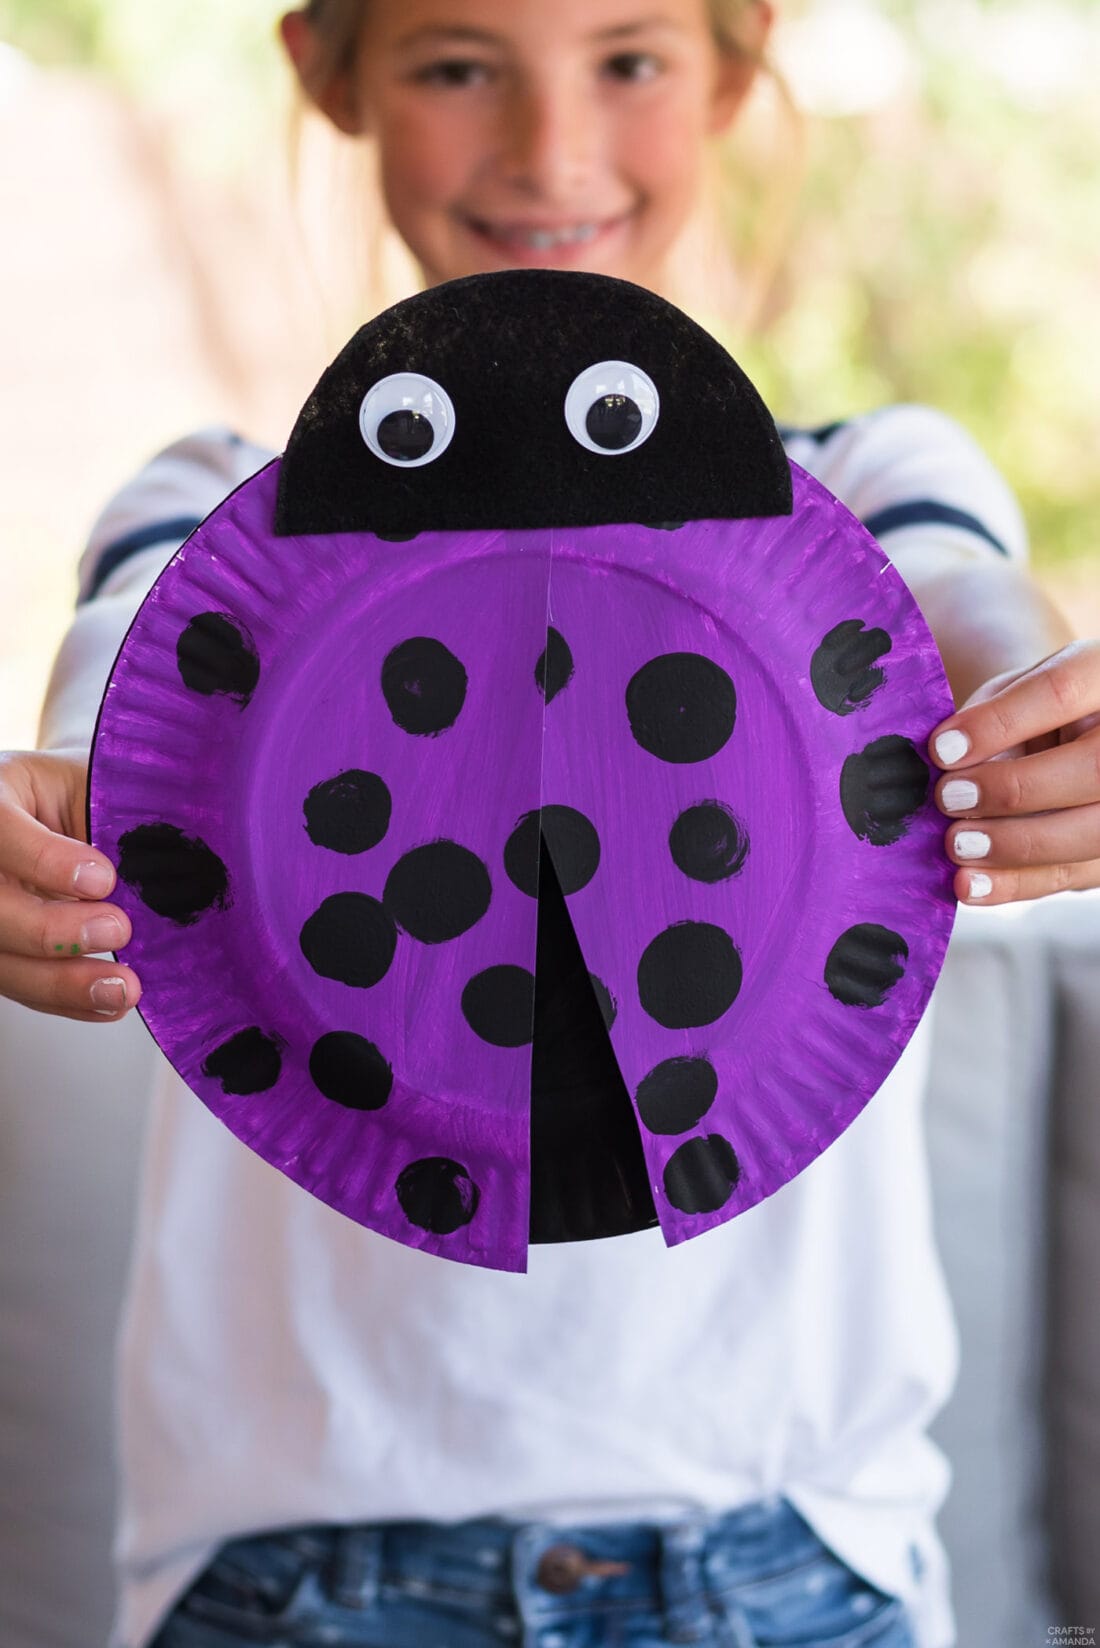
Helpful Project Information:
- Age Level: 6 and up
- Mess Factor: Medium
- Level of Difficulty: Easy
- Time to Complete: Less than 30 minutes
- Cost Estimate: Less than $5.00
Craft supplies you will need
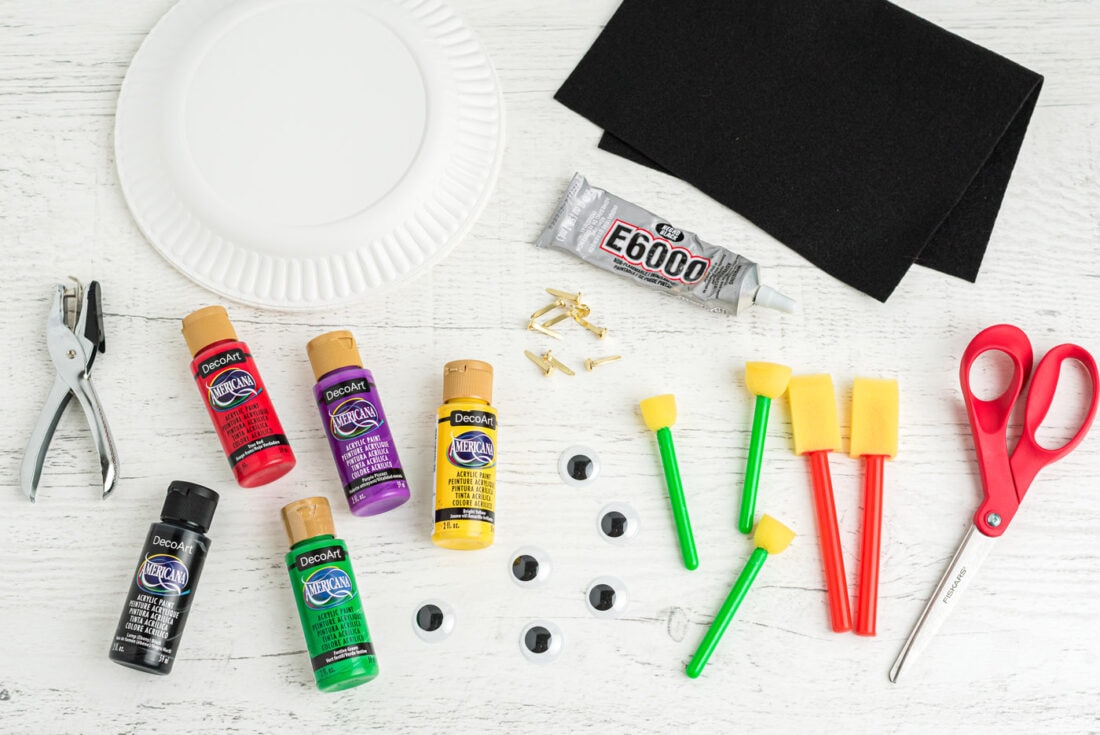
Get full list of supplies and directions in the printable version at the end of this post.
How to Make Paper Plate Ladybugs
These step by step photos and instructions are here to help you visualize how to make this project. Please scroll down to simply print out the instructions!
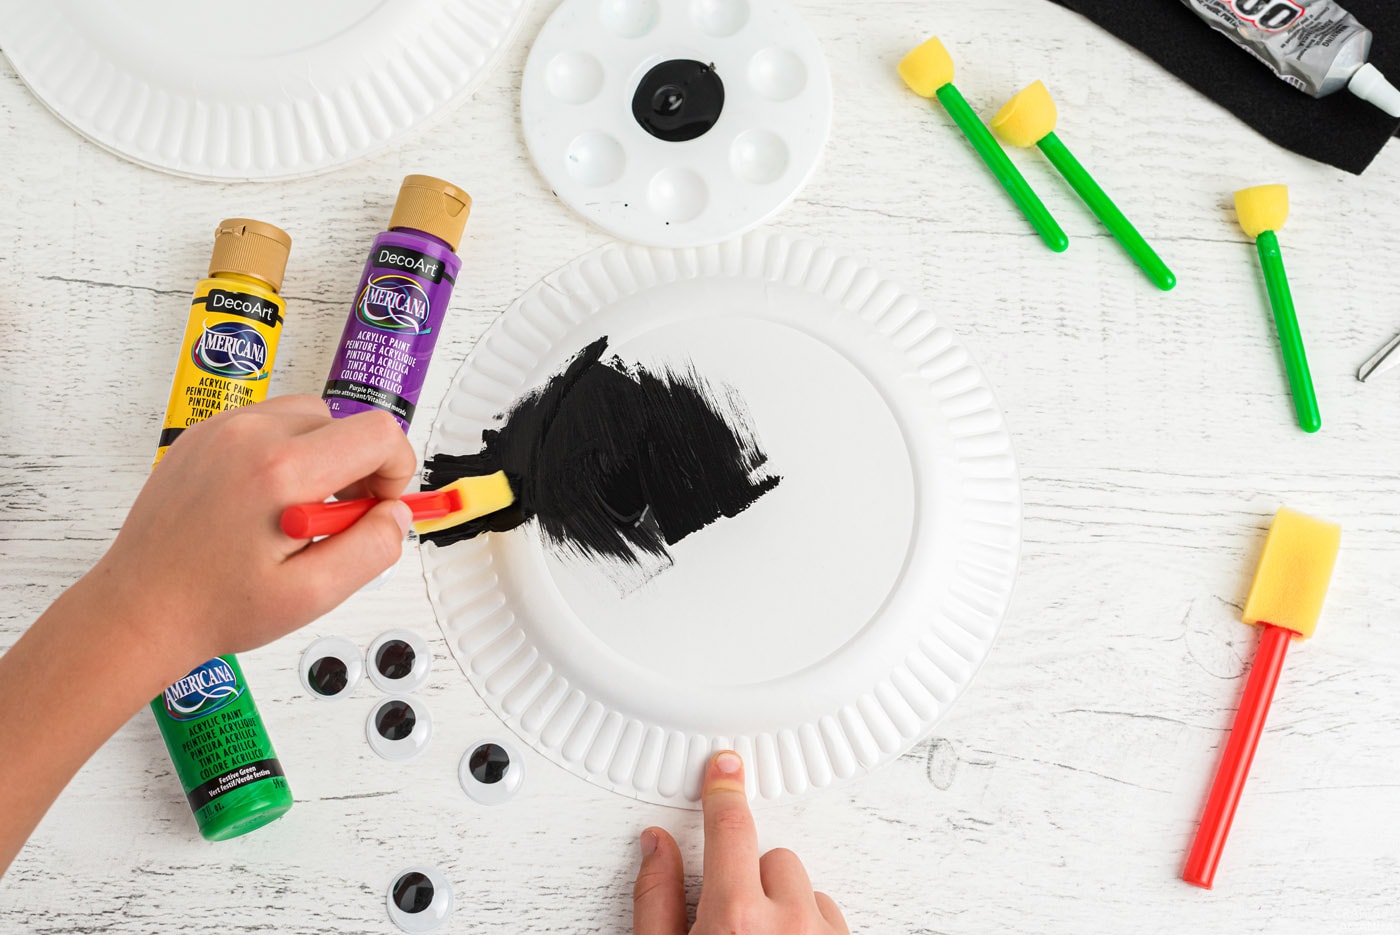
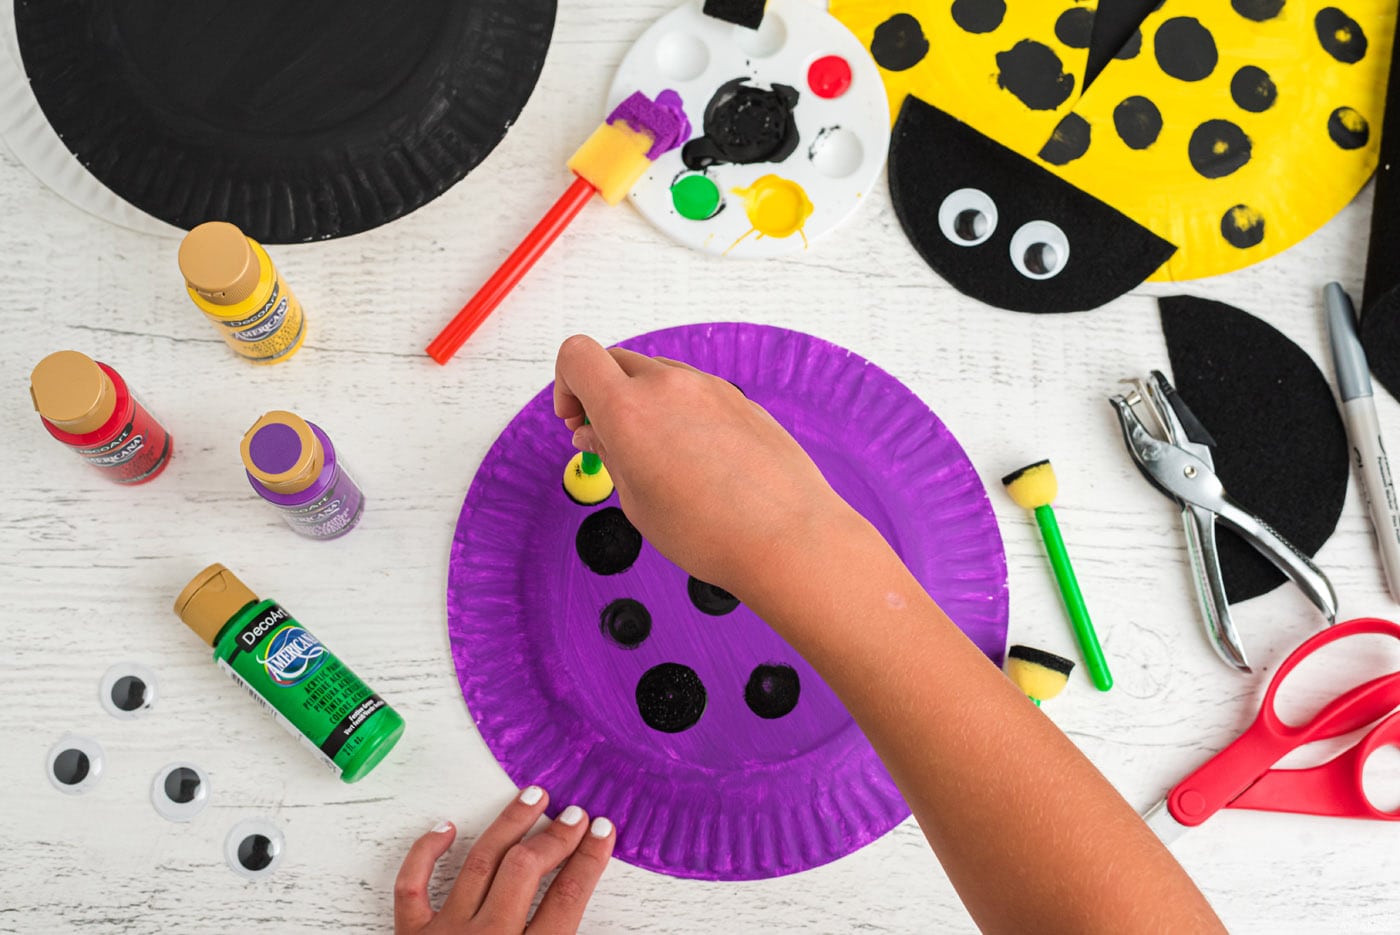
- Paint one paper plate black and the other in whatever color you choose. Red is traditional for ladybugs, but you can get colorful like we did if you want. Set aside to dry.

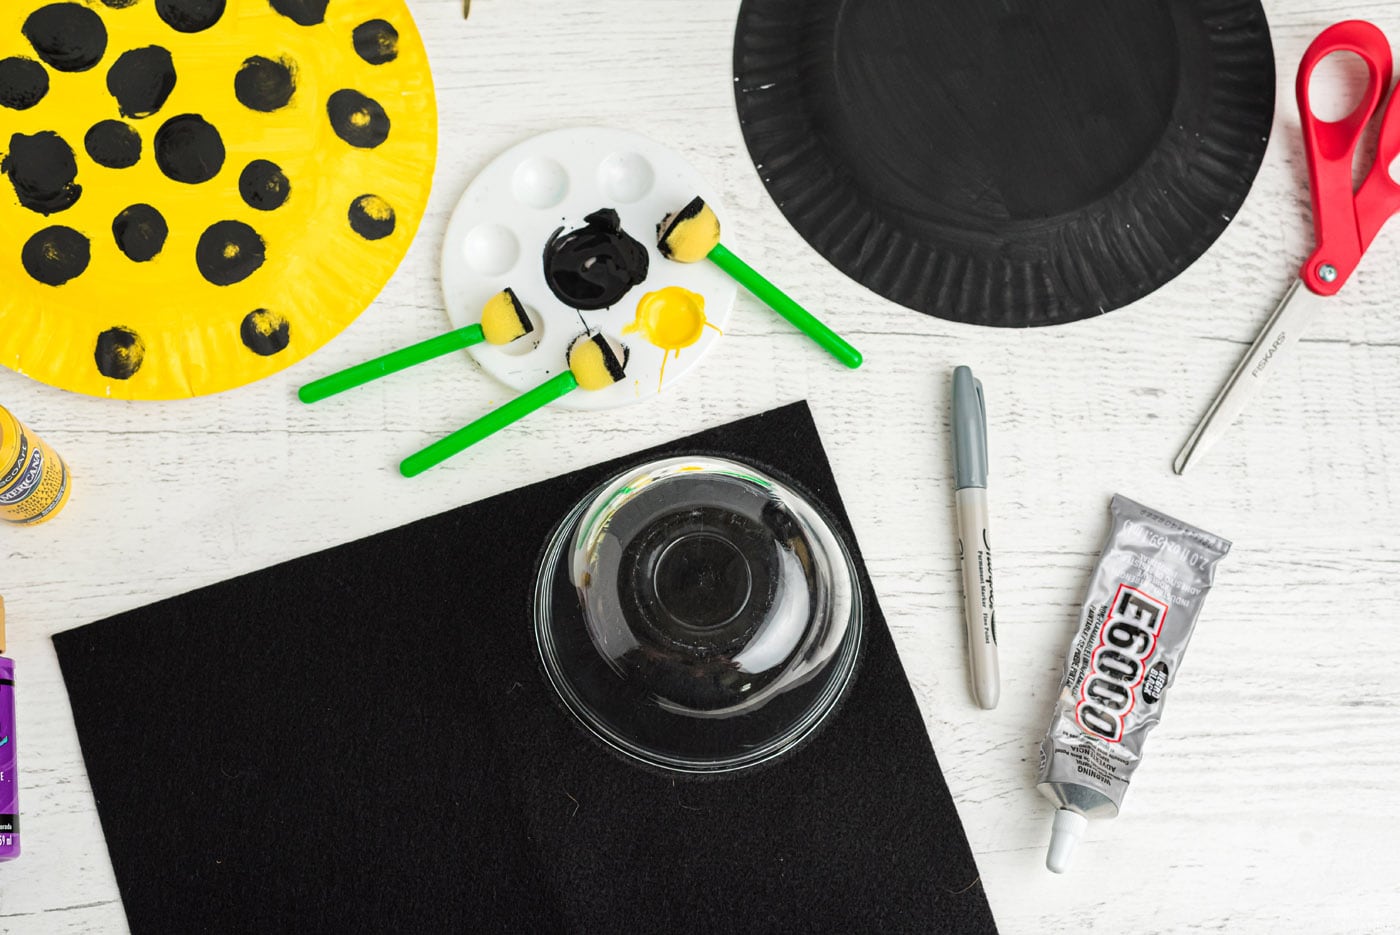
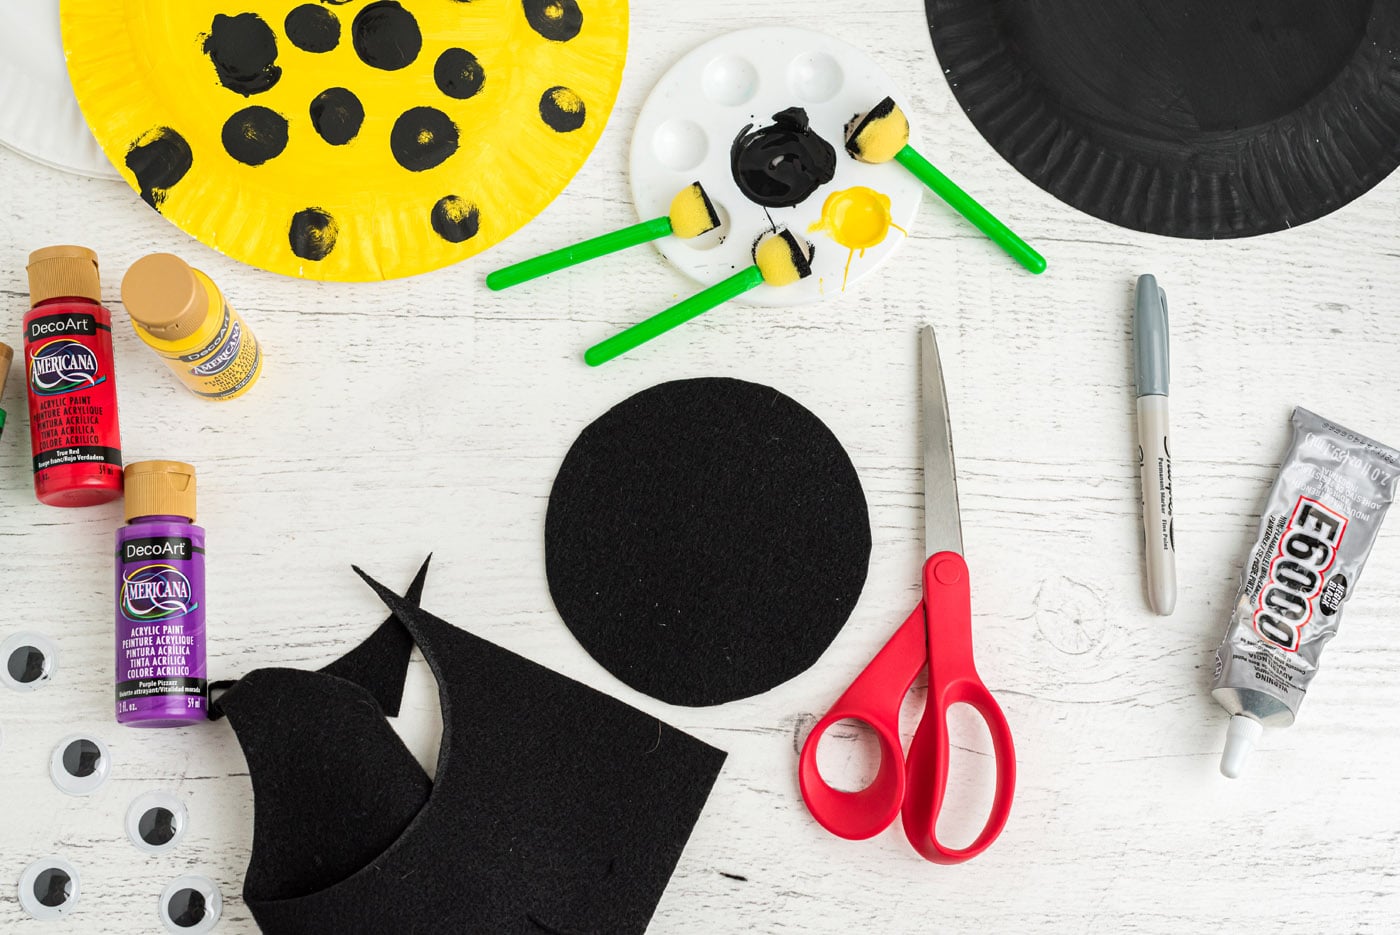
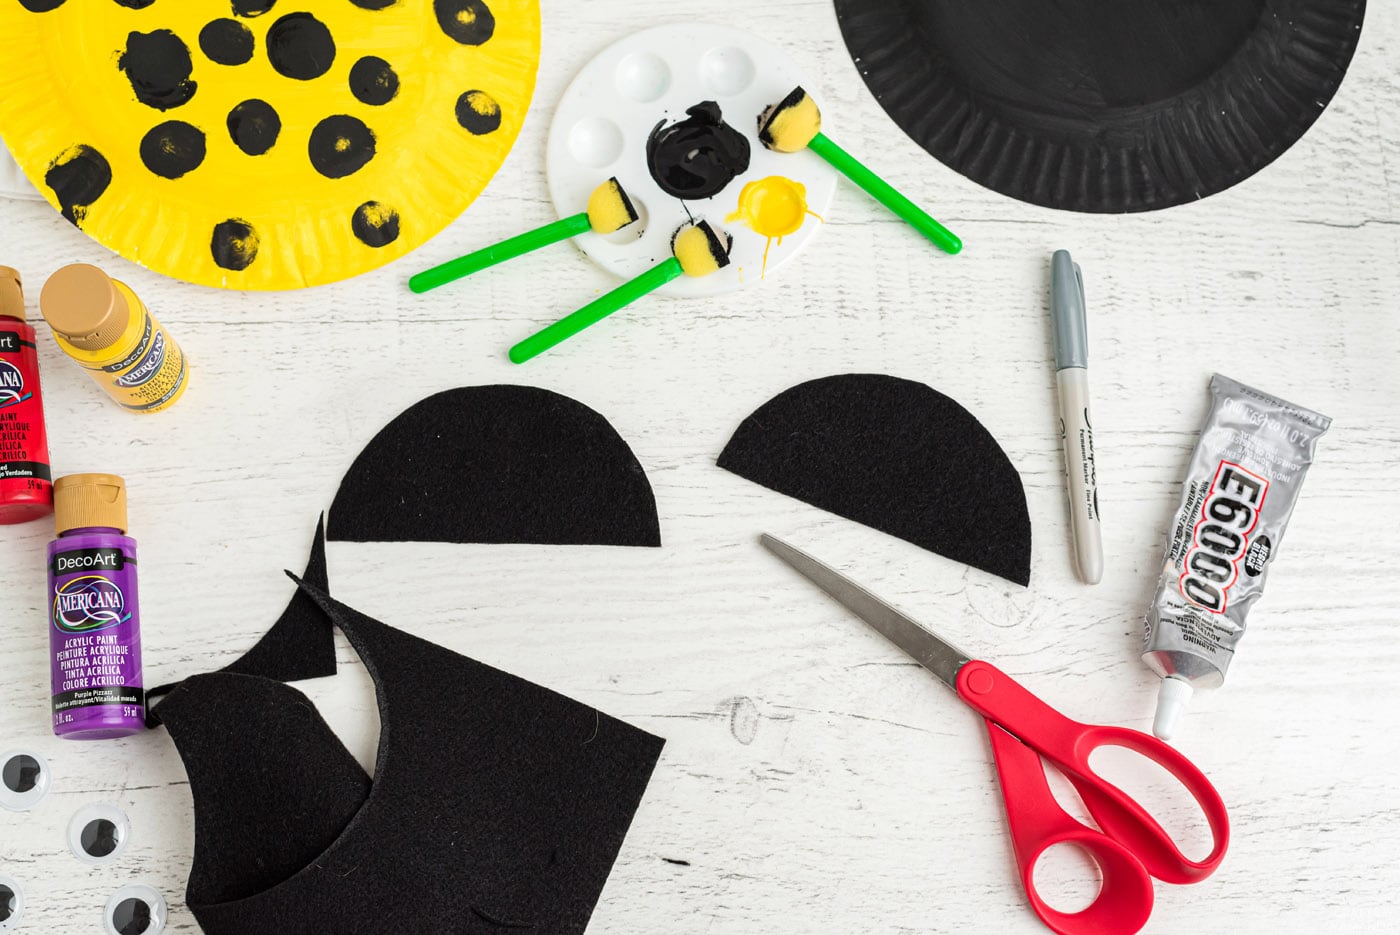
- From black felt, cut out half a circle for the head.
EXPERT TIP: Use a medium-size jar, bowl, or cup to trace a circle onto the fabric.
- Once the paint has dried, take your colorful painted plate and begin making polka dots using a pouncer sponge that’s lightly dabbed in black paint. Use medium and large-sized pouncer sponges to create a realistic ladybug pattern.
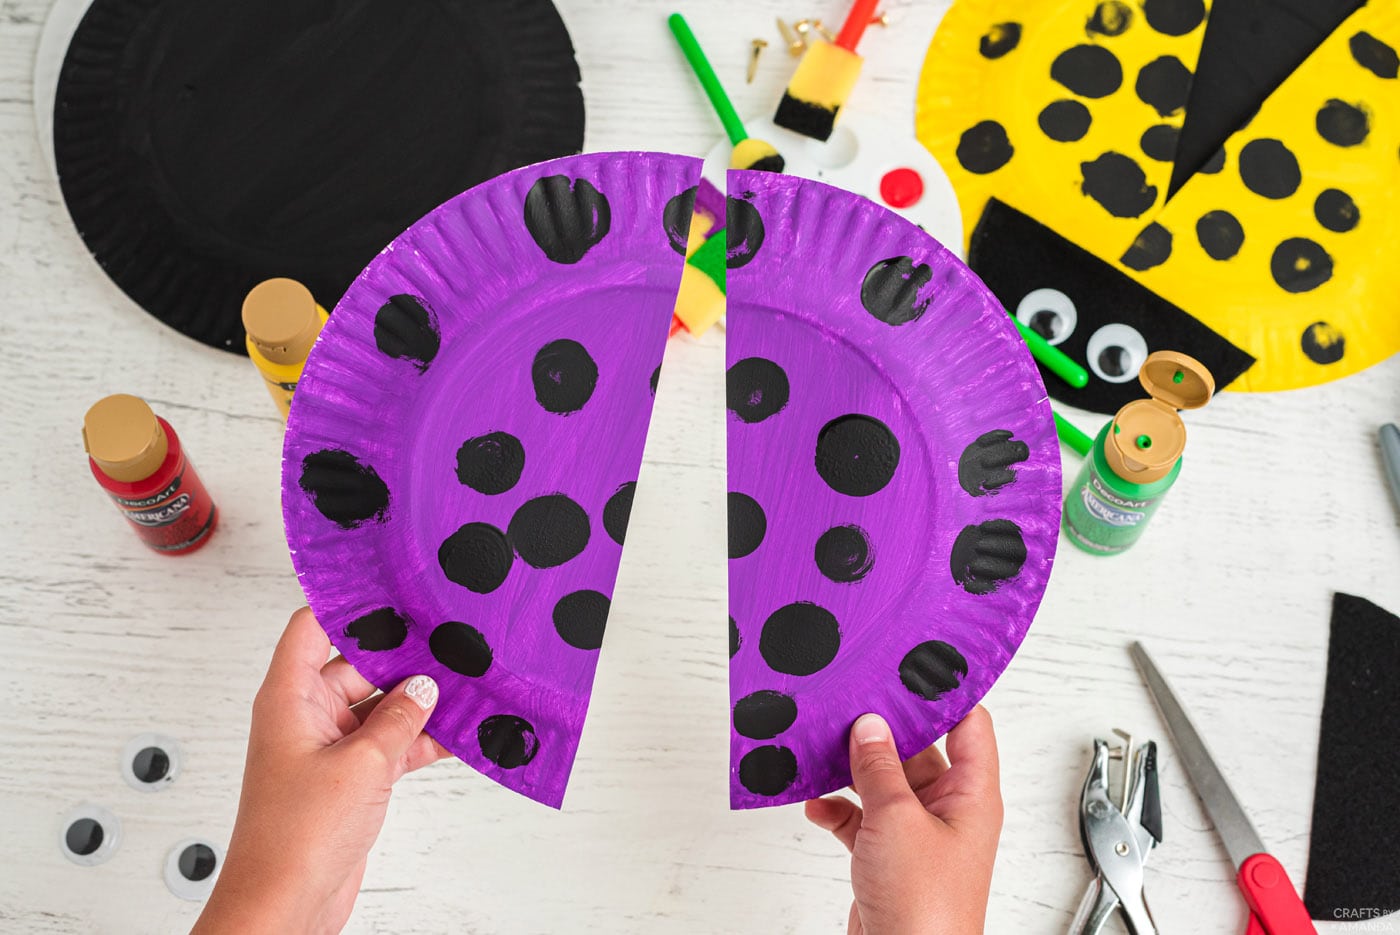
- After allowing the polka dots to dry, take the color paper plate (not the black one) and cut it in half.
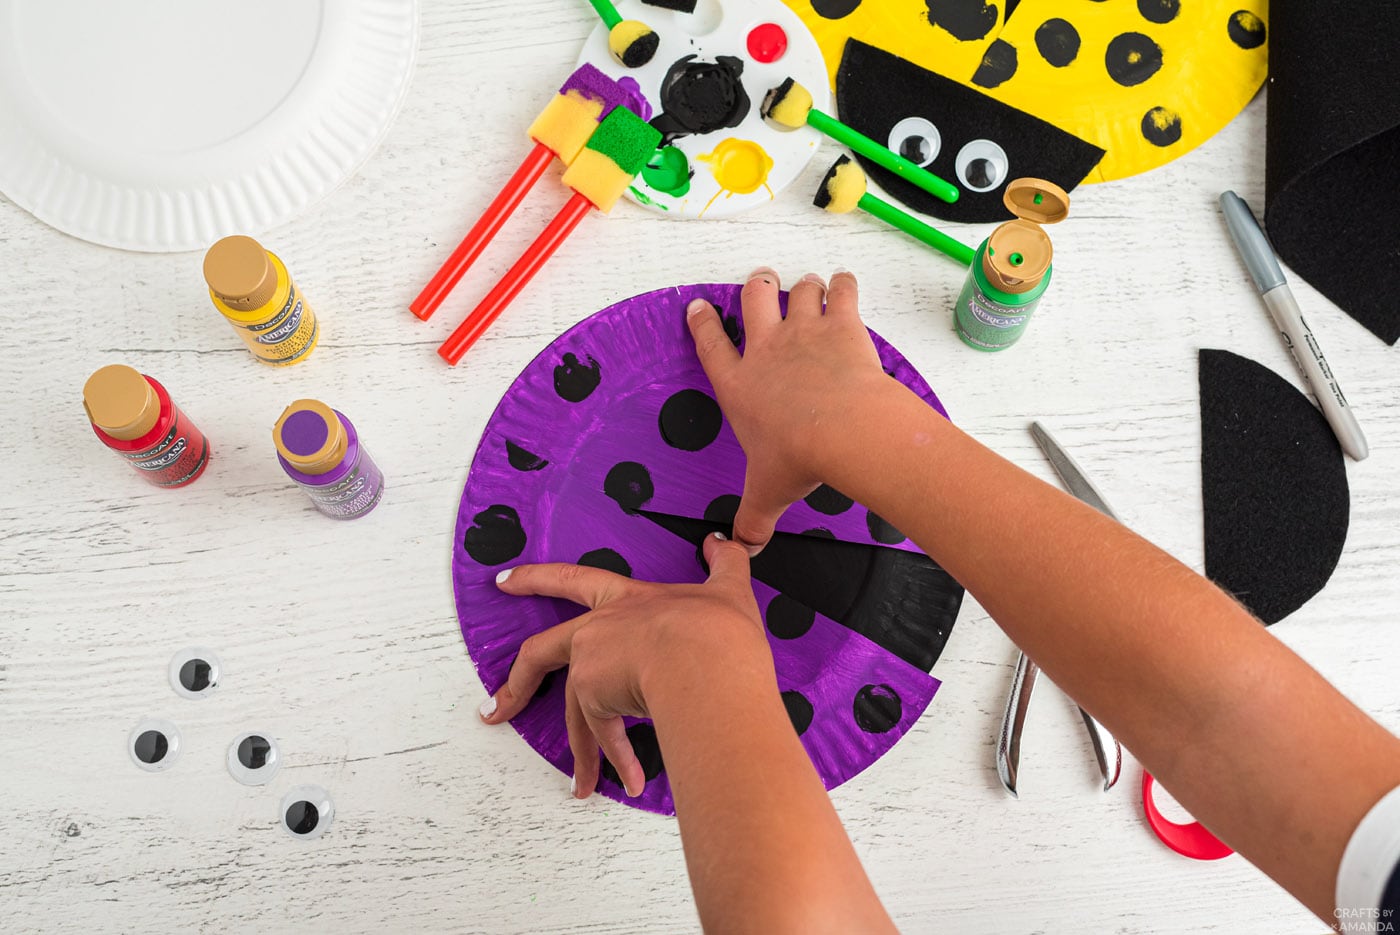
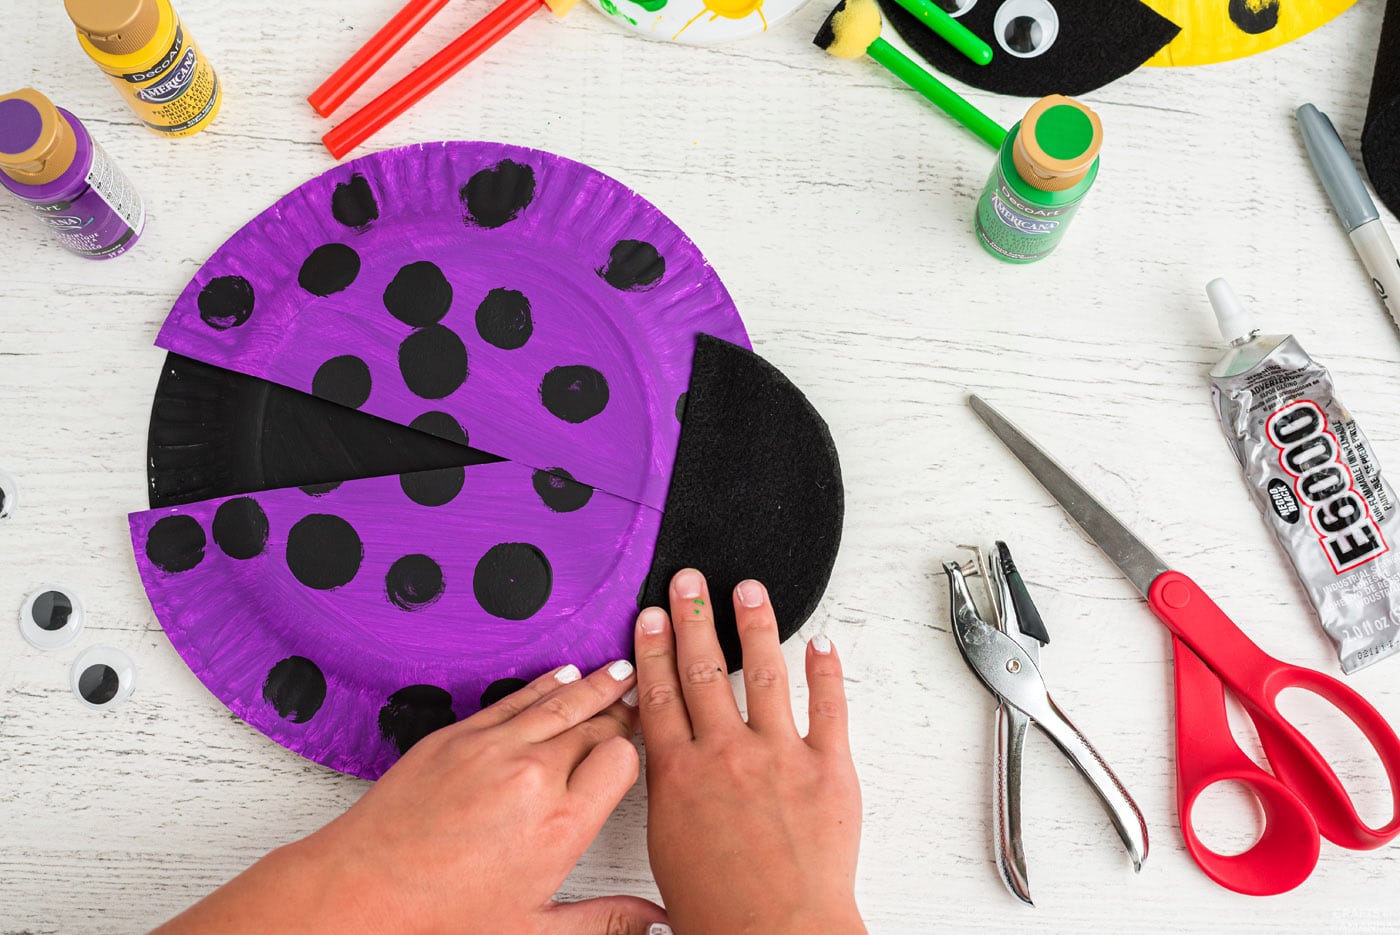
- Line the two halves up with the black paper plate and spread the “wings” open a bit.
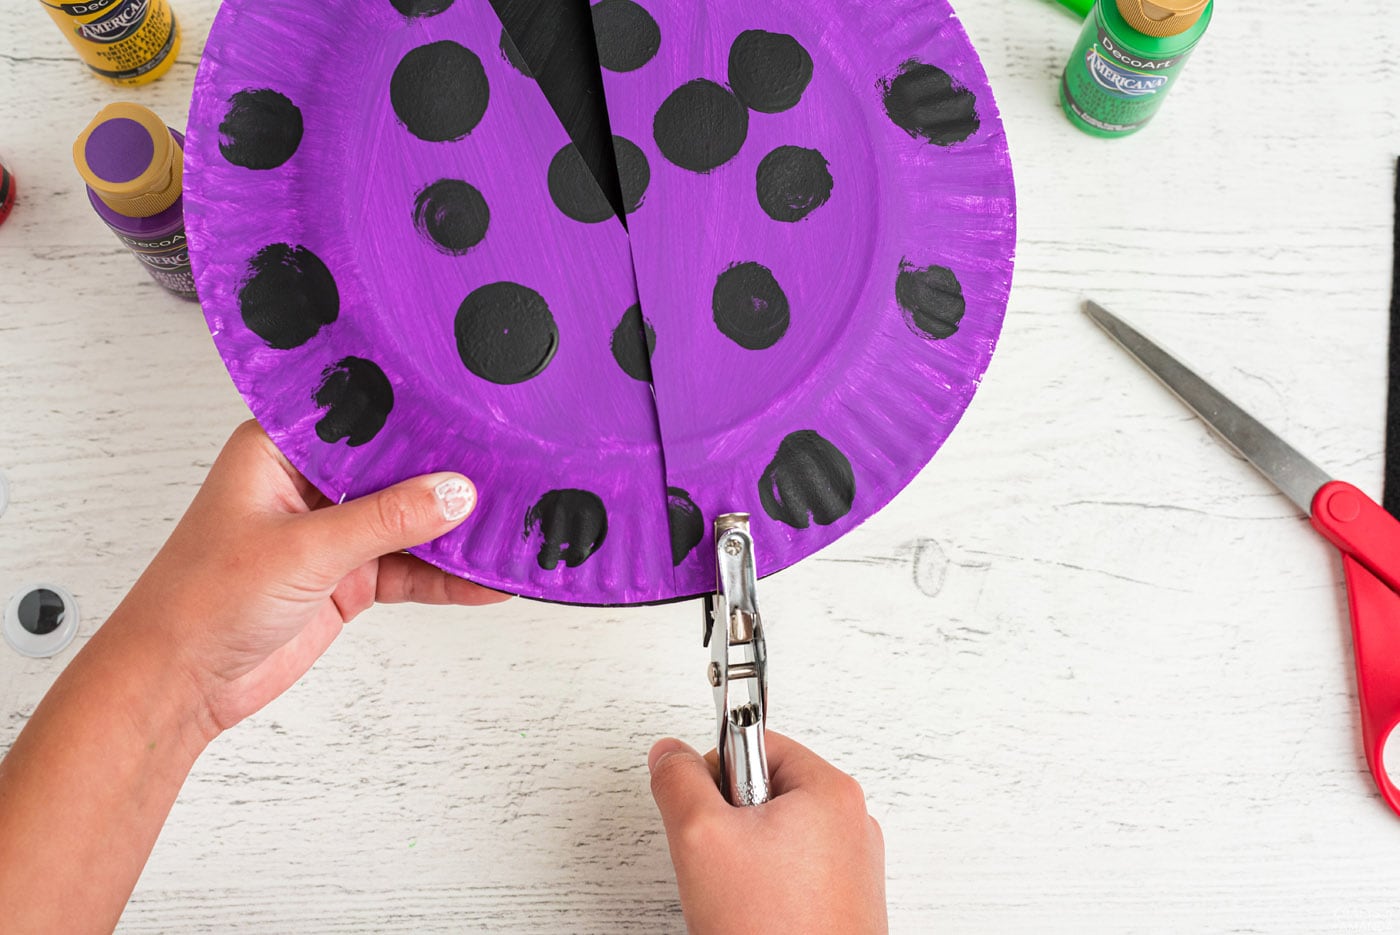
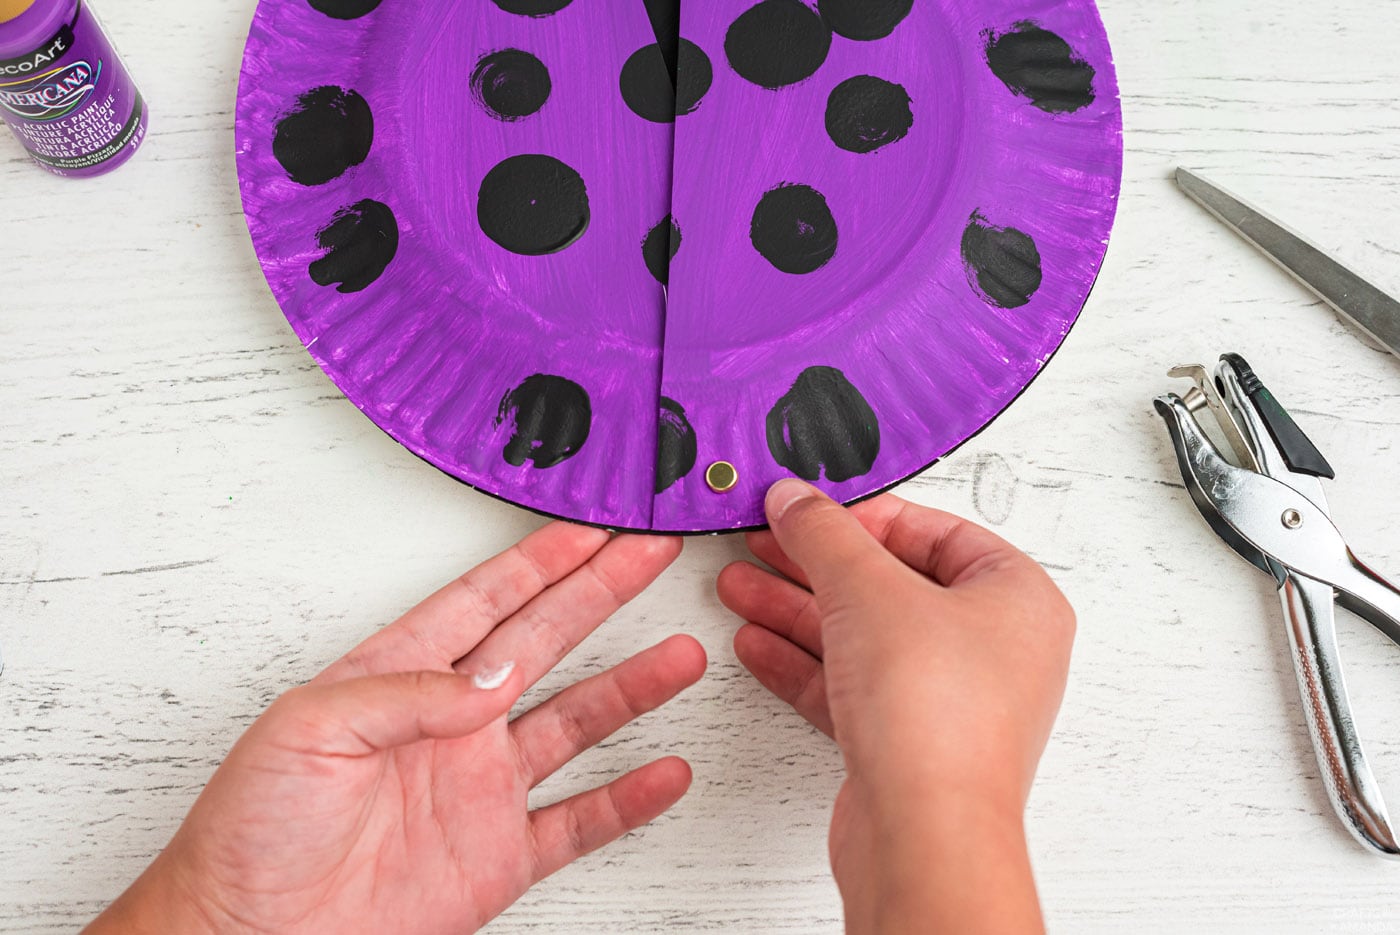
- Hold at the top and carefully poke a hole through the top of the wings and through the black plate underneath.
- Still holding it in place, push the fastener through the hole and secure it.
- Glue the head over the top of the wings to hide the fastener.
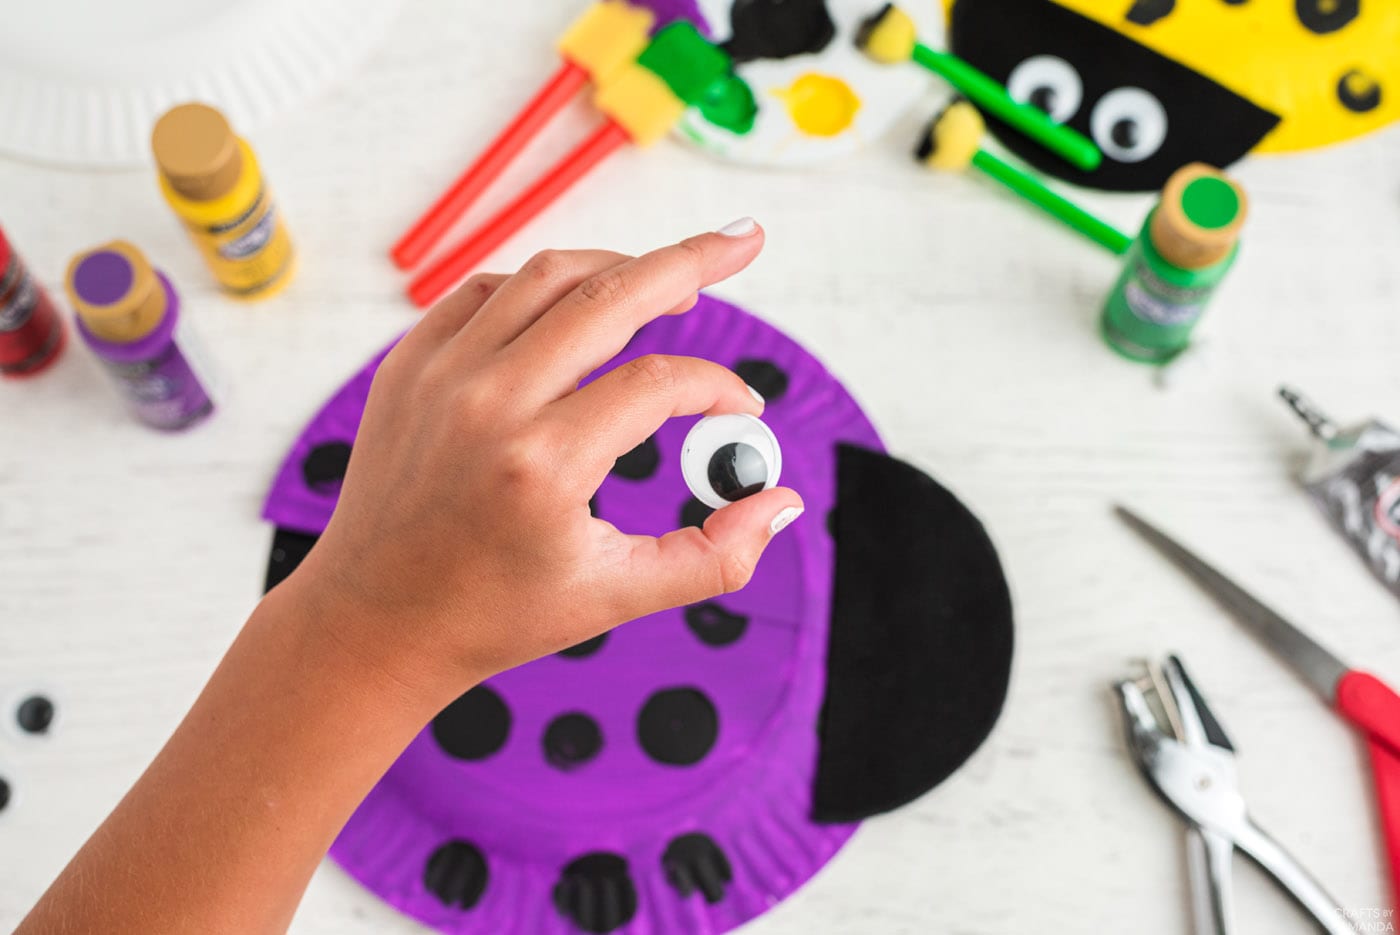
- Glue googly eyes onto the head.
Expert Crafting Tips
- You may substitute the black felt with patterned fabric, craft foam, or construction paper. If you don’t have wiggle eyes on hand, make your own out of white and black felt or craft foam.
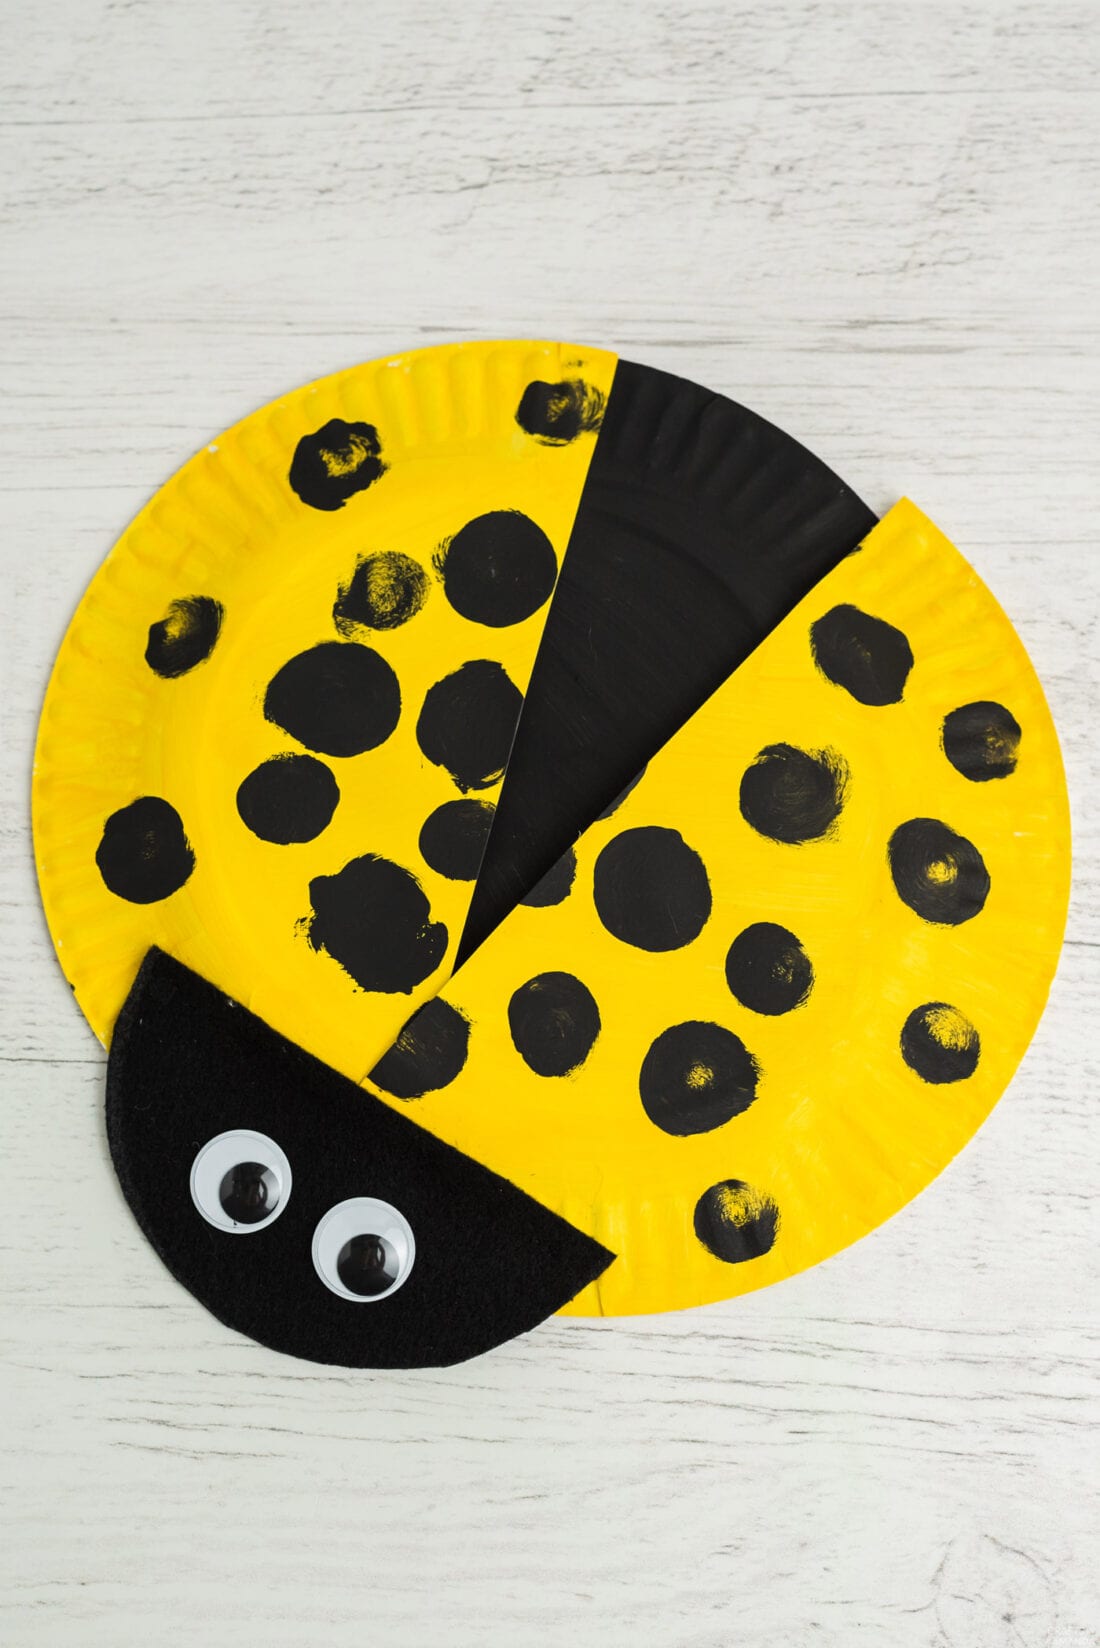
These paper plate ladybugs are a great painting project for kids of all ages. It’s awesome for helping fine-tune your child’s motor skills while having lots of fun in the process!
More Ladybug Crafts
- Ladybug Painted Rocks
- Swirling Twirling Ladybugs
- Plastic Lid Ladybugs
- Ladybug Tic Tac Toe Game
- Decoupage Paper Plate Ladybug Craft
I love to create and share my projects with you! I know it’s hard to remember to come back and search, so I’ve made it easy for you with my weekly newsletter! You can subscribe for free and I’ll send you fun crafts and delicious recipes every week right to your email.
Paper Plate Ladybugs
These paper plate ladybugs are a great painting project for kids of all ages. It's awesome for helping fine-tune your child's motor skills while having lots of fun in the process!
Crafting Time30 minutes
Drying Time30 minutes
Total Time1 hour
Makes: 1 ladybug
Author: Amanda Formaro
Supplies
- 2 paper plates
- acrylic paint in black and your choice of colors
- 2 large googly eyes
- E6000 glue or glue stick
- black felt
Craft tools
Hole punch
Paper fastener
Pouncer sponges
paintbrushes
Instructions
Paint one paper plate black and the other in whatever color you choose. Red is traditional for ladybugs, but you can get colorful like we did if you like. Set aside to dry.
From black felt, cut out half a circle for the head. Use a jar, small bowl, or cup to trace a circle onto the fabric.
Once the paint has dried, take your colorful painted plate and begin making polka dots using a pouncer sponge lightly dabbed in black paint. Use multiple sponge sizes to create a realistic ladybug pattern.
After allowing the polka dots to dry, take the color paper plate (not the black one) and cut it in half. Line the two halves up with the black paper plate and spread the "wings" open a bit. Hold at the top and carefully poke a hoe through the top of the wings and through the black plate underneath. Still holding it in place, push the fastener through the hole and secure.
Glue the head over the top of the wings to hide the fastener. Glue wiggle eyes onto the head.
Expert Tips & FAQs
- You may substitute the black felt with patterned fabric, craft foam, or construction paper. If you don’t have wiggle eyes on hand, make your own out of white and black felt or craft foam.
This post originally appeared here on March 10, 2007 and has since been updated with new photos and expert tips.
Amanda Davis is the crafty, entrepreneurial mother of four children. She loves to bake, cook, make kid's crafts and create decorative items for her home. She is a crafting expert and guru in the kitchen and has appeared online and in print publications many times over the years.
Latest posts by Amanda Davis (see all)
Reader Interactions
Free CraftsBy email every week
Latest crafts straight to your inbox!









 English (US) ·