
.jpg)
 7 months ago
132
7 months ago
132
PROTECT YOUR DNA WITH QUANTUM TECHNOLOGY
Orgo-Life the new way to the future Advertising by AdpathwayAuthor by Amanda Davis on November 28, 2025 Updated on November 28, 2025
These adorable snowman doors are super easy to put together and a fun family project for a snowy afternoon.
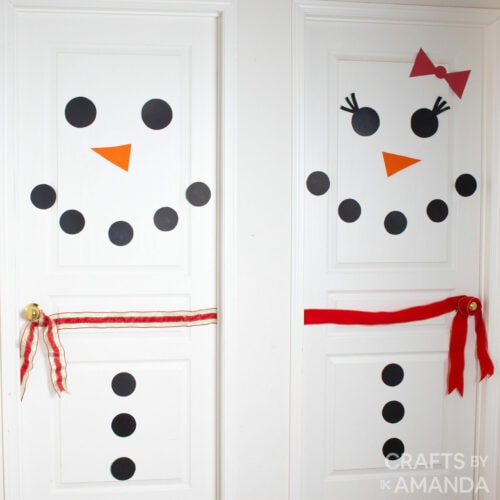
Need an inexpensive and fast way to decorate for the holidays? Make a snowman door (or snow woman!) from just a couple simple supplies. So cute, and the kids can do most of this project themselves!
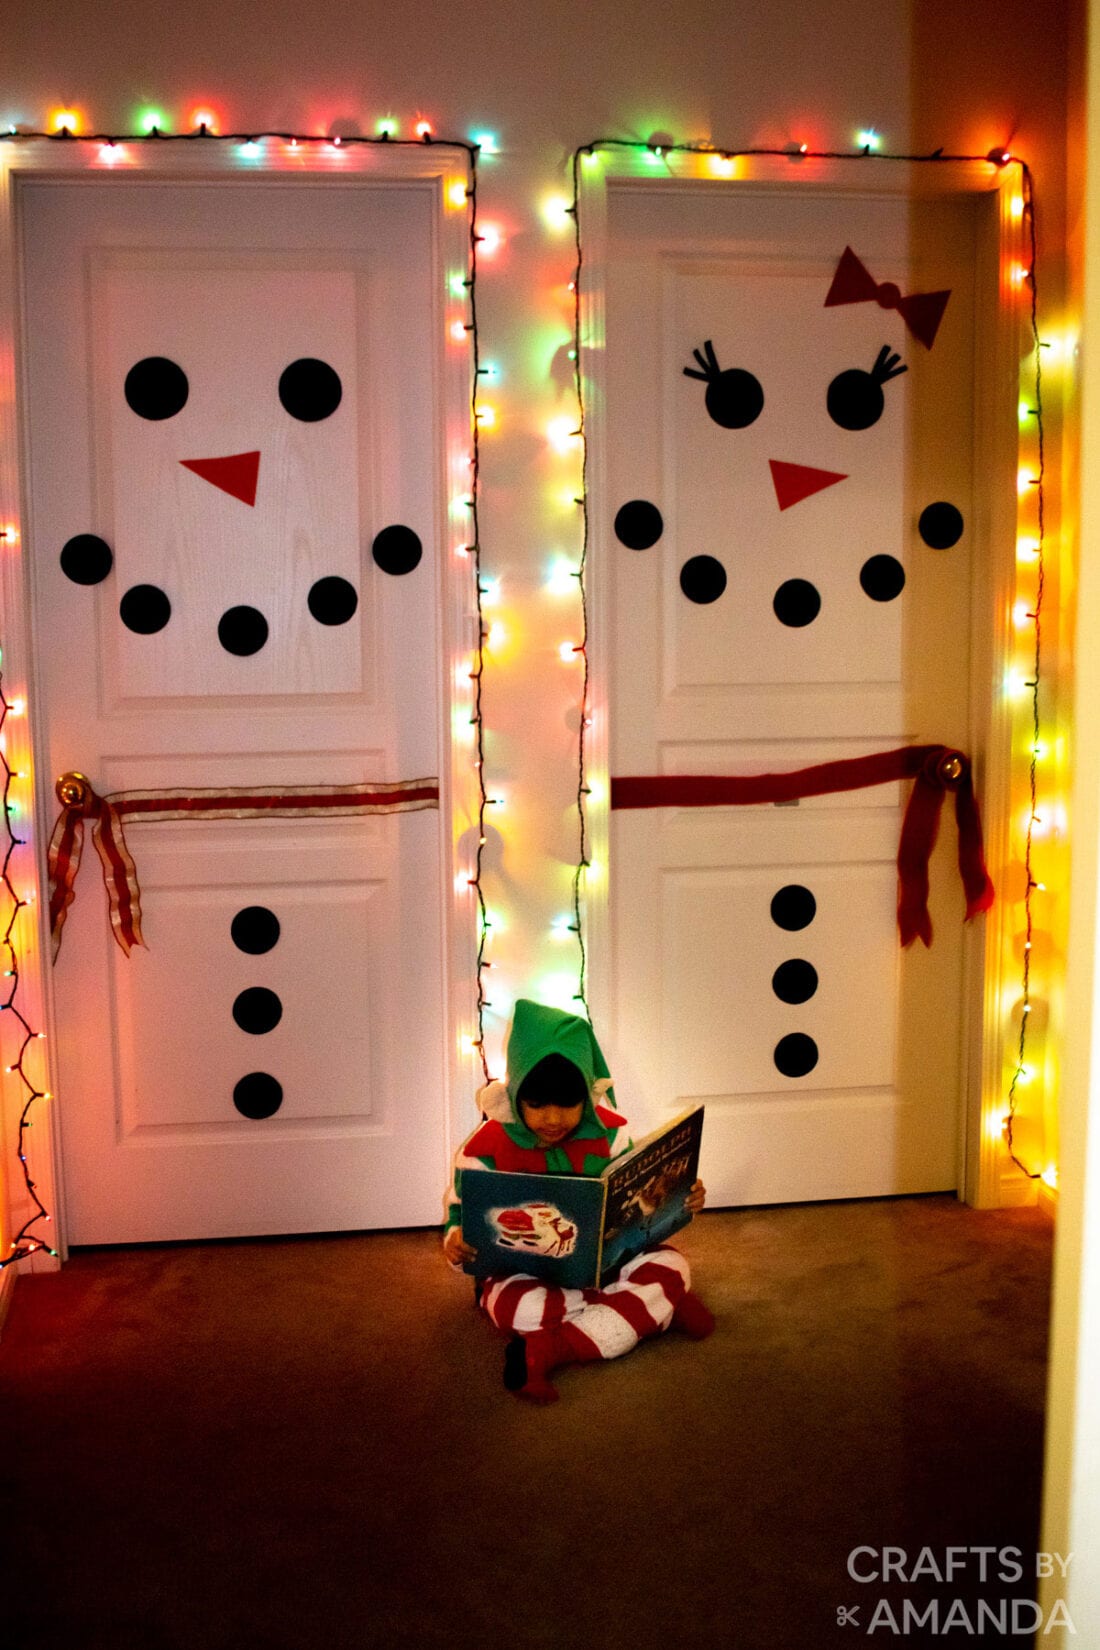
Why we love this project
I mean, how could you not love this project!? These snowman doors are super easy to put together and take just minutes. The kids will love them, as will the kid inside you!
The supplies are simple and inexpensive, and when the season is over, you can carefully remove them and save them for next year.
If you love snowmen, this DIY snowman gum is the perfect last-minute stocking stuffer.
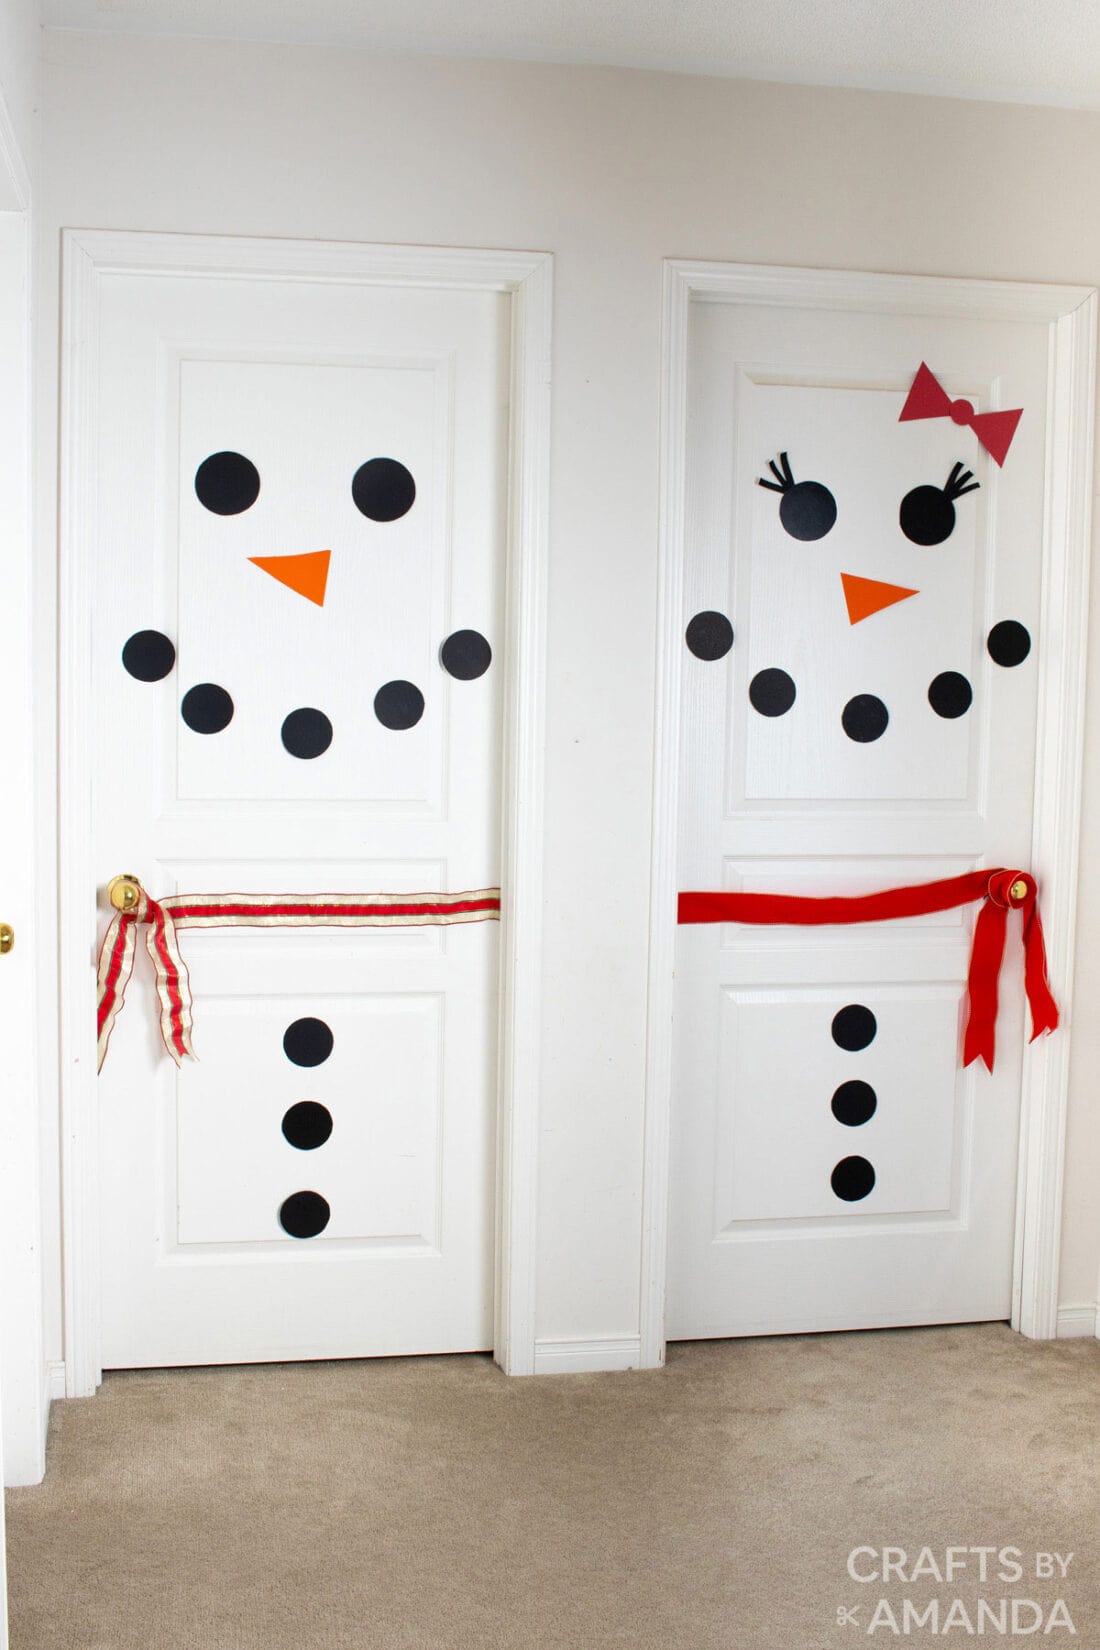
Helpful Project Information:
- Age Level: 6 and up
- Mess Factor: Low
- Level of Difficulty: Easy
- Time to Complete: Less than 30 minutes
- Cost Estimate: Less than $5.00
Craft supplies you will need
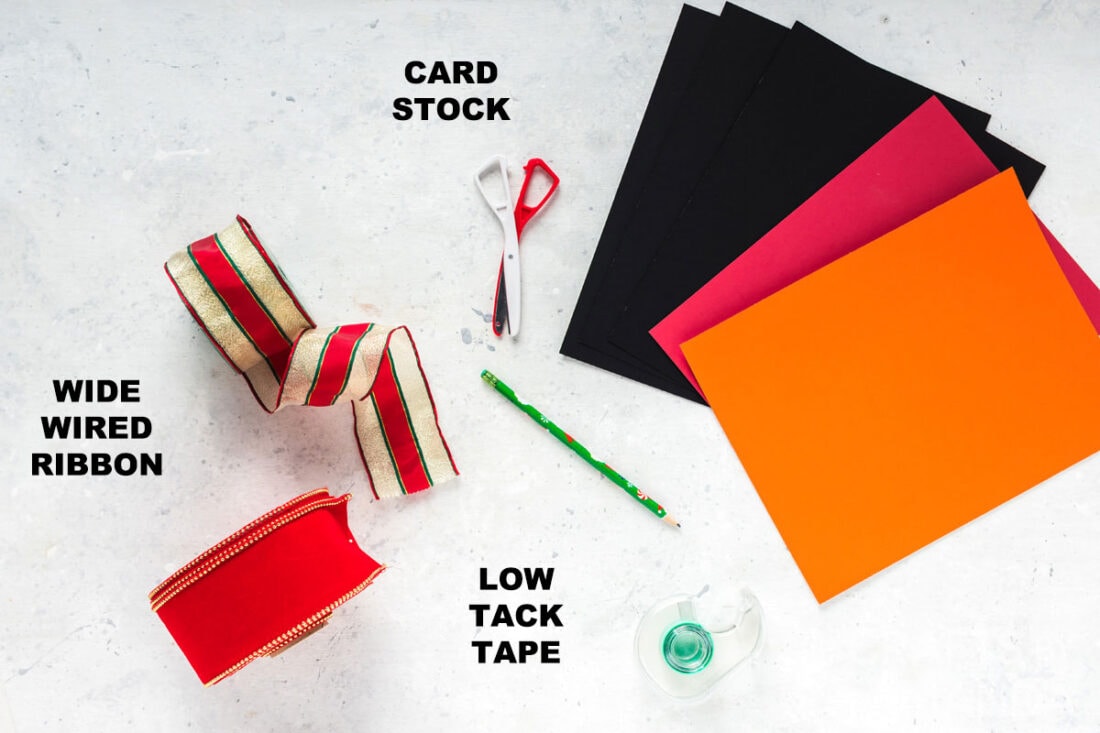 Get full list of supplies and directions in the printable version at the end of this post.
How to Make a Snowman Door
These step by step photos and instructions are here to help you visualize how to make this project. Please scroll down to simply print out the instructions!
Preparing the Pieces
These instructions are for TWO doors.
- Cut (8) 3.5-inch circles from black card stock for the buttons and smiles. We used a small bowl to trace the circles.
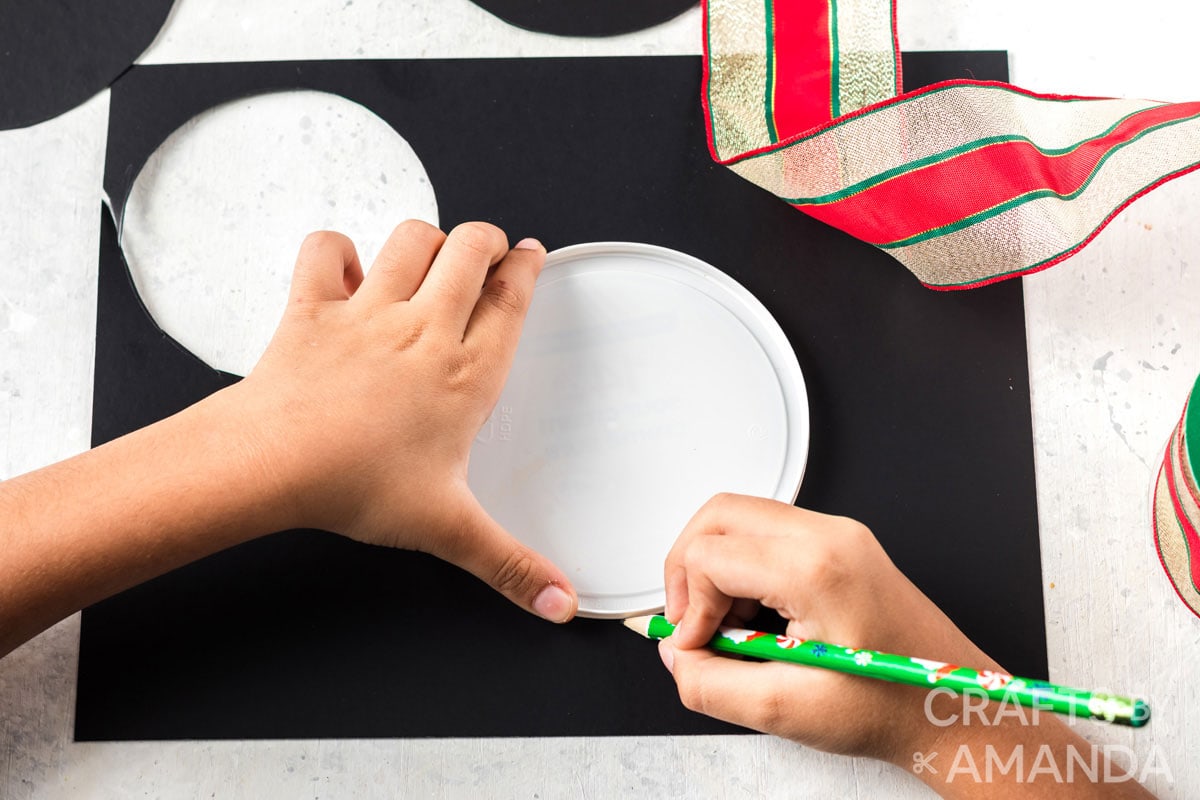
- Cut (4) 4.5-inch circles from black card stock for the eyes. We used the lid from a sour cream container to trace the circles.

- Cut out (6) half-inch x 3-inch rectangle strips from black card stock for the eyelashes for the snow woman.
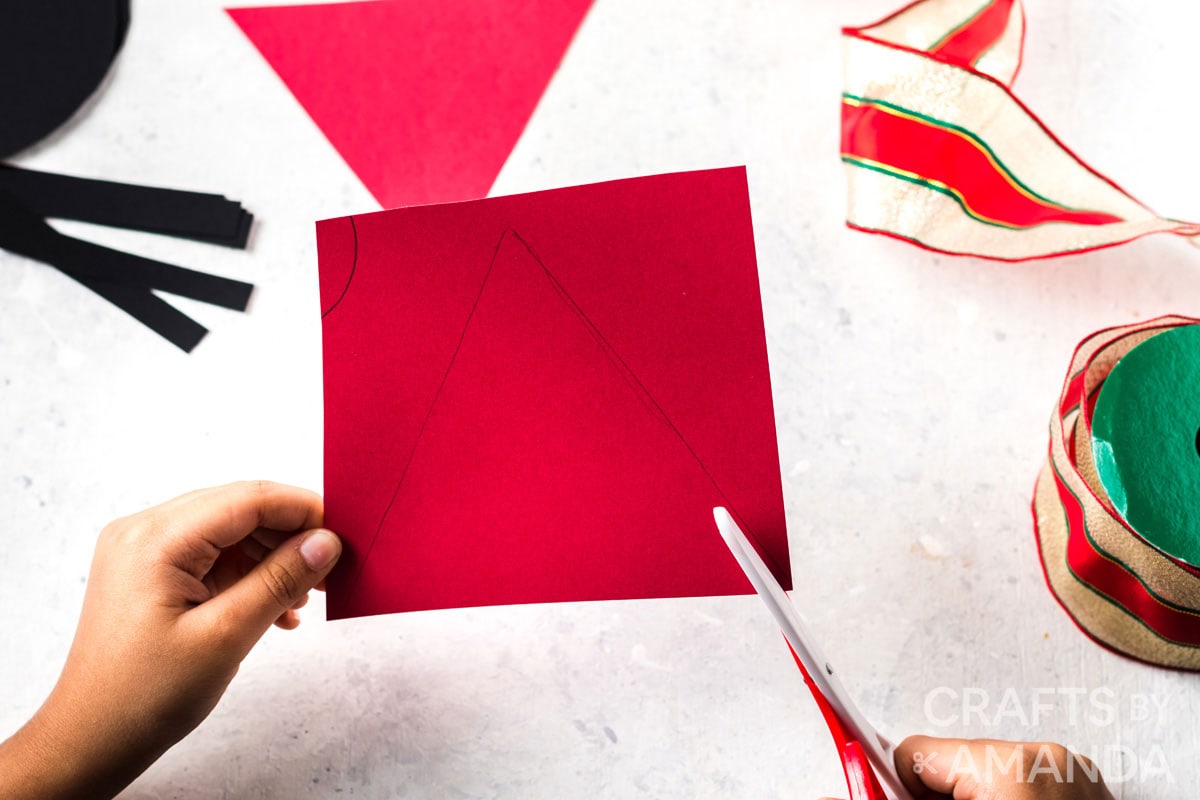
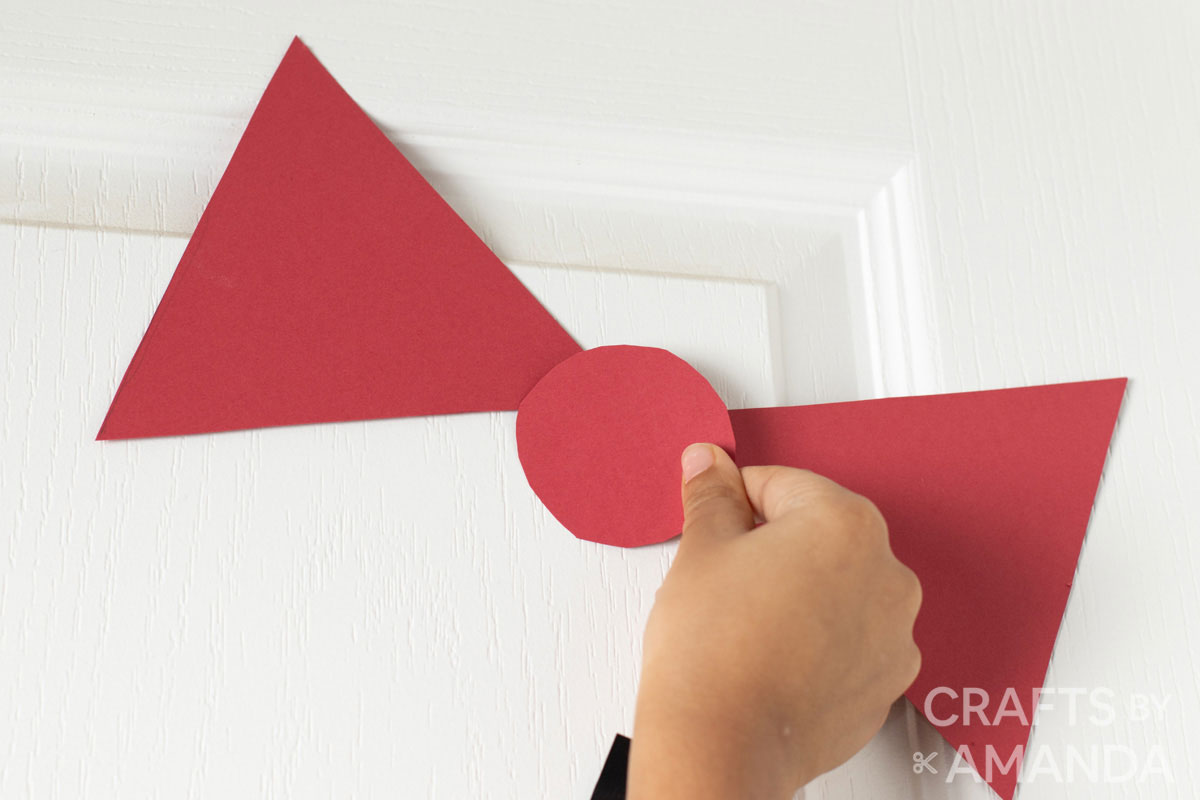
- Cut out (2) triangles from red card stock with a 5-inch base and 5 inches long for the snow women’s bow.
- Cut out (1) 2-inch circle from red card stock for the center of the bow.
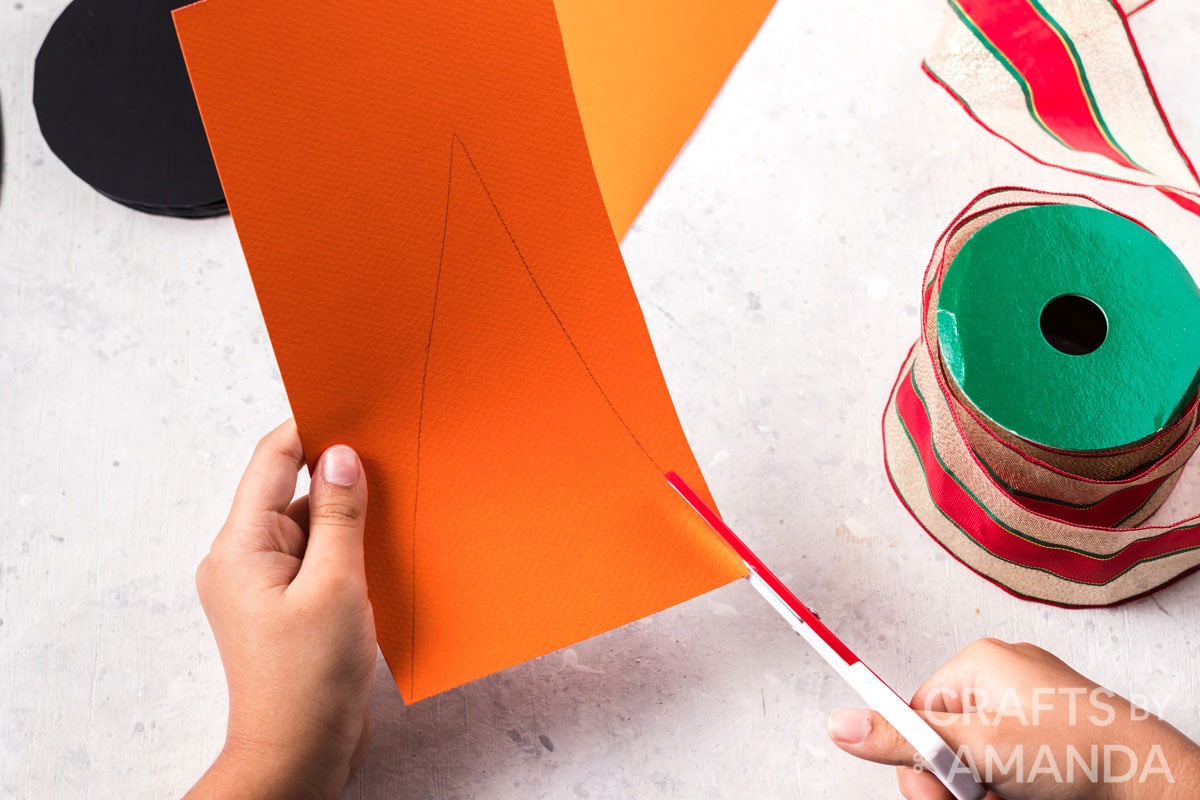
- Cut out 2 triangles with a 4-inch base that extends 6 inches long from orange card stock for the carrot noses.
- When assembling the door, you will cut out the ribbon pieces for the scarf.
Assembling the Snowman Door
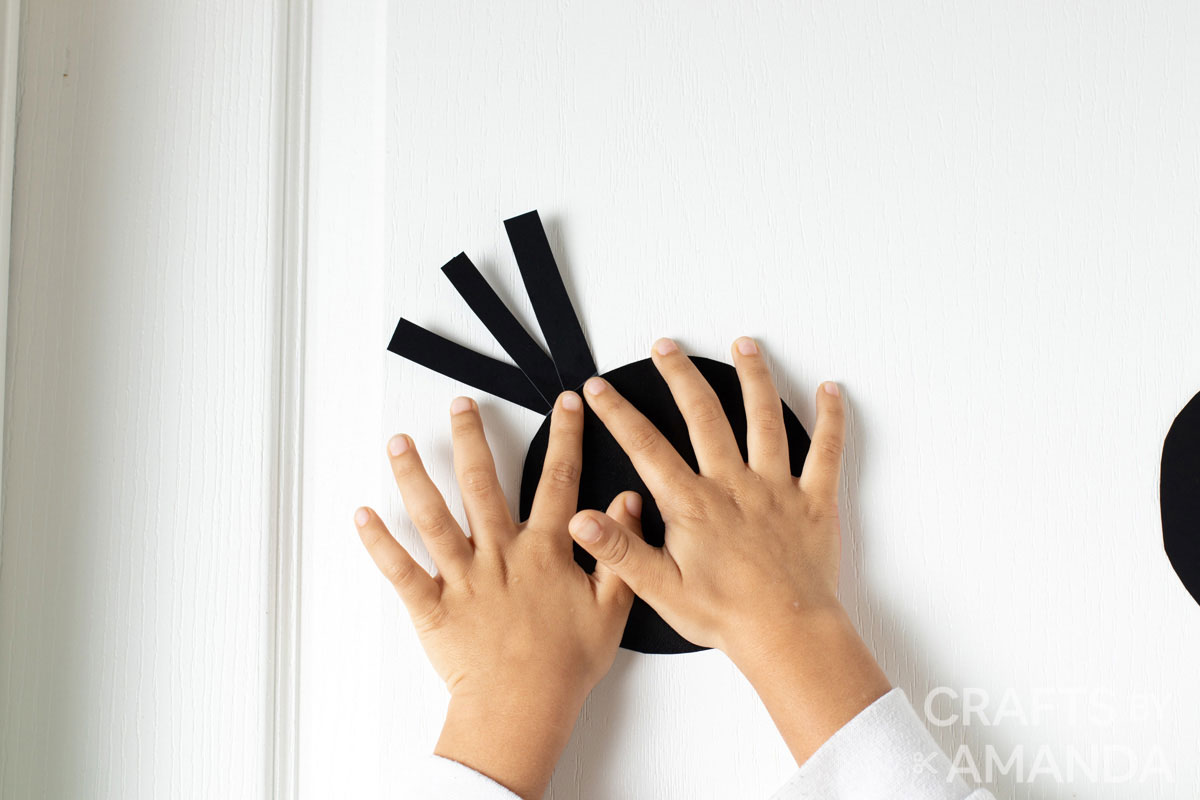
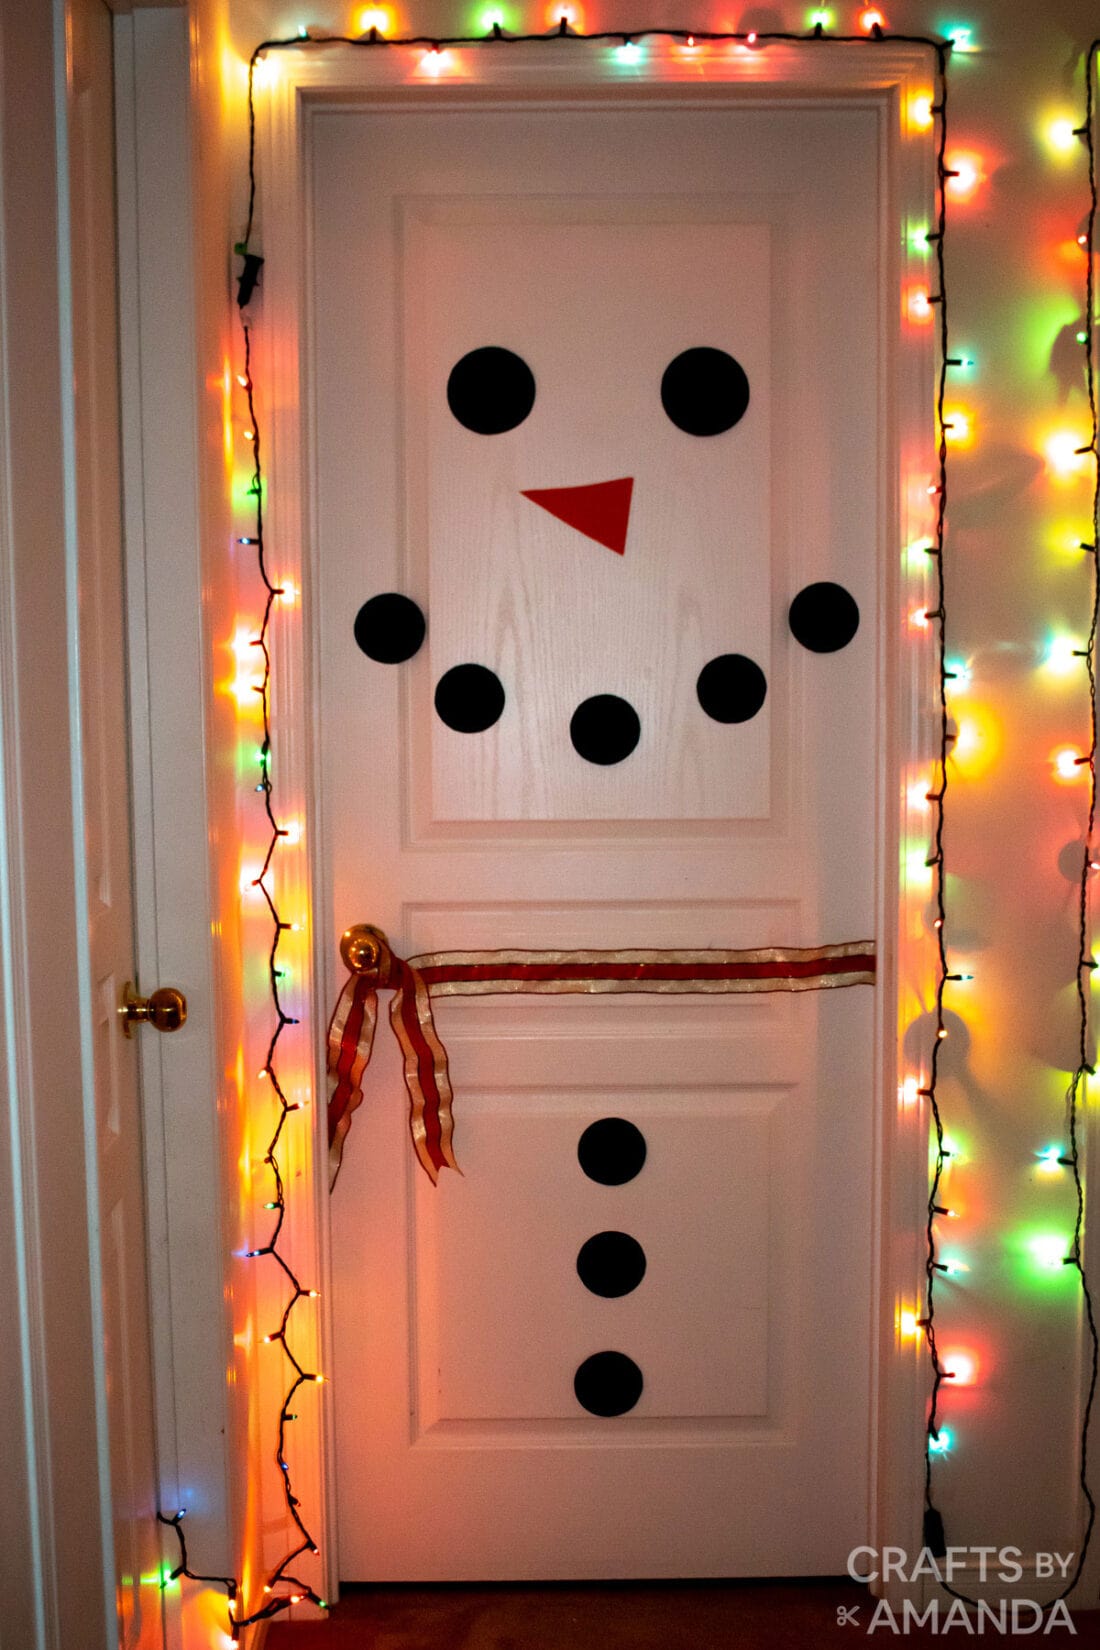
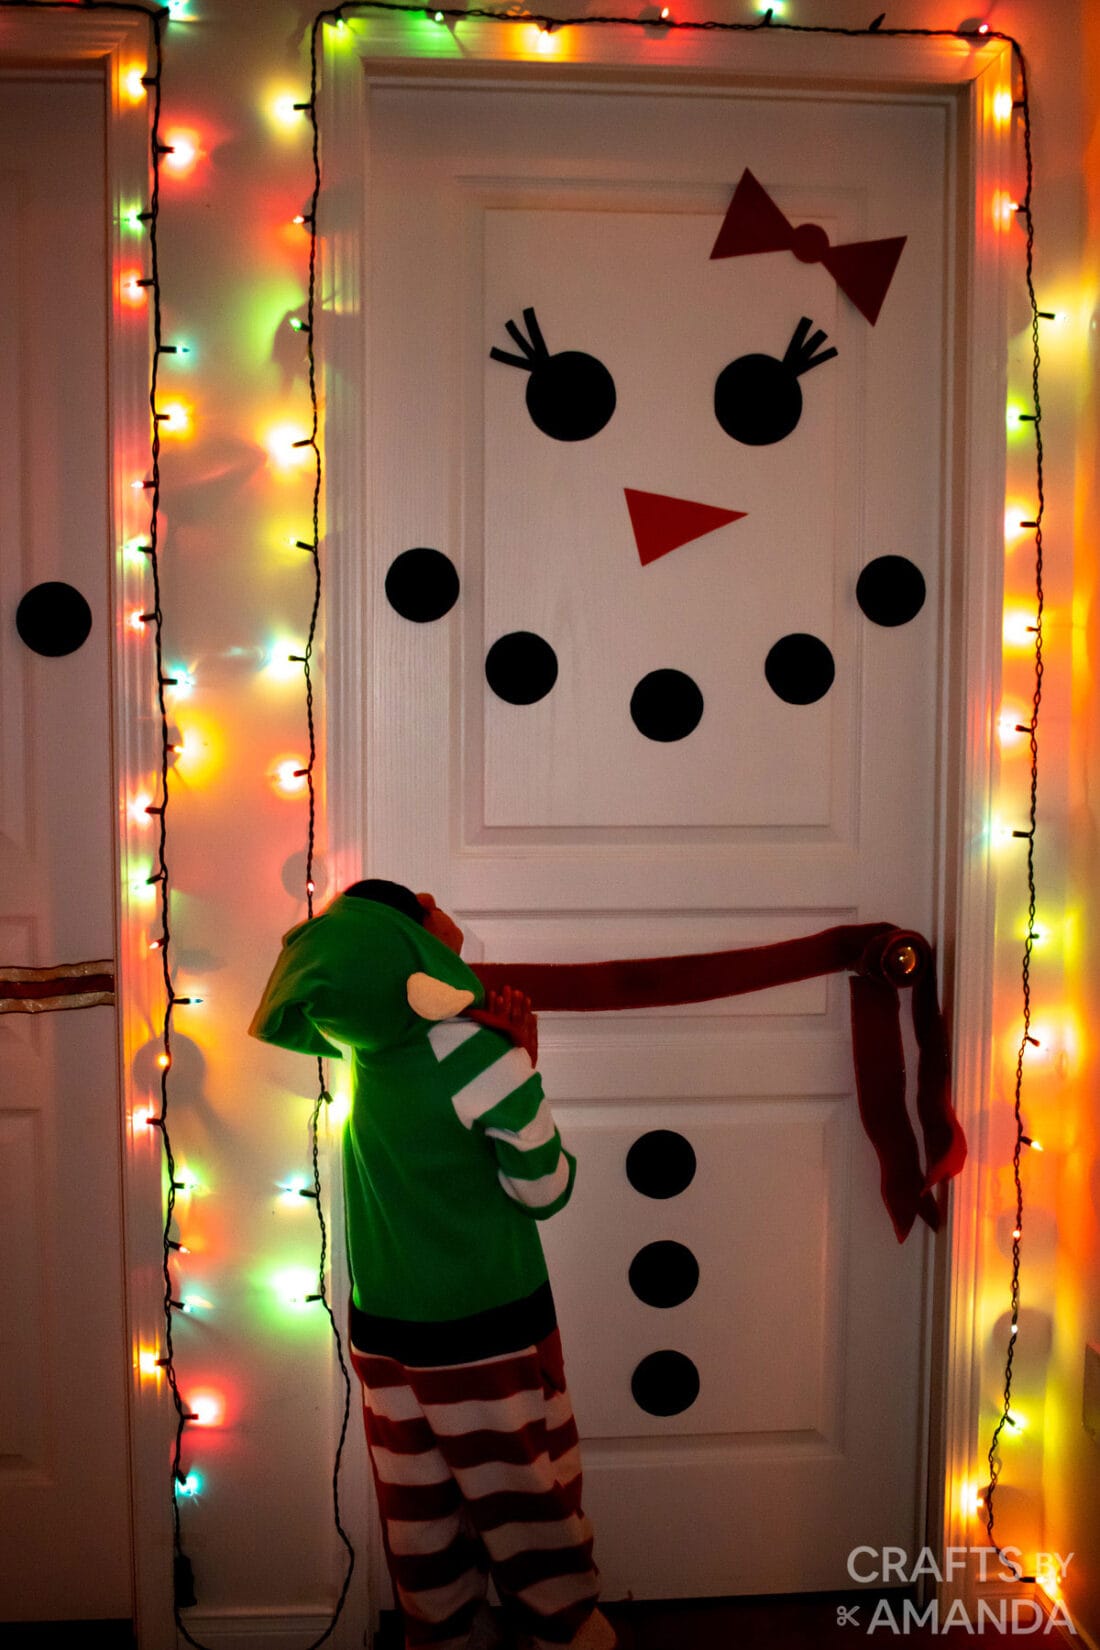
- Using a low tack tape, create a loop and stick it to the back of the large black circles for the eyes and place them at the top of the door. Repeat for the second door. For the snow women door, add 3 eyelashes to the corner of each eye and slightly curl the ends if desired.
- Next, add tape to the back of the carrot nose pieces and attach just below the eyes. Repeat for the other door.
- For the snow woman door, attach the 2 red triangles above one of the eyes at the corner and add the small red circle to form the bow.
- Next, attach one of the smaller circles centered underneath the carrot nose and space out the rest of the circles to form a smile. Repeat for the other door.
- On the lower third of the door, attach the 3 remaining circles to form the buttons. Use the nose and middle smile circle as a guide to line them up.
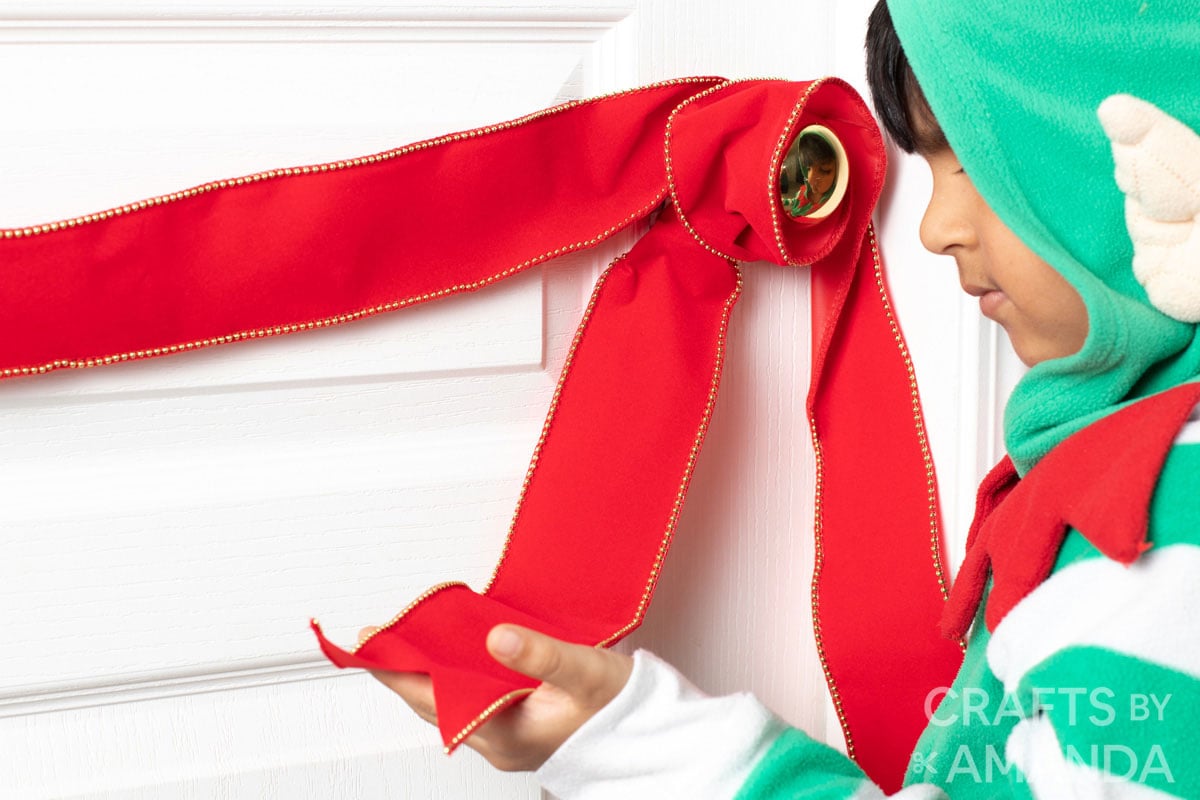
- Line up the ribbon with the doorknob at the center of the door. Tape ribbon to the corner of the door. Wrap the end around the doorknob and determine the desired length for the scarf tails. Cut the ribbon and attach another piece of ribbon the same length and tape under the doorknob to form a second tail for the scarf.
- If desired attach Christmas lights with tape around the door frame.
Expert Crafting Tips
- Use whatever ribbon color makes you happy, however, I do suggest using the wired ribbon. It makes it easier to position your ribbon the way you want it.
- Instead of black for the buttons, try a different color like light blue or green, and draw two dots in the center to resemble real buttons!
These adorable snowman doors are super easy to put together and a fun family project for a snowy afternoon.
More Holiday Decor Ideas
- Christmas Village Shadowbox
- Winter Hat Door Hanging
- Snowman Hat Centerpiece
- Sea Glass Christmas Tree
I love to create and share my projects with you! I know it’s hard to remember to come back and search, so I’ve made it easy for you with my weekly newsletter! You can subscribe for free and I’ll send you fun crafts and delicious recipes every week right to your email.
Snowman Door
These adorable snowman doors are super easy to put together and a fun family project for a snowy afternoon.
Prep Time15 minutes
Crafting Time10 minutes
Total Time25 minutes
Supplies
- Black card stock
- Orange card stock
- Red card stock
- Wide wired ribbon
- String lights optional
Craft tools
Small bowl, cup or round lid
Low tack tape
Instructions
Prepping the Pieces
Cut (8) 3.5-inch circles from black card stock for the buttons and smiles. We used a small bowl to trace the circles.
Cut (4) 4.5-inch circles from black card stock for the eyes. We used the lid from a sour cream container to trace the circles.
Cut out (6) half-inch x 3-inch rectangle strips from black card stock for the eyelashes for the snow woman.
Cut out (2) triangles from red card stock with a 5-inch base and 5 inches long for the snow women’s bow.
Cut out (1) 2-inch circle from red card stock for the center of the bow.
Cut out 2 triangles with a 4-inch base that extends 6 inches long from orange card stock for the carrot noses.
When assembling the door you will cut out the ribbon pieces for the scarf.
Assembling the Snowman
Using a low tack tape create a loop and stick to the back of the large black circles for the eyes and place them at the top of the door. Repeat for the second door. For the snow women door add 3 eyelashes to the corner of each eye and slightly curl the ends if desired.
Next, add tape to the back of the carrot nose pieces and attach just below the eyes. Repeat for the other door.
For the snow woman door attach the 2 red triangles above one of the eyes at the corner and add the small red circle to form the bow.
Next, attach one of the smaller circles centered underneath the carrot nose and space out the rest of the circles to form a smile. Repeat for the other door.
On the lower third of the door attach the 3 remaining circles to form the buttons, use the nose and middle smile circle as a guide to line them up.
Line up the ribbon with the doorknob at the center of the door. Tape ribbon to the corner of the door. Wrap the end around the doorknob and determine the desired length for the scarf tails. Cut the ribbon and attach another piece of ribbon the same length and tape under the doorknob to form a second tail for the scarf.
If desired attach Christmas lights with tape around door frame.
Expert Tips & FAQs
- Use whatever ribbon color makes you happy, however I do suggest using the wired ribbon. It makes it easier to position your ribbon the way you want it.
- Instead of block for the buttons, try a different color like light blue or green, and draw two dots in the center to resemble real buttons!
This post originally appeared here on Nov 30, 2020.
Amanda Davis is the crafty, entrepreneurial mother of four children. She loves to bake, cook, make kid's crafts and create decorative items for her home. She is a crafting expert and guru in the kitchen and has appeared online and in print publications many times over the years.
Latest posts by Amanda Davis (see all)
Reader Interactions
Free CraftsBy email every week
Latest crafts straight to your inbox!









 English (US) ·