
.jpg)
 1 day ago
2
1 day ago
2
PROTECT YOUR DNA WITH QUANTUM TECHNOLOGY
Orgo-Life the new way to the future Advertising by Adpathway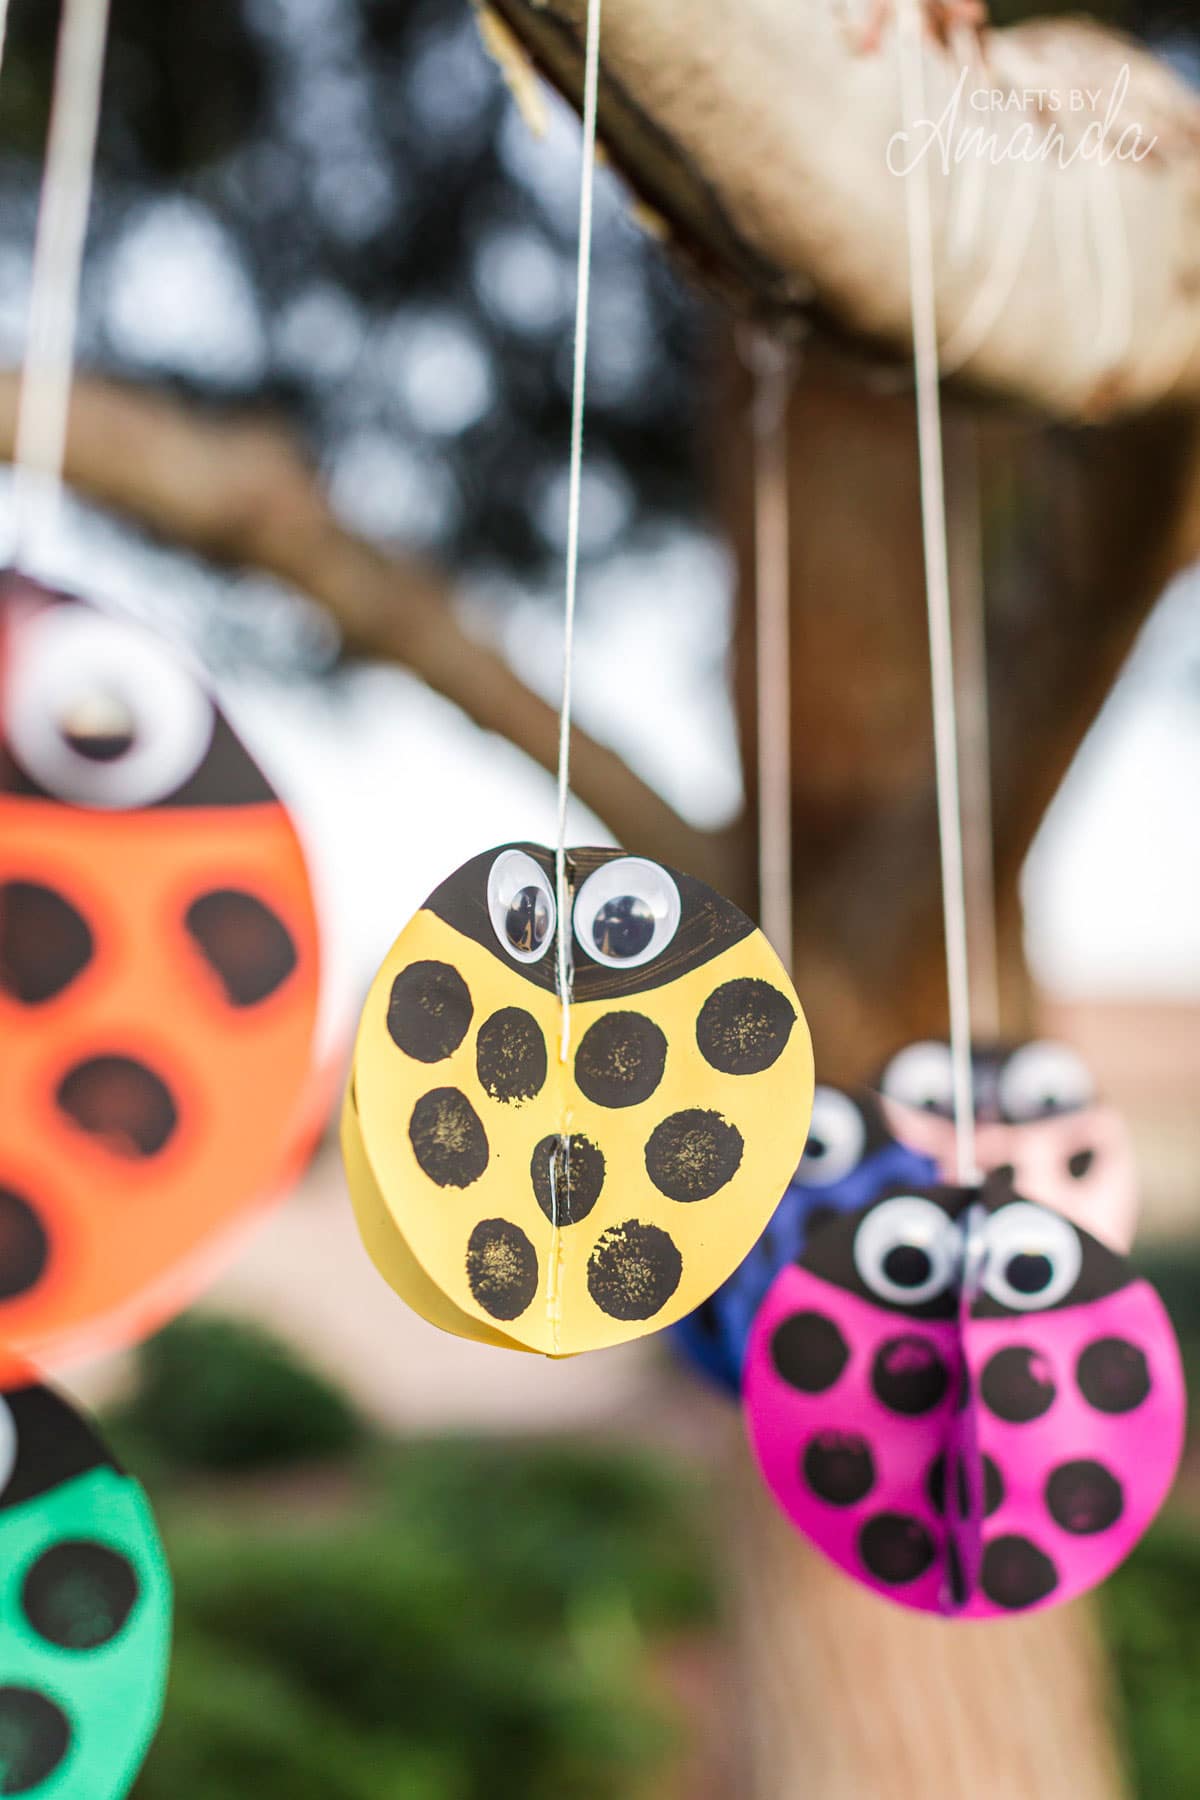
Why we love this project
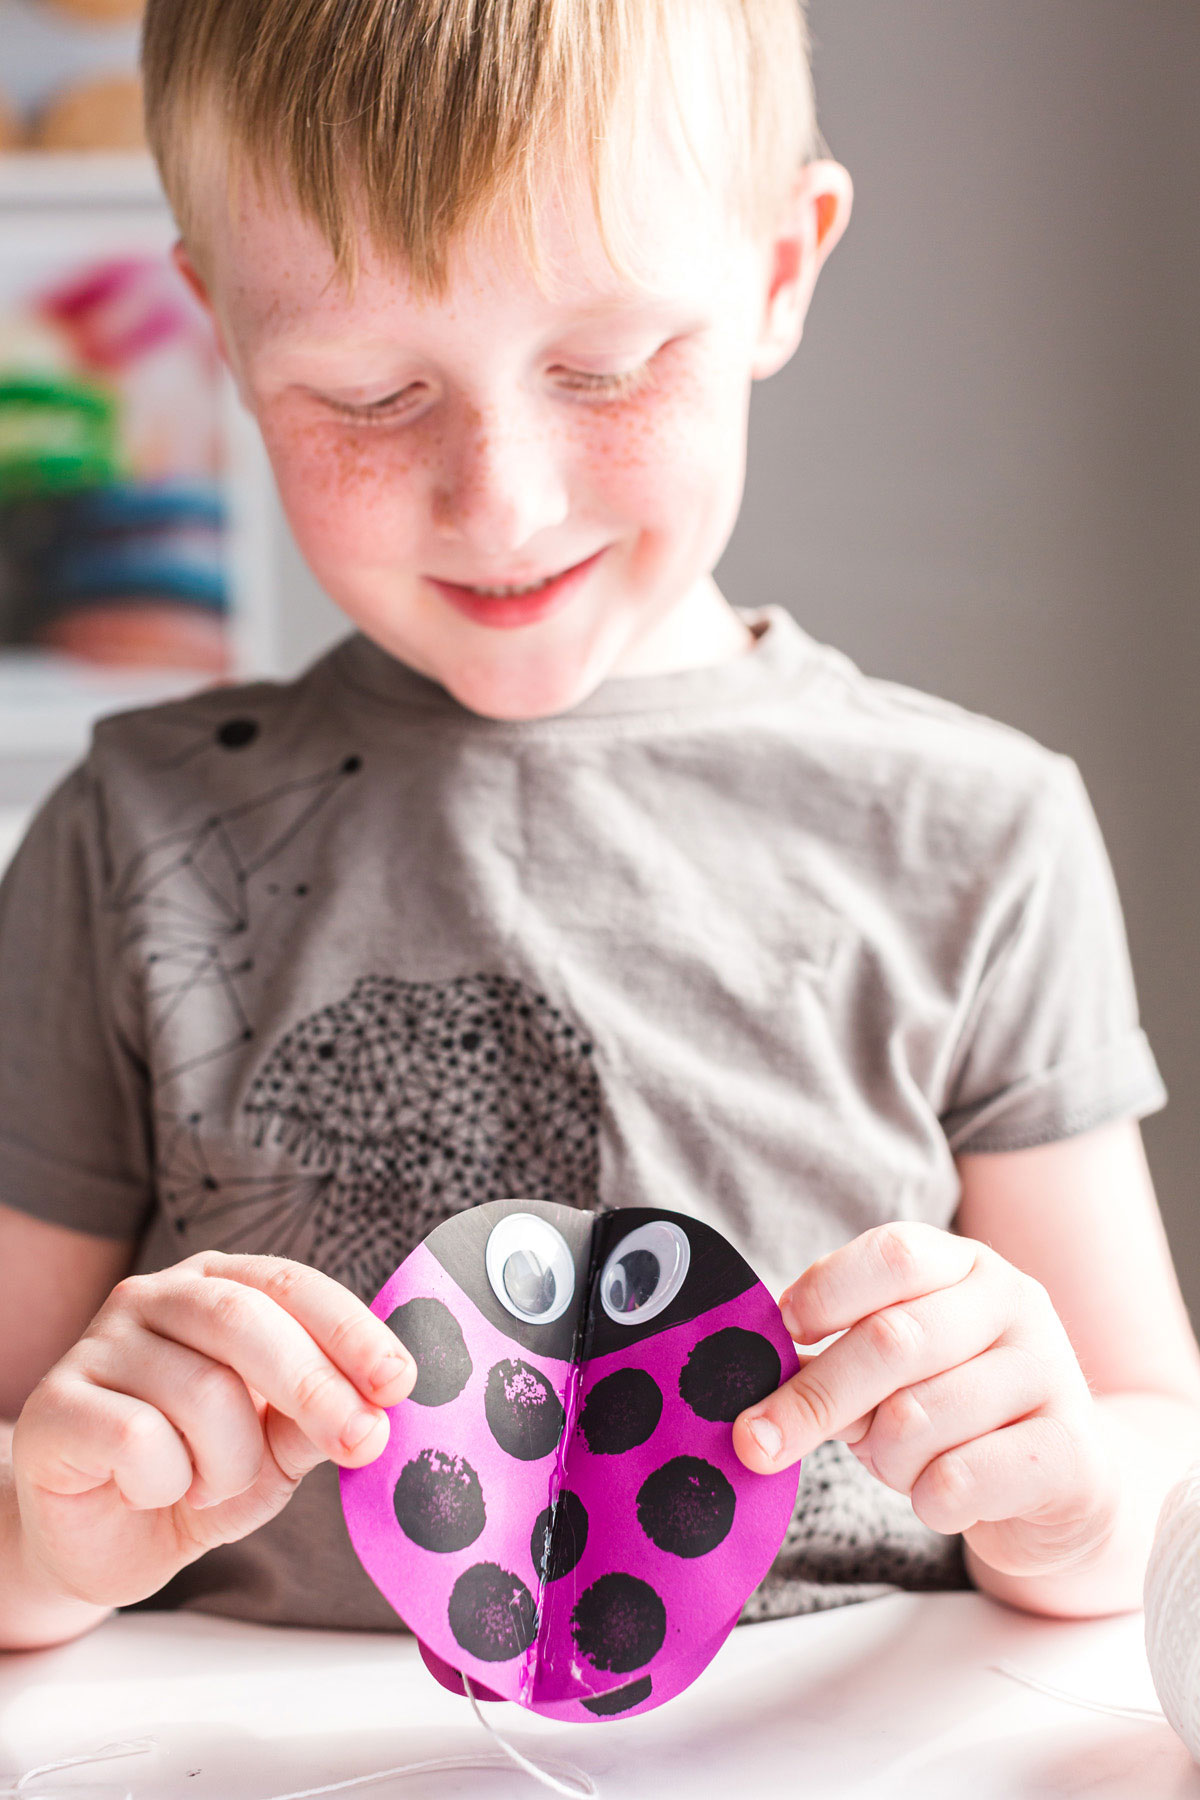
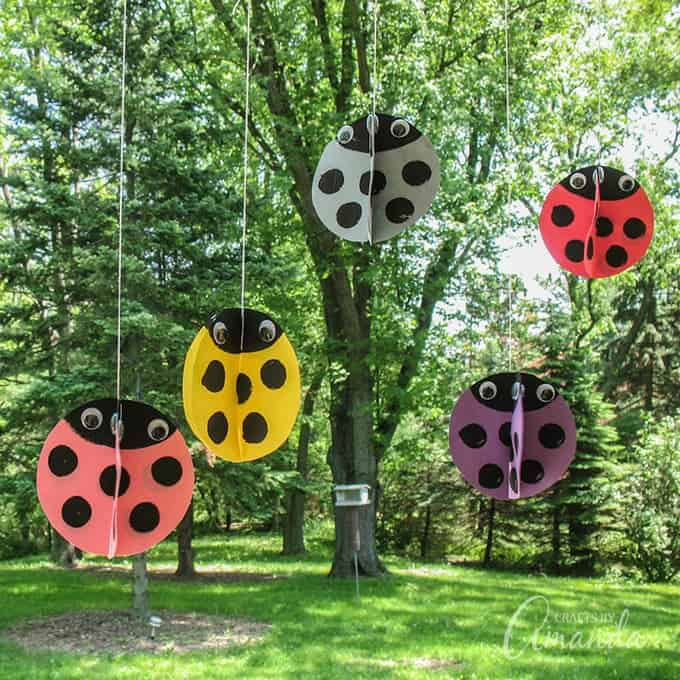
Now that the weather has warmed up, you and your kids will love these adorable twirling ladybugs! They swirl and twirl and look so cute, all you need is a little breeze. Similar to my Twirling Bees and these adorable Twirling Lovebugs, your children will love watching them twist and turn, or to simply have them hang from the ceiling in their bedroom.
This cute kid’s craft would be a fun ladybug decoration for a birthday party, barbecue or just to dress up your child’s bedroom or playroom. They are so fun to watch and with a variety of different colors, they add a nice colorful touch to any place or occasion!
RELATED – While ladybugs are all about summer, when fall comes try our twirling paper monsters, great for Halloween!
Supplies you will need
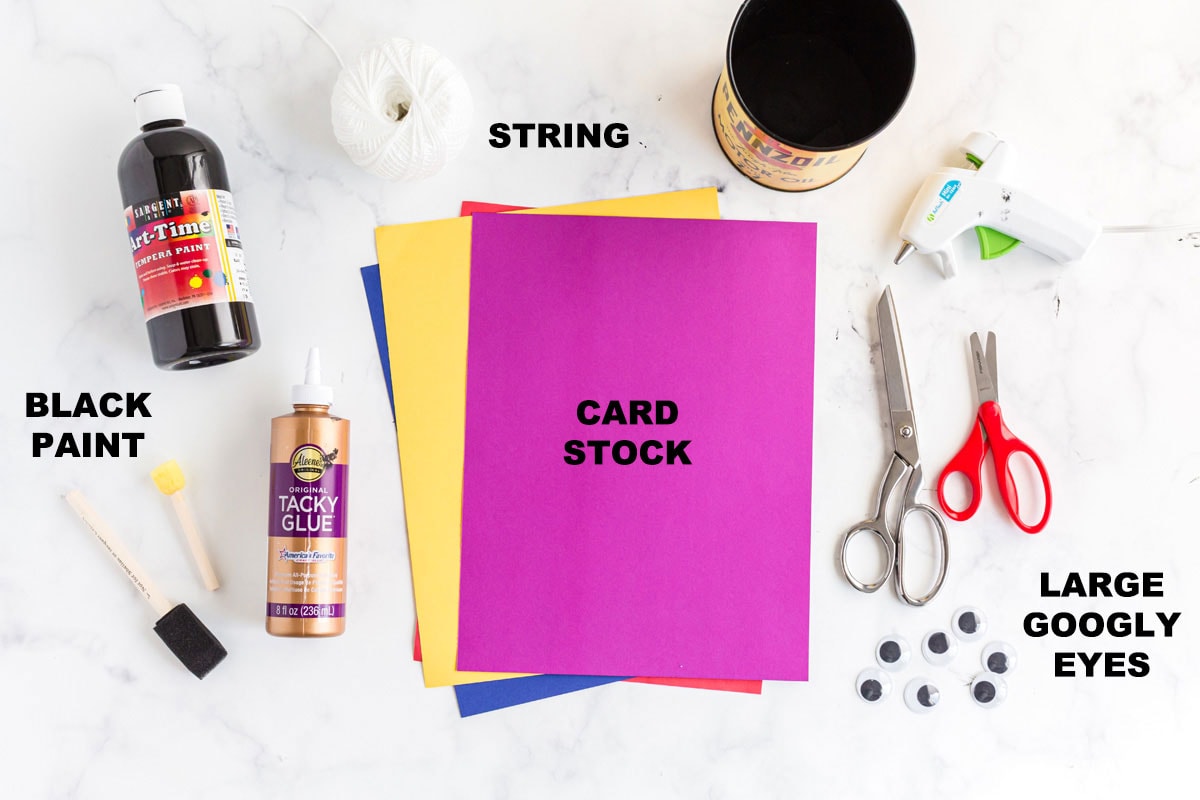
Get full list of supplies and directions in the printable version at the end of this post.
- card stock or construction paper, various colors
- pencil
- something round for tracing (jar, can, etc)
- scissors
- black craft paint
- small round spouncer
- paintbrush
- 8 large (approximately 1-inch) googly eyes for each ladybug
- string
- white craft glue
- hot glue gun (optional but recommended)
How To Make Swirling Twirling Ladybugs
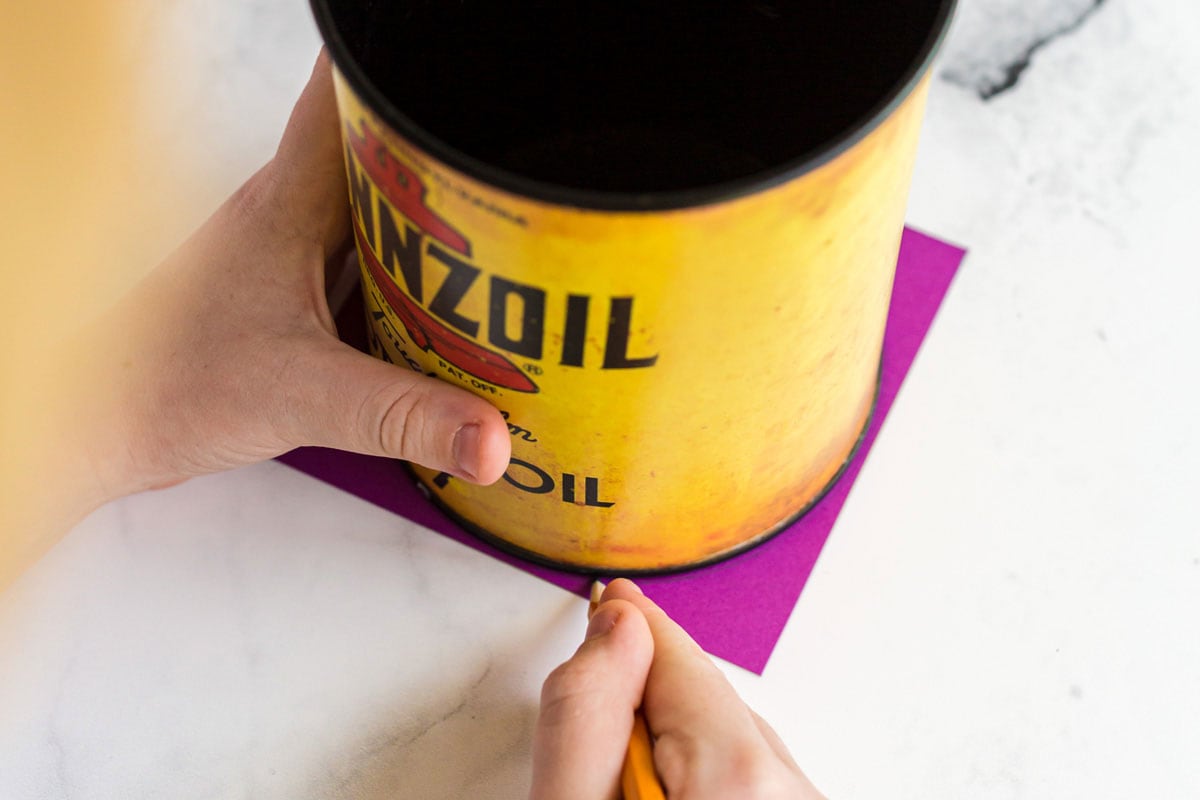
- You will need two construction paper circles for each of the twirling ladybugs. Cut construction paper into 4.5″ squares. Stack two squares on top of each other and trace around something round to create your circle. I used a small can.
- Holding the stacked paper together, cut the circles out of the paper.
- Still holding the two circles together, cut a slit from one edge of the circle up into the middle of the circle.
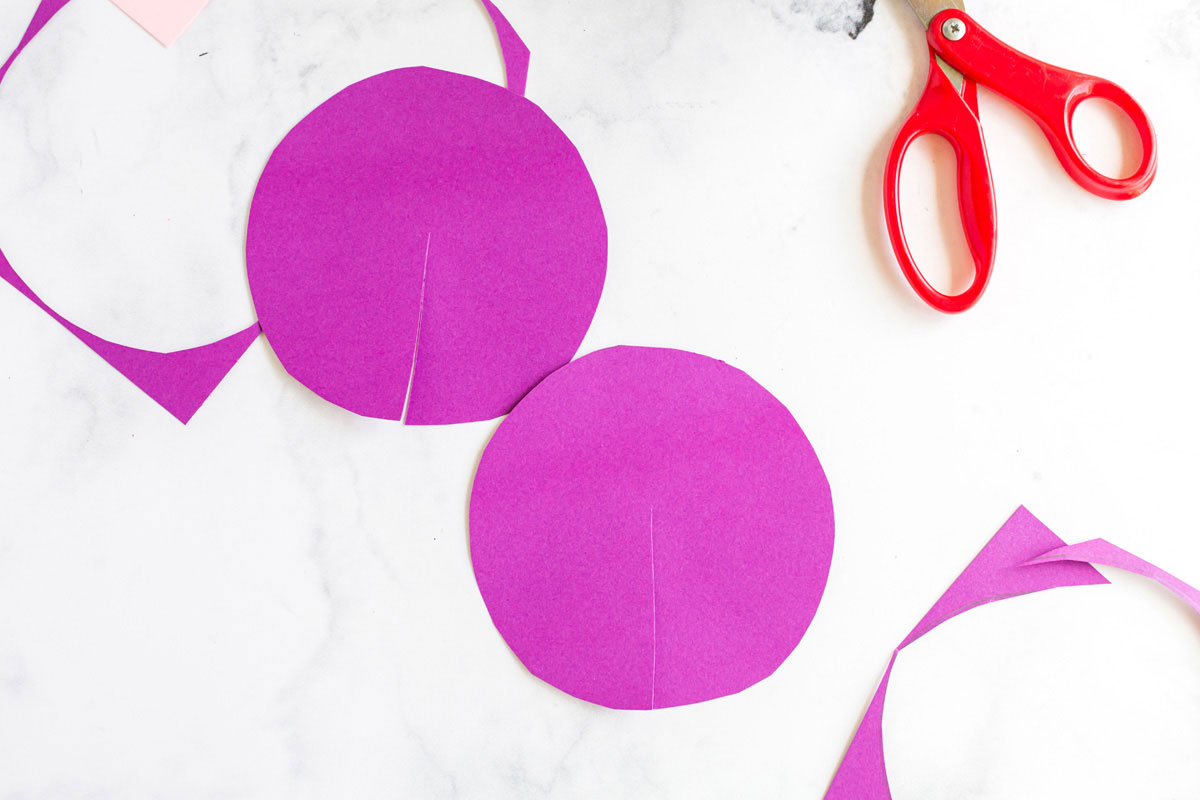
- Use as many colors as you like. I used pink, red, orange, yellow, blue, green and purple.
- Place one of the circle onto a piece of scrap paper. Paint a section for the ladybug’s head, overlapping the paint brush onto the scrap paper. This will give you a guide to use for all the remaining circles.
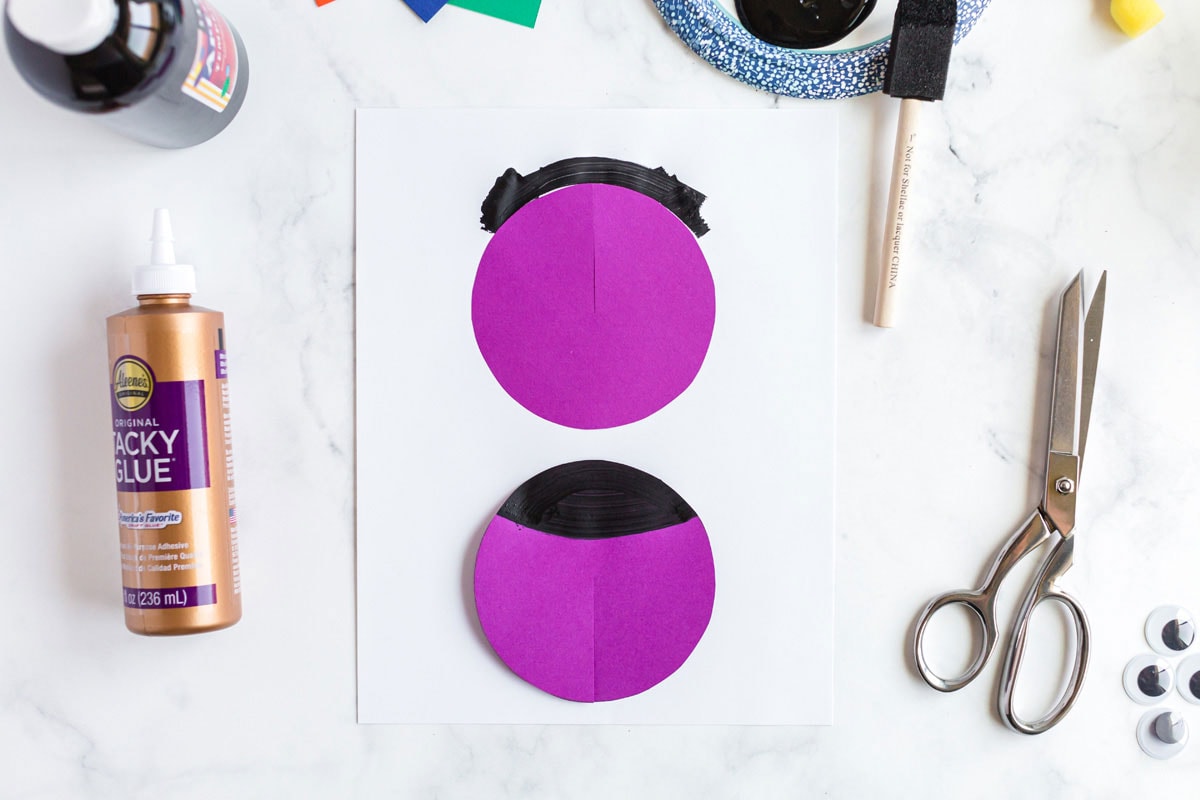
- For each pair of circles, you will paint a head at the opposite end of each one. So for the first one, line up the slit you cut so that it points directly downward and paint the head at the top, the end of the slit is the bottom. For the other circle, turn it the opposite direction so that the slit is at the top and paint the head there. This will ensure that your “heads” line up together.
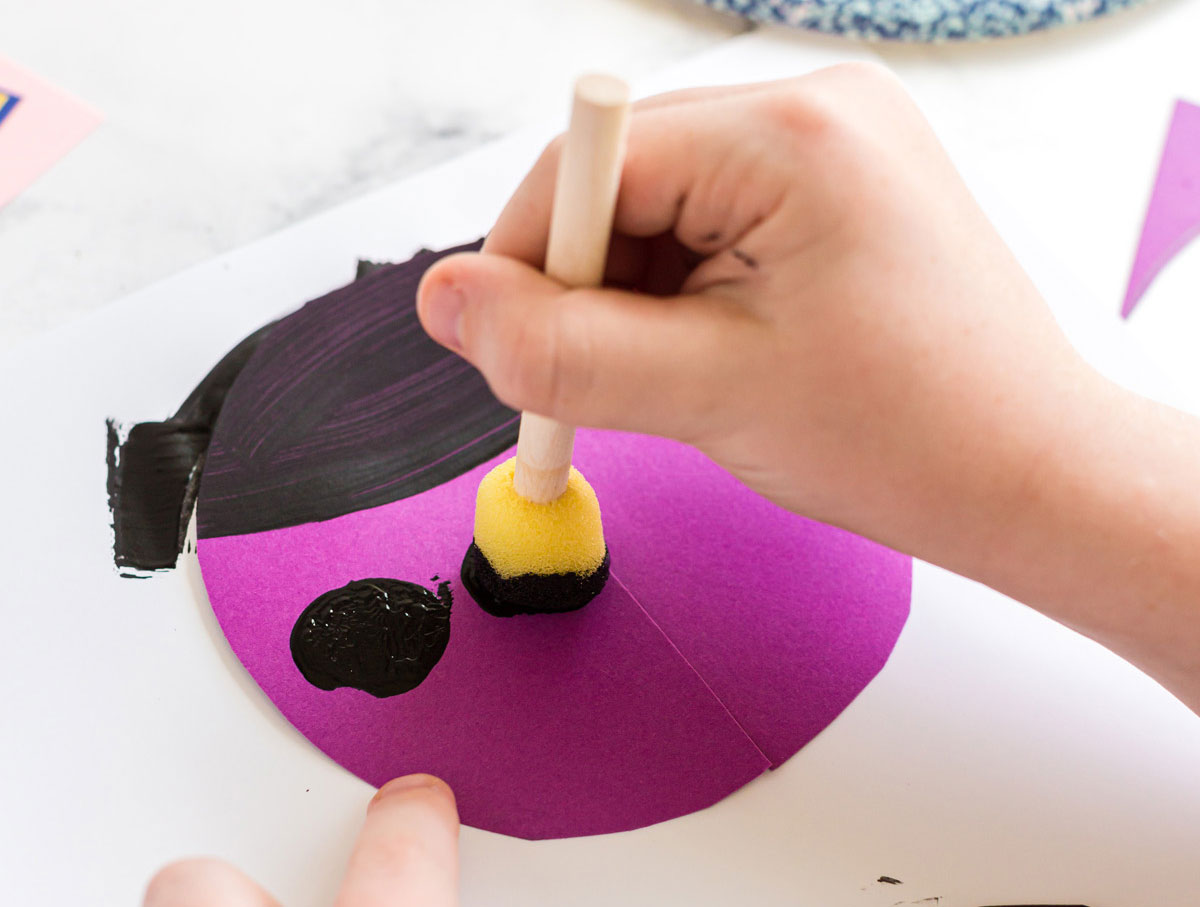
- Use the small spouncer dipped in black paint to add the ladybug’s spots. Set each one out to dry and continue painting until all are done. Let them dry before turning the over and repeating this process on the other side.
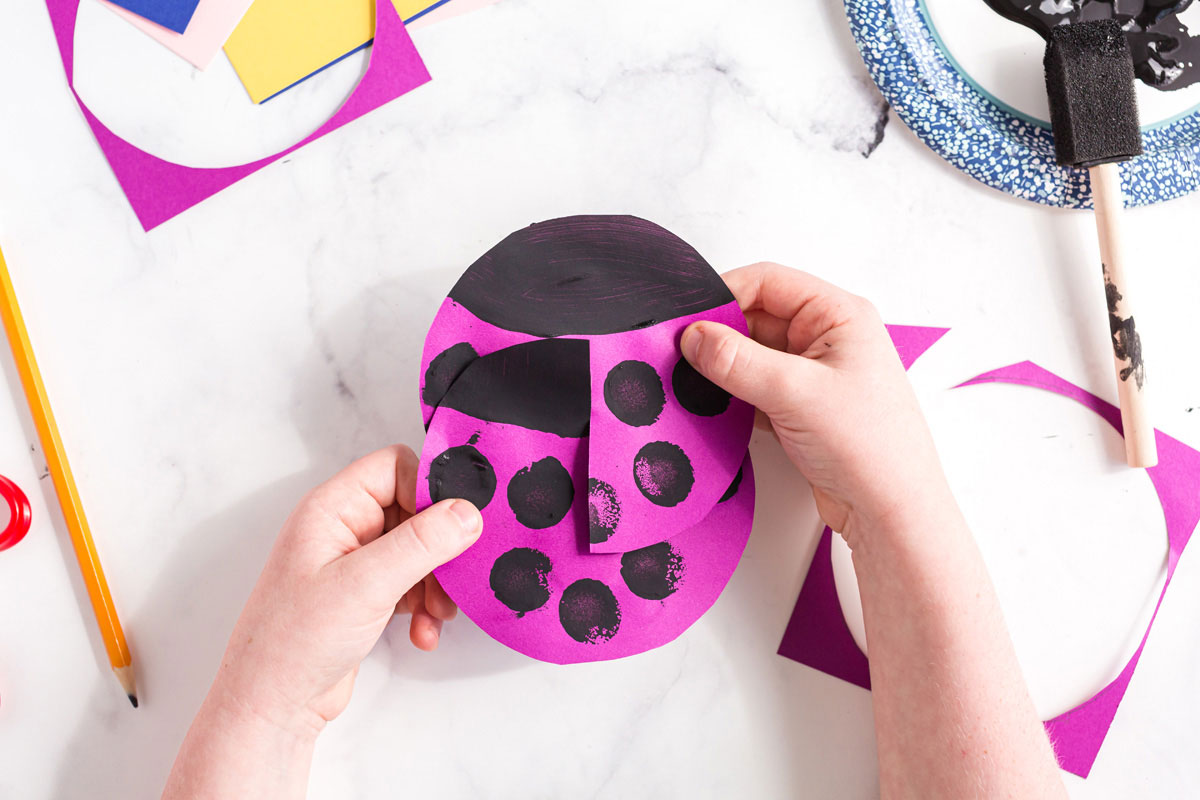
- Take the two circles and line up the slits. Insert them into each other. The heads should line up as shown. Now lay them out flat and glue wiggle yes onto head, one on each side. Don’t put the eyes too close together. Farther apart is better. You will need eyes on every section. There are 4 sections.
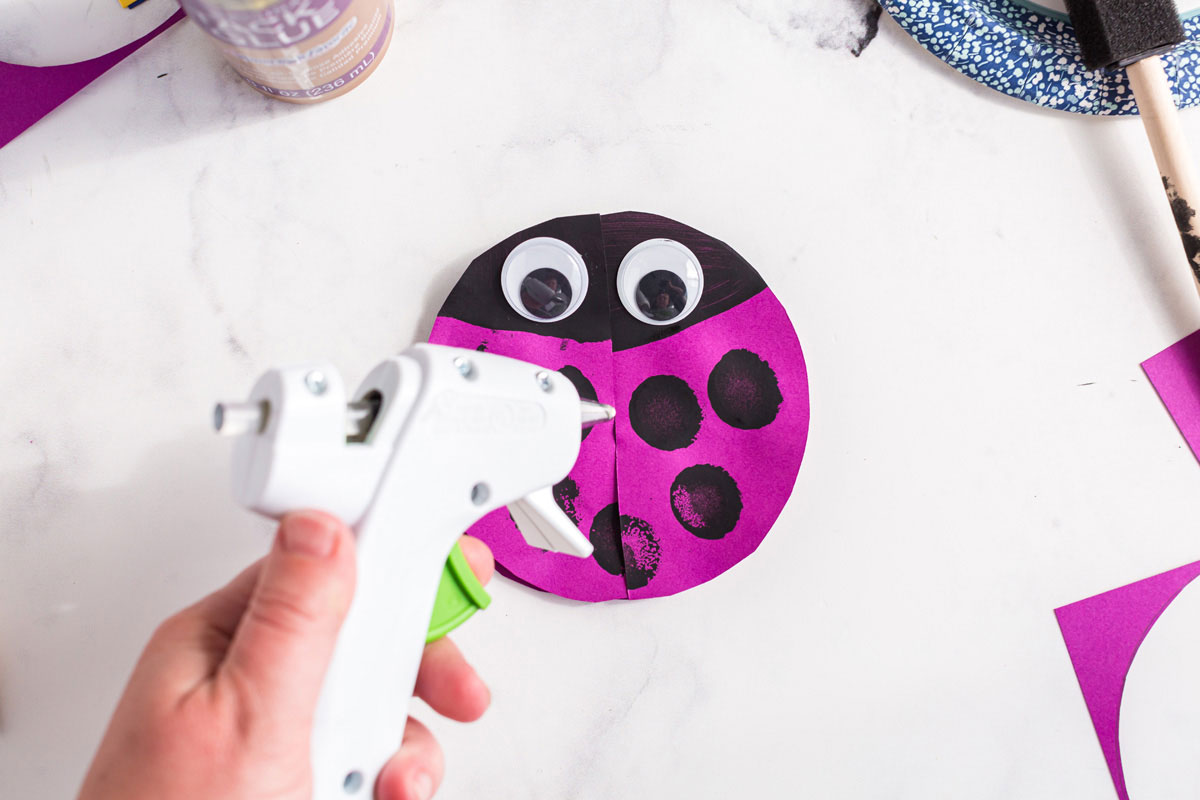
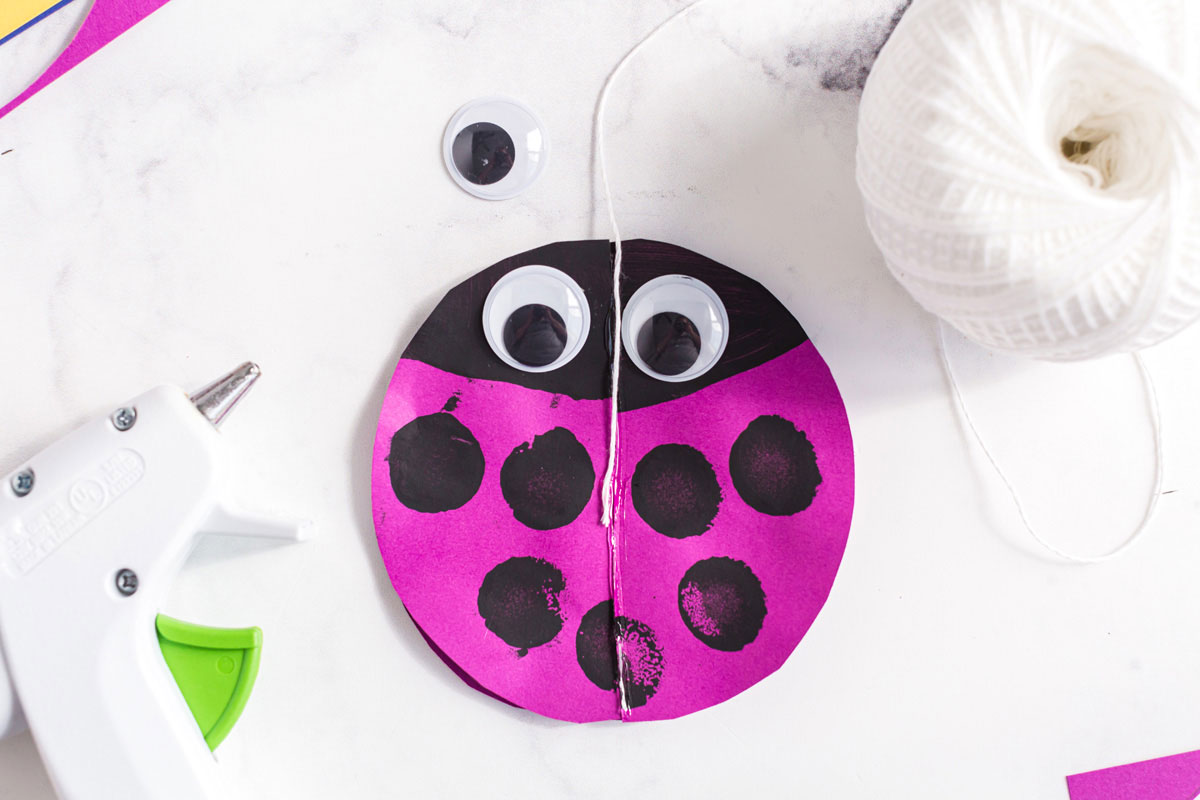
- Run a thin line of hot glue where the slits intersect to connect them together. Cut a piece of string and glue it in with the slits.
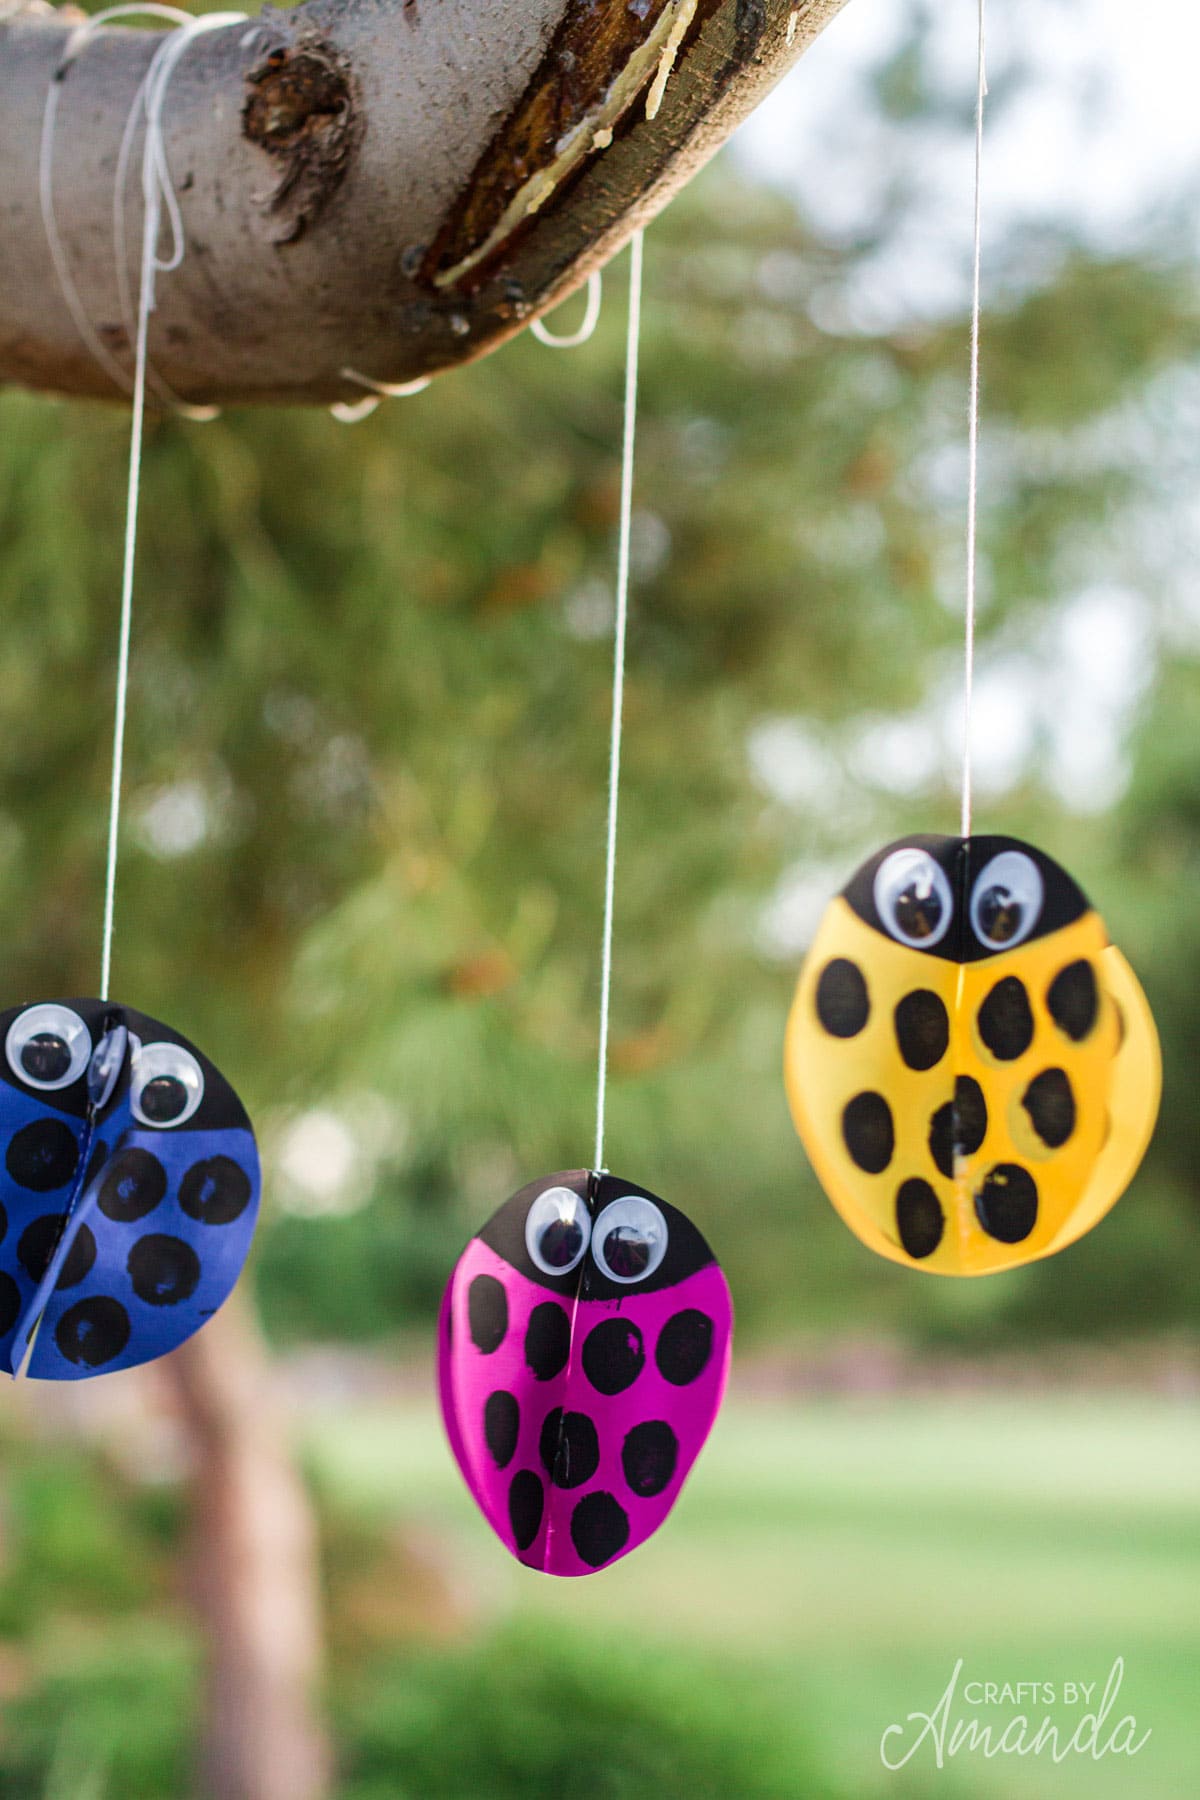
Now you are ready to hang your twirling ladybugs!
More Easy Crafts for Kids
- Ladybug Painted Rocks
- Paper Plate Tropical Fish
- Paper Plate Watermelon Sun Catchers
- Paper Plate Ladybug Craft
Swirling Twirling Ladybugs
Kids will enjoy hours of fun with these cute ladybugs twirling in the wind!
Prep Time5 minutes
Crafting Time20 minutes
Total Time25 minutes
Author: Amanda Formaro
Supplies
- card stock or construction paper various colors
- pencil
- something round for tracing jar, can, etc
- scissors
- black craft paint
- small round spouncer
- paintbrush
- 8 1-inch googly eyes for EACH ladybug
- string
- white craft glue
- hot glue gun optional but recommended
Instructions
You will need two construction paper circles for each ladybug. Cut construction paper into 4.5″ squares. Stack two squares on top of each other and trace around something round to create your circle. I used a small can of paint.
Holding the stacked paper together, cut the circles out of the paper.
Still holding the two circles together, cut a slit from one edge of the circle up into the middle of the circle.
Use as many colors as you like. I used pink, red, orange, yellow, blue, green and purple.
Place one of the circle onto a piece of scrap paper. Paint a section for the ladybug’s head, overlapping the paint brush onto the scrap paper. This will give you a guide to use for all the remaining circles.
For each pair of circles, you will paint a head at the opposite end of each one. So for the first one, line up the slit you cut so that it points directly downward and paint the head at the top, the end of the slit is the bottom. For the other circle, turn it the opposite direction so that the slit is at the top and paint the head there. This will ensure that your “heads” line up together.
Use the small spouncer dipped in black paint to add the ladybug’s spots. Set each one out to dry and continue painting until all are done. Let them dry before turning the over and repeating this process on the other side.
Take the two circles and line up the slits. Insert them into each other. The heads should line up as shown. Now lay them out flat and glue wiggle yes onto head, one on each side. Don’t put the eyes too close together. Farther apart is better. You will need eyes on every section. There are 4 sections.
Run a thin line of hot glue where the slits intersect to connect them together. Cut a piece of string and glue it in with the slits.
Now you are ready to hang your twirling ladybugs!
Originally published on this blog on April 14, 2012 but has since been updated with new photos.
Amanda Davis is the crafty, entrepreneurial mother of four children. She loves to bake, cook, make kid's crafts and create decorative items for her home. She is a crafting expert and guru in the kitchen and has appeared online and in print publications many times over the years.
Latest posts by Amanda Davis (see all)










 English (US) ·